


Chaps Aren't Just for Cowboys Anymore (Part 2)
Ok folks here comes round 2 of our thorough geek-out about making chaps (if you haven’t already, check out part 1 here). If while reading this post you find you have some questions or want to know more about any step feel free to reach out via email, twitter, or instagram!
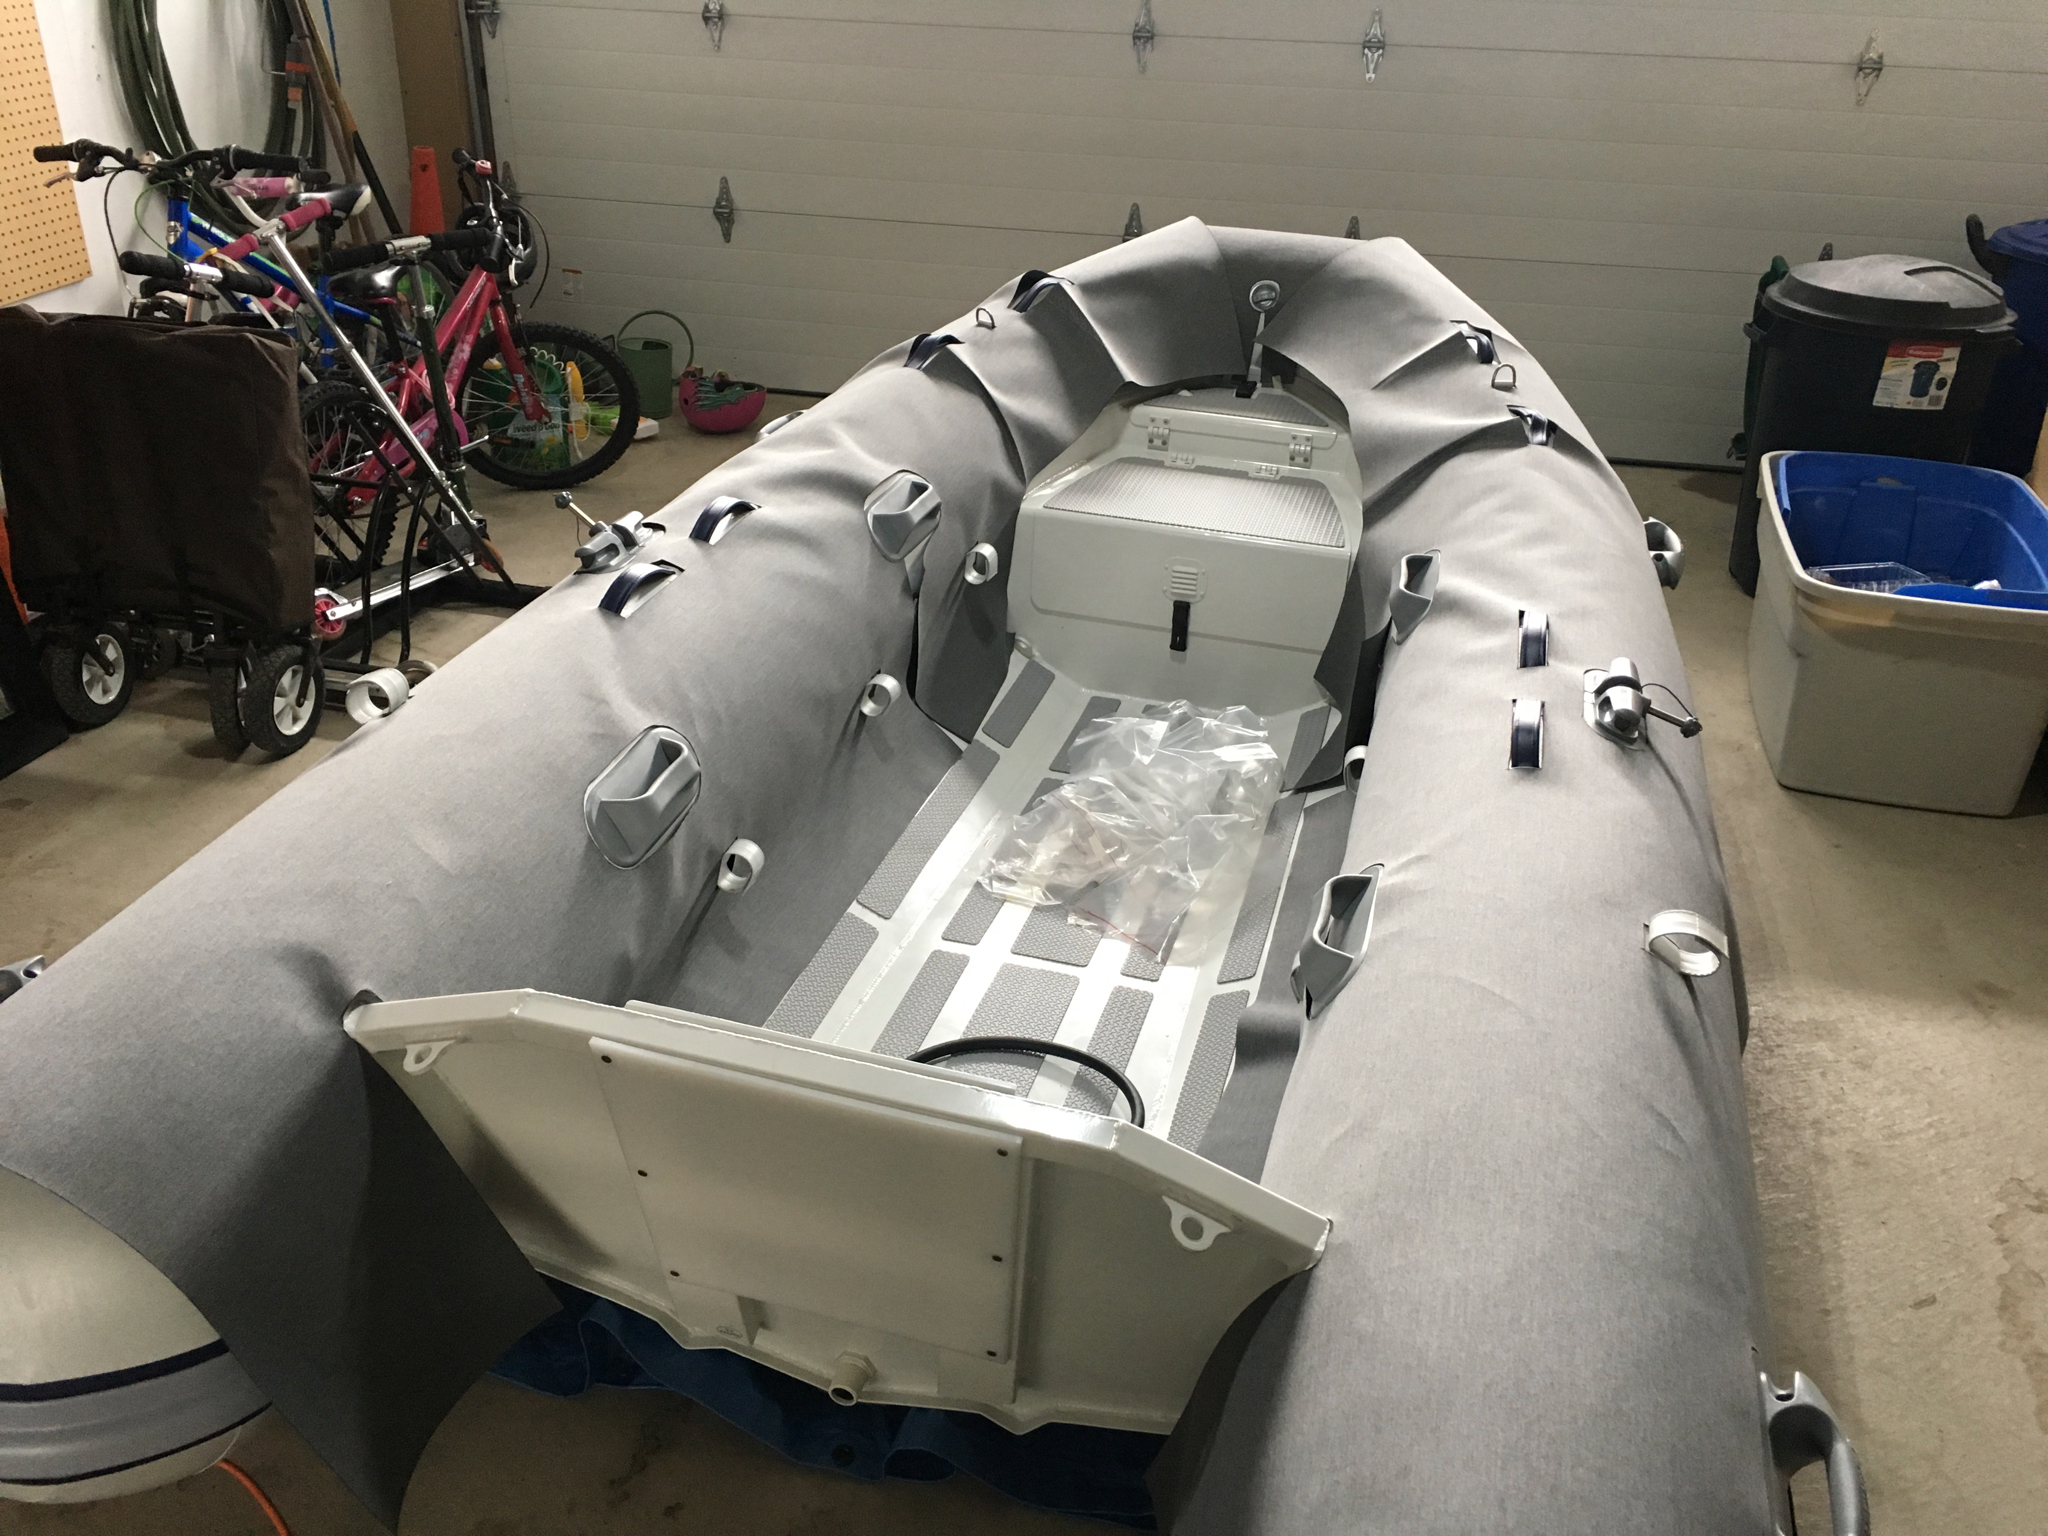
Our Dinghy
One of the major purchases we made in preparation for moving aboard Matriarch was a new dinghy. Once we leave the USA, we don’t expect to be at a dock very often so our only method of transportation between Matriarch and land will be the dinghy (well unless we want to swim that is…which I think would get old fast). The original dinghy that was included with Matriarch when we bought her had been heavily patched and required re-inflation every few days and while it was a great size for two adults, would have been tight for the 5 of us - especially on grocery runs; our kids eat a lot of food. As a result, we felt we needed to invest in a replacement both large enough and fast enough to cart around our family and all our junk without any issues.
Cost, UV, and PVC
The inflatable tubes on dinghies are manufactured from one of two materials: PVC or Hypalon. While both have their pros and cons, most relevant to us is that PVC is significantly less expensive (approximately half the cost of Hypalon) while on the downside it is more susceptible to UV degradation. I don’t think I need to explain the significance of the former, but the latter is worth considering. In our home waters of Lake Ontario, exposure to UV isn’t a huge concern given the northerly latitude and relatively short season; however, the general consensus amongst sailors in the tropics is that the greater UV resistance of Hypalon is a must unless you’ve got some way of limiting the exposure of your PVC dinghy.
Like all things boat related a compromise is in order, which for us was the decision to save some money by buying the PVC version of our Highfield CL340 at the Toronto boat show and figuring out a way to compensate for the UV issue. Enter my next project…

Megan enjoying selfie time on dinghy pick-up day while yours truly messes around in the background trying to figure out how we’re going to get it home.
What the Heck Are Dinghy Chaps Anyway?
Chaps are a fitted cover for the inflatable tubes of the dinghy. Done right they not only protect against UV, but also against the inevitable chafing and bumping against other boats, docks, piers, rocks, etc. which I expect we’ll be very thankful for once the kids start driving. While it’s possible to get chaps made at a canvas shop, typically they are DIY projects because (a) even the same model of dinghy has slight variations from boat to boat so heavy customization is usually necessary and (b) for the cost of having a set professionally made it’s often possible to purchase brand new dinghy instead!
After a bunch of research to try and figure out what I was getting myself into (thank you YouTube and Sailrite), I had compiled a list of the necessary materials, ordered them from my friends at JTs Fabrics, and a sketched out a general work plan for getting it done. From what I understood at the time, I should plan on putting 25-35 hours of work into the project. I forgot a cardinal rule that we had already learned (over and over); similar to boat bucks, boat-project hours also have a unique conversion rate: double the length of time you think you need for any project when it has to do with a boat.
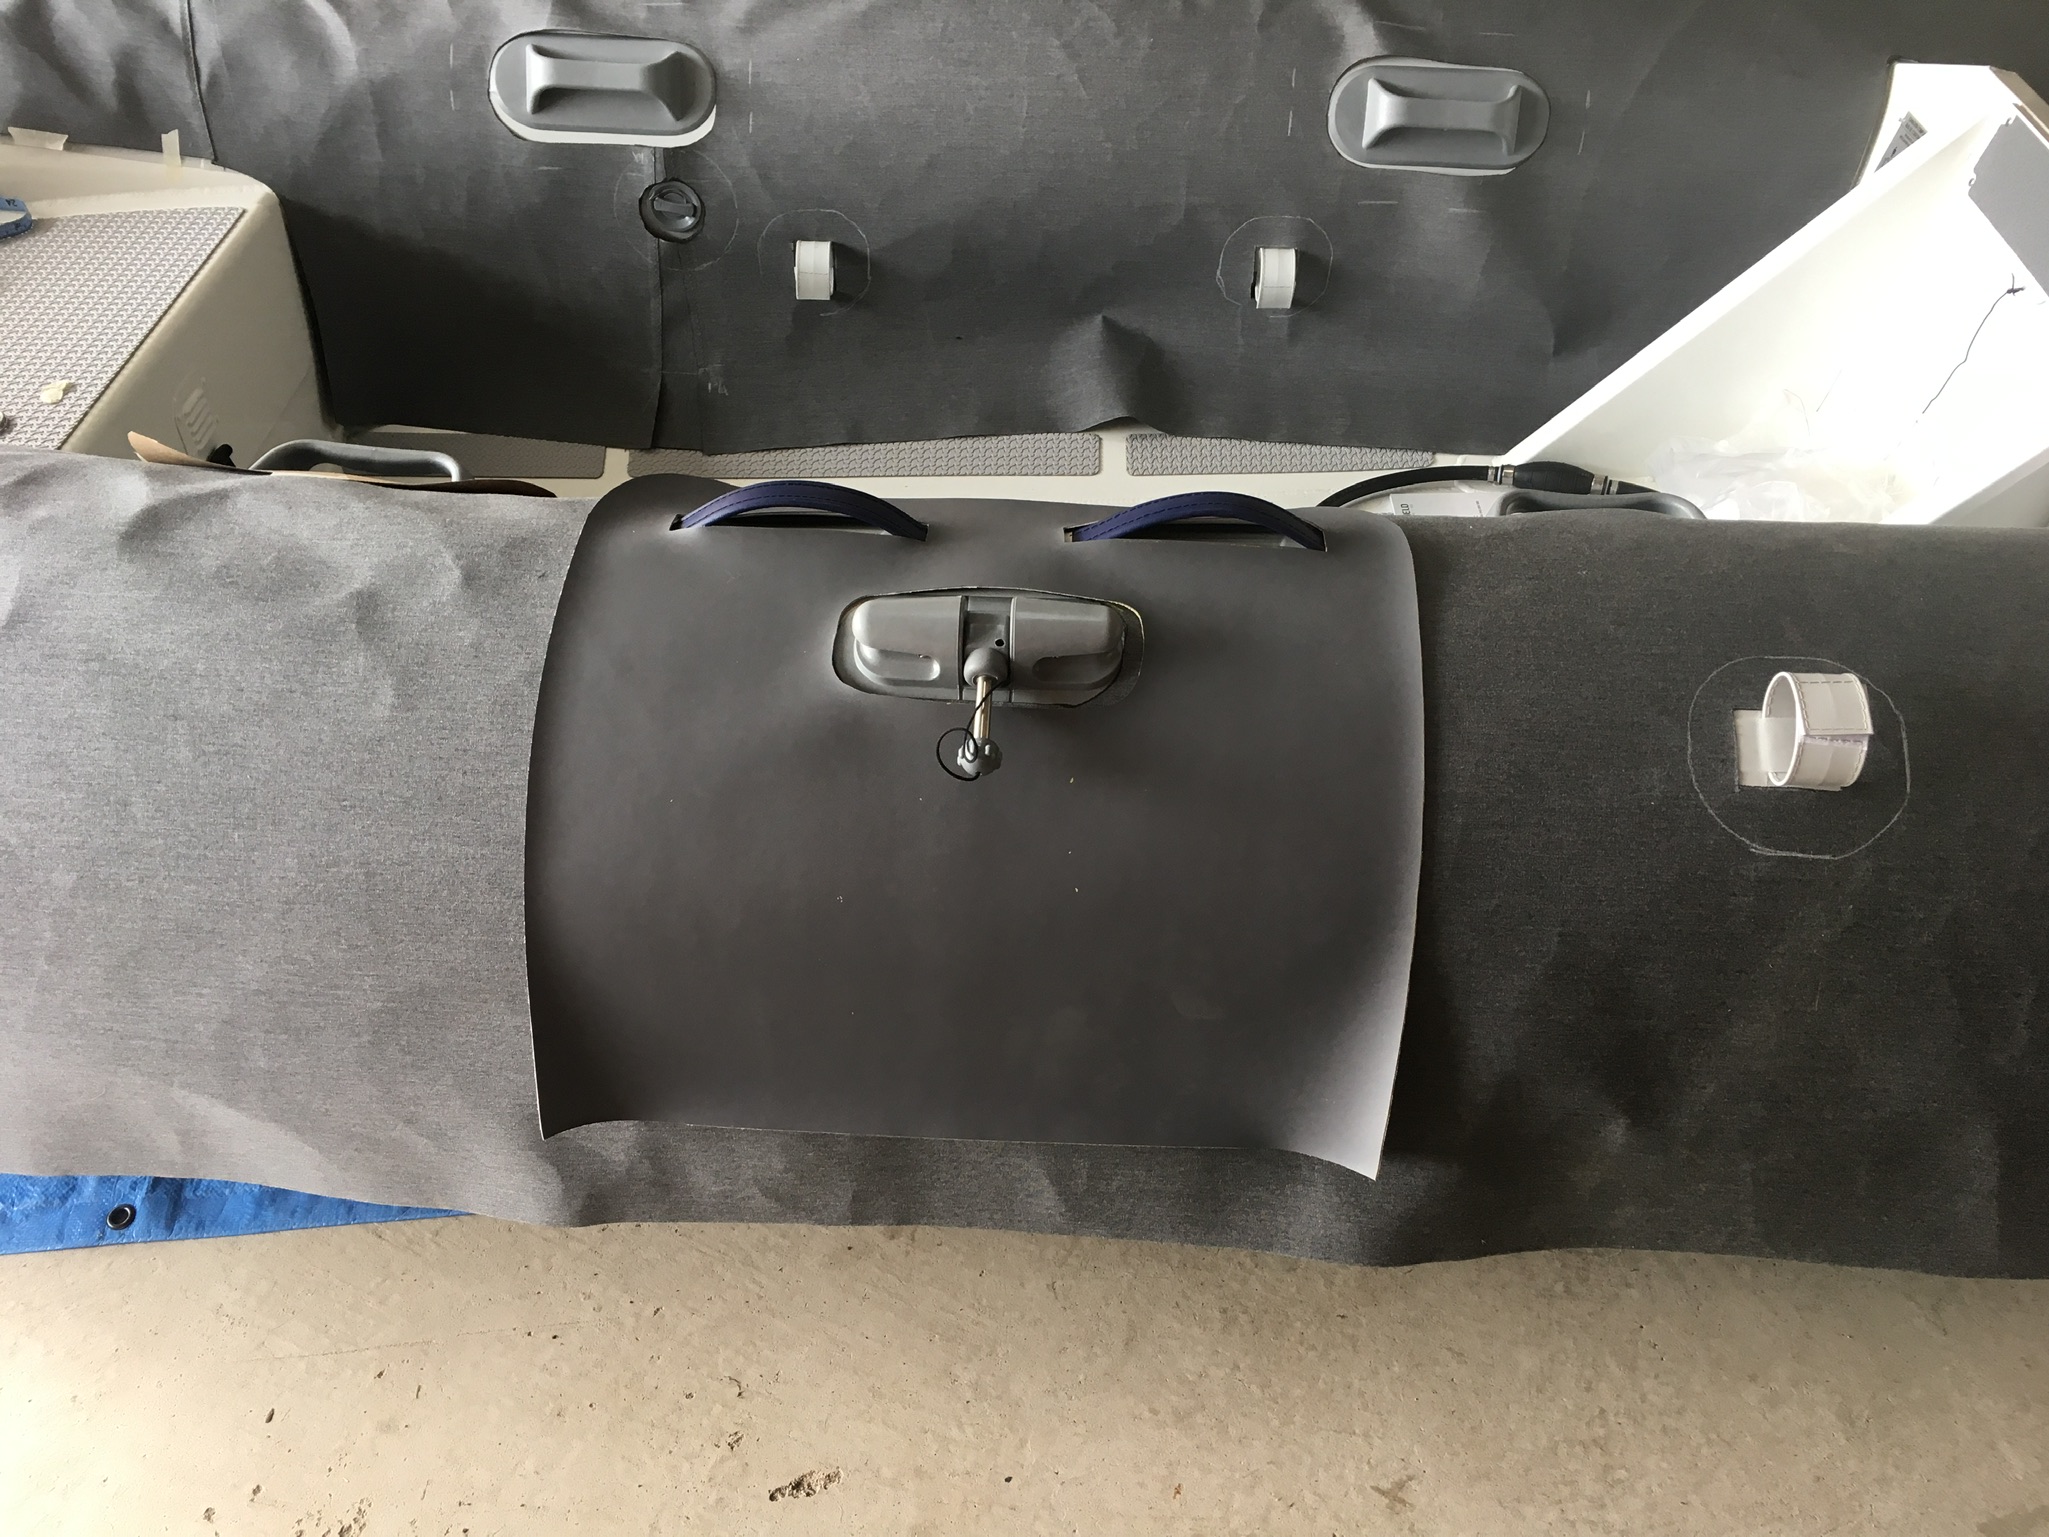
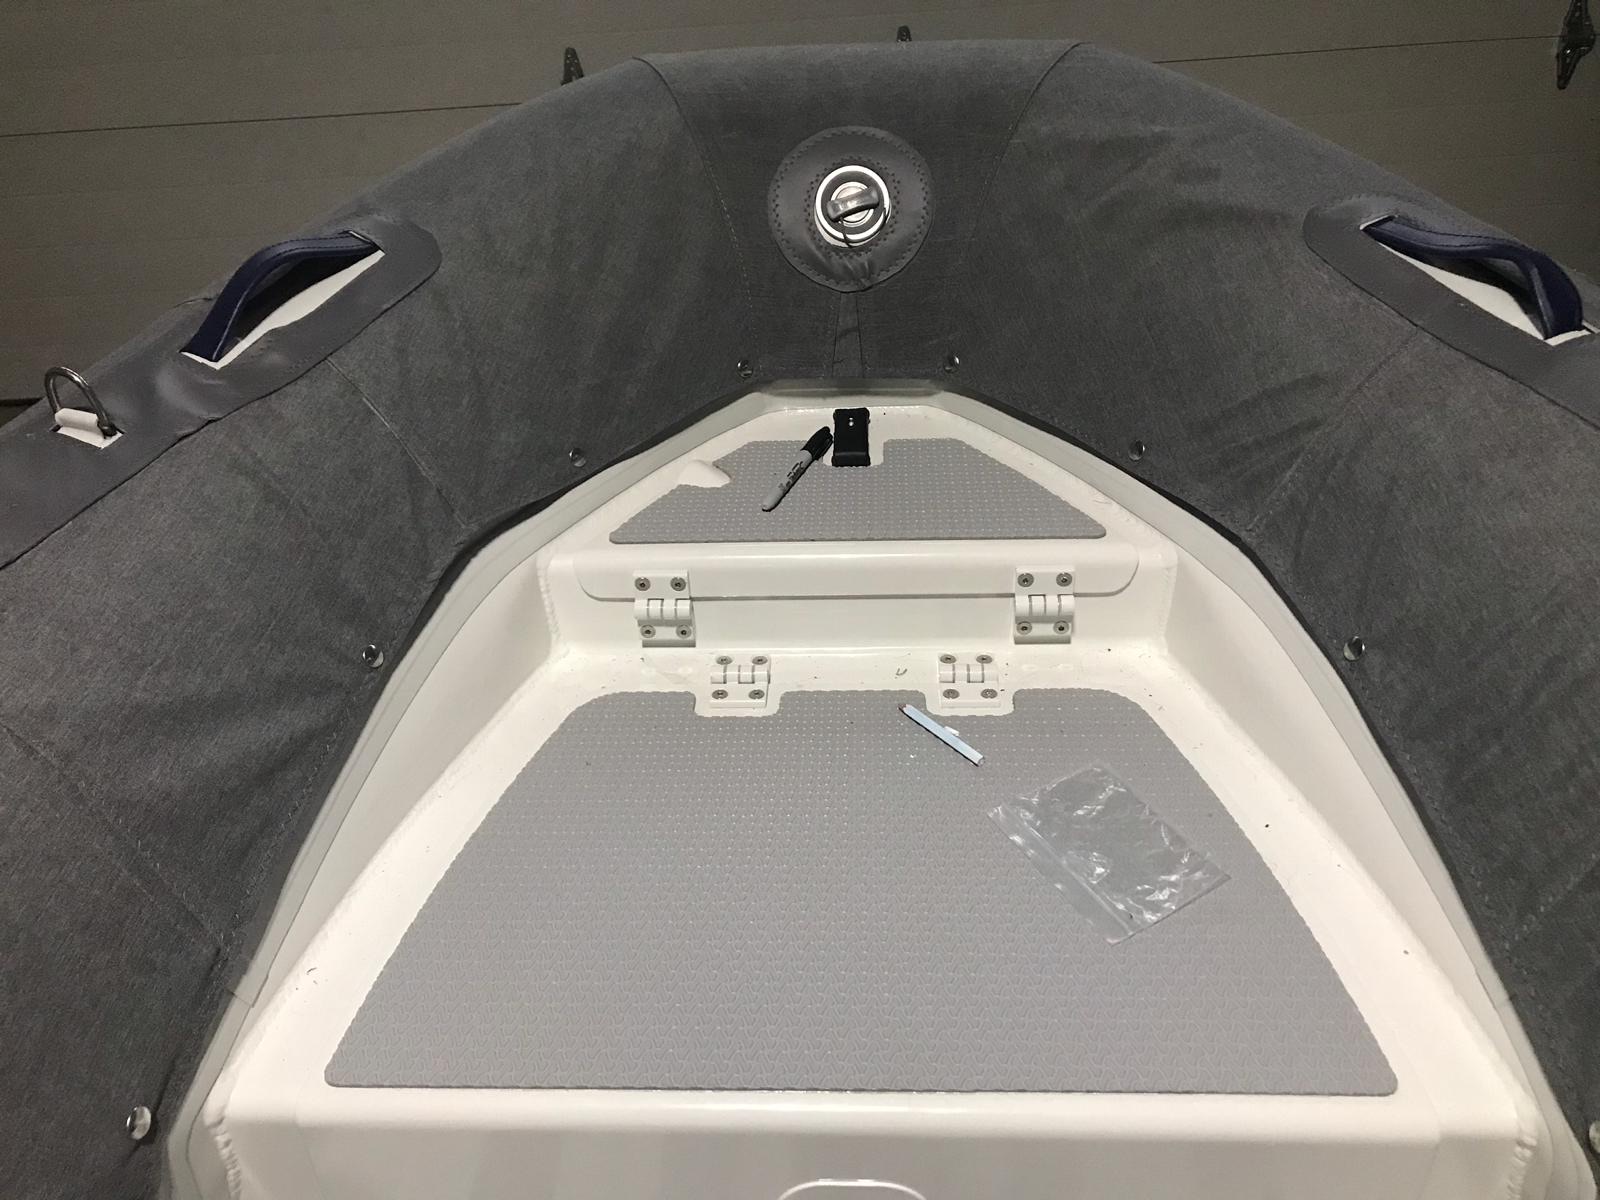
Patterning
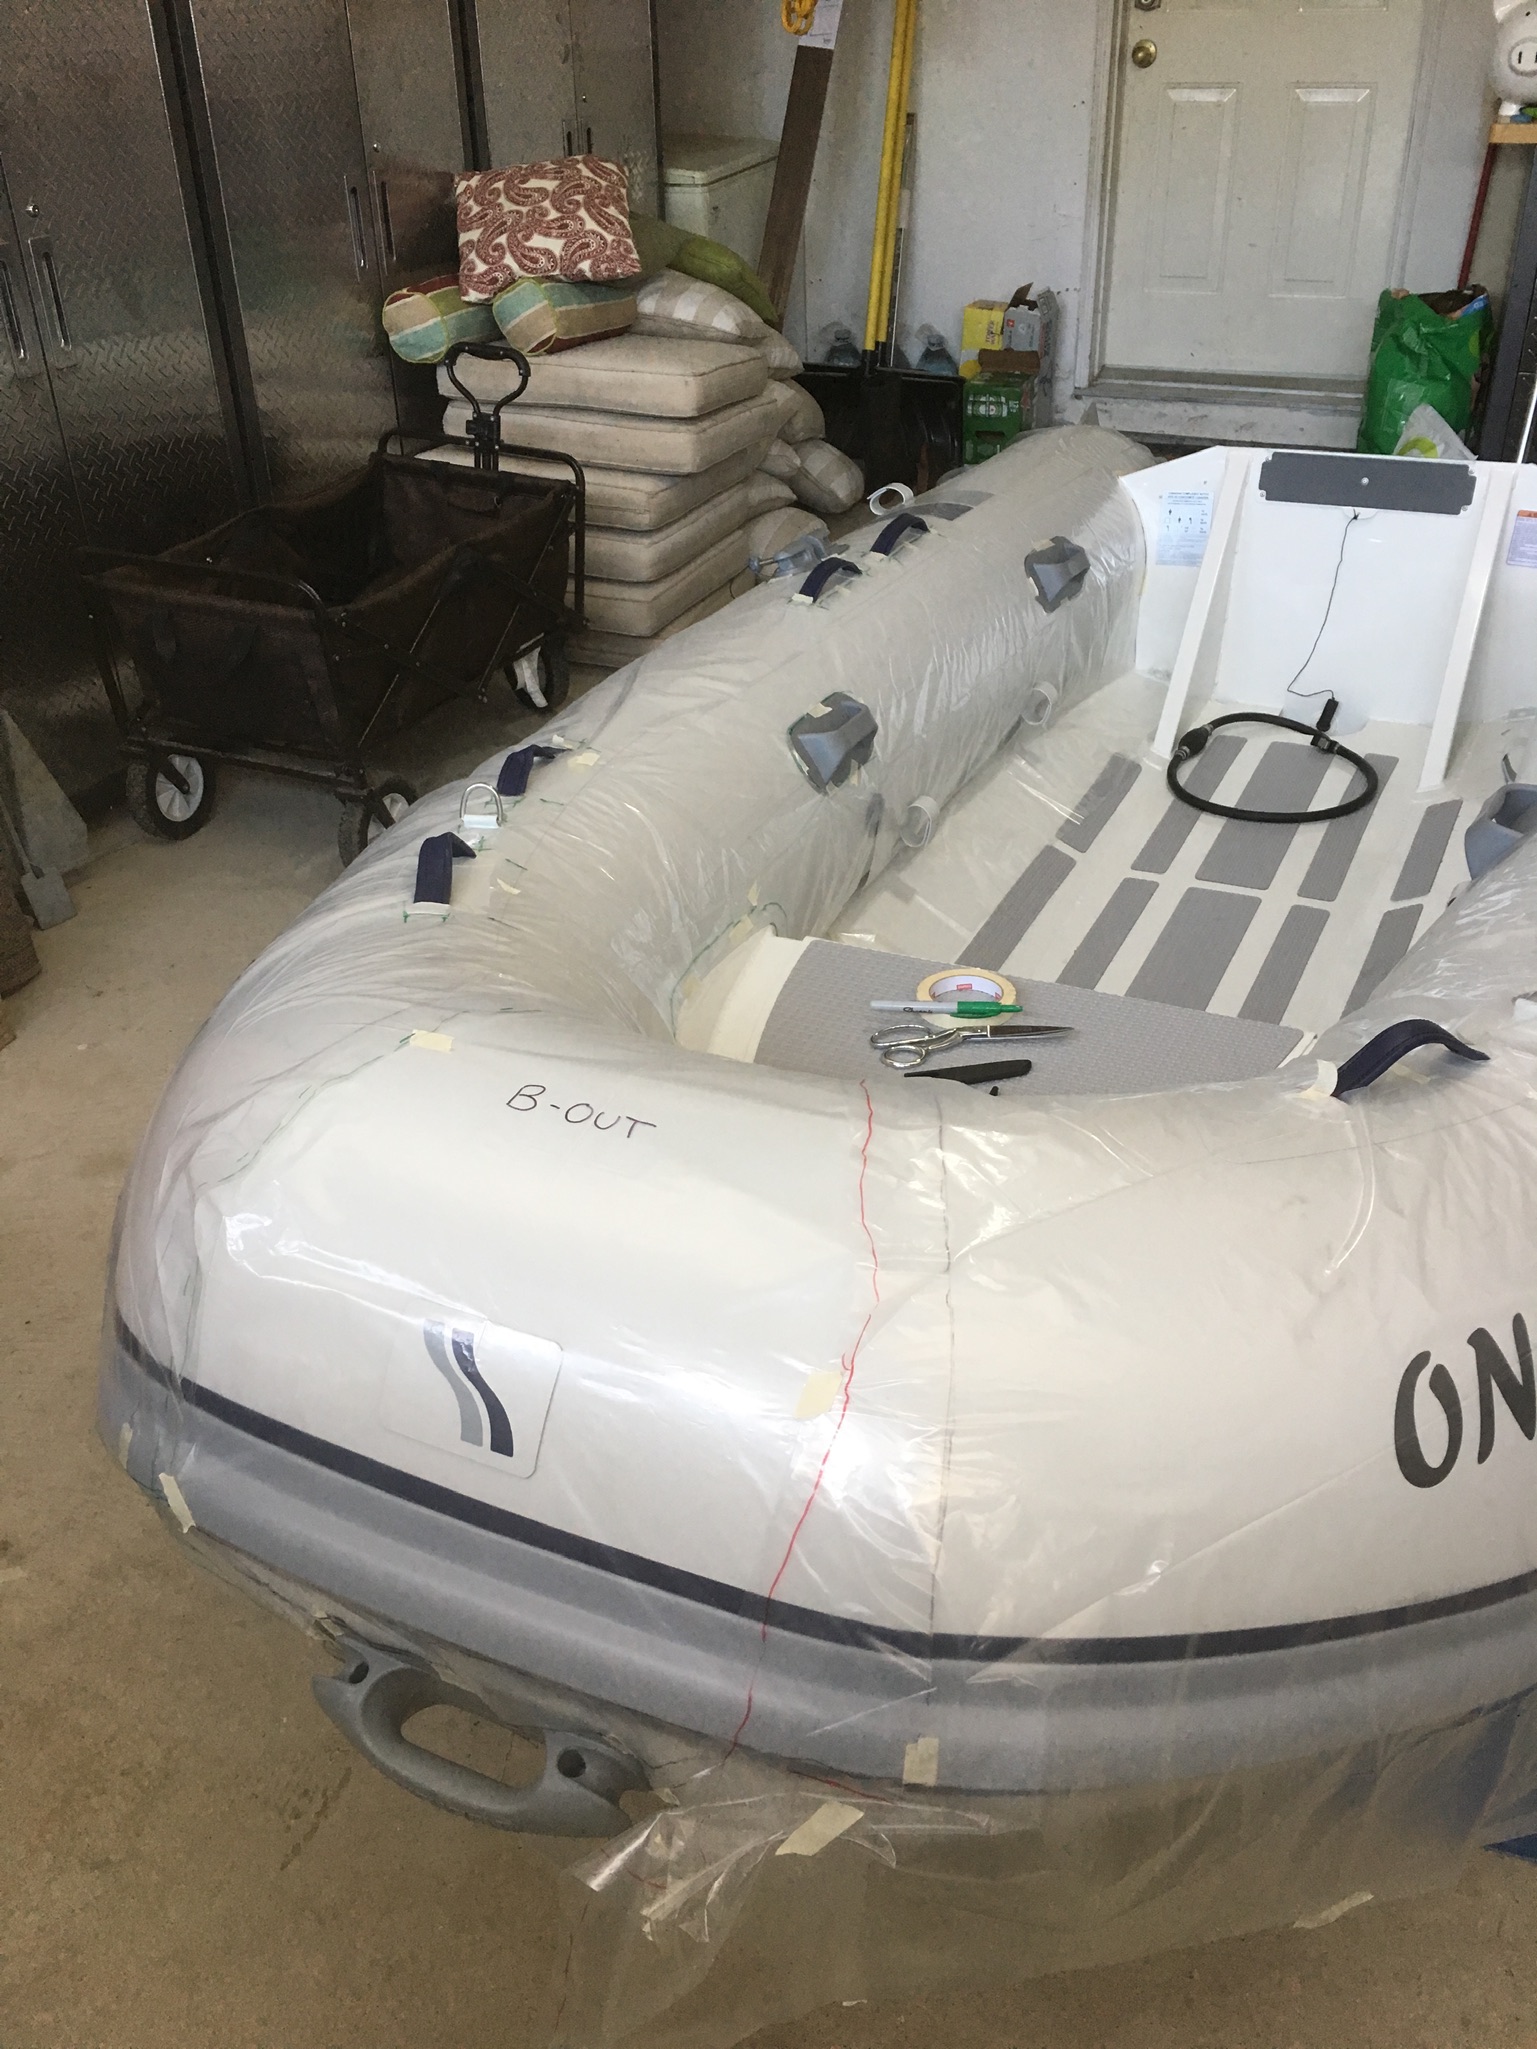
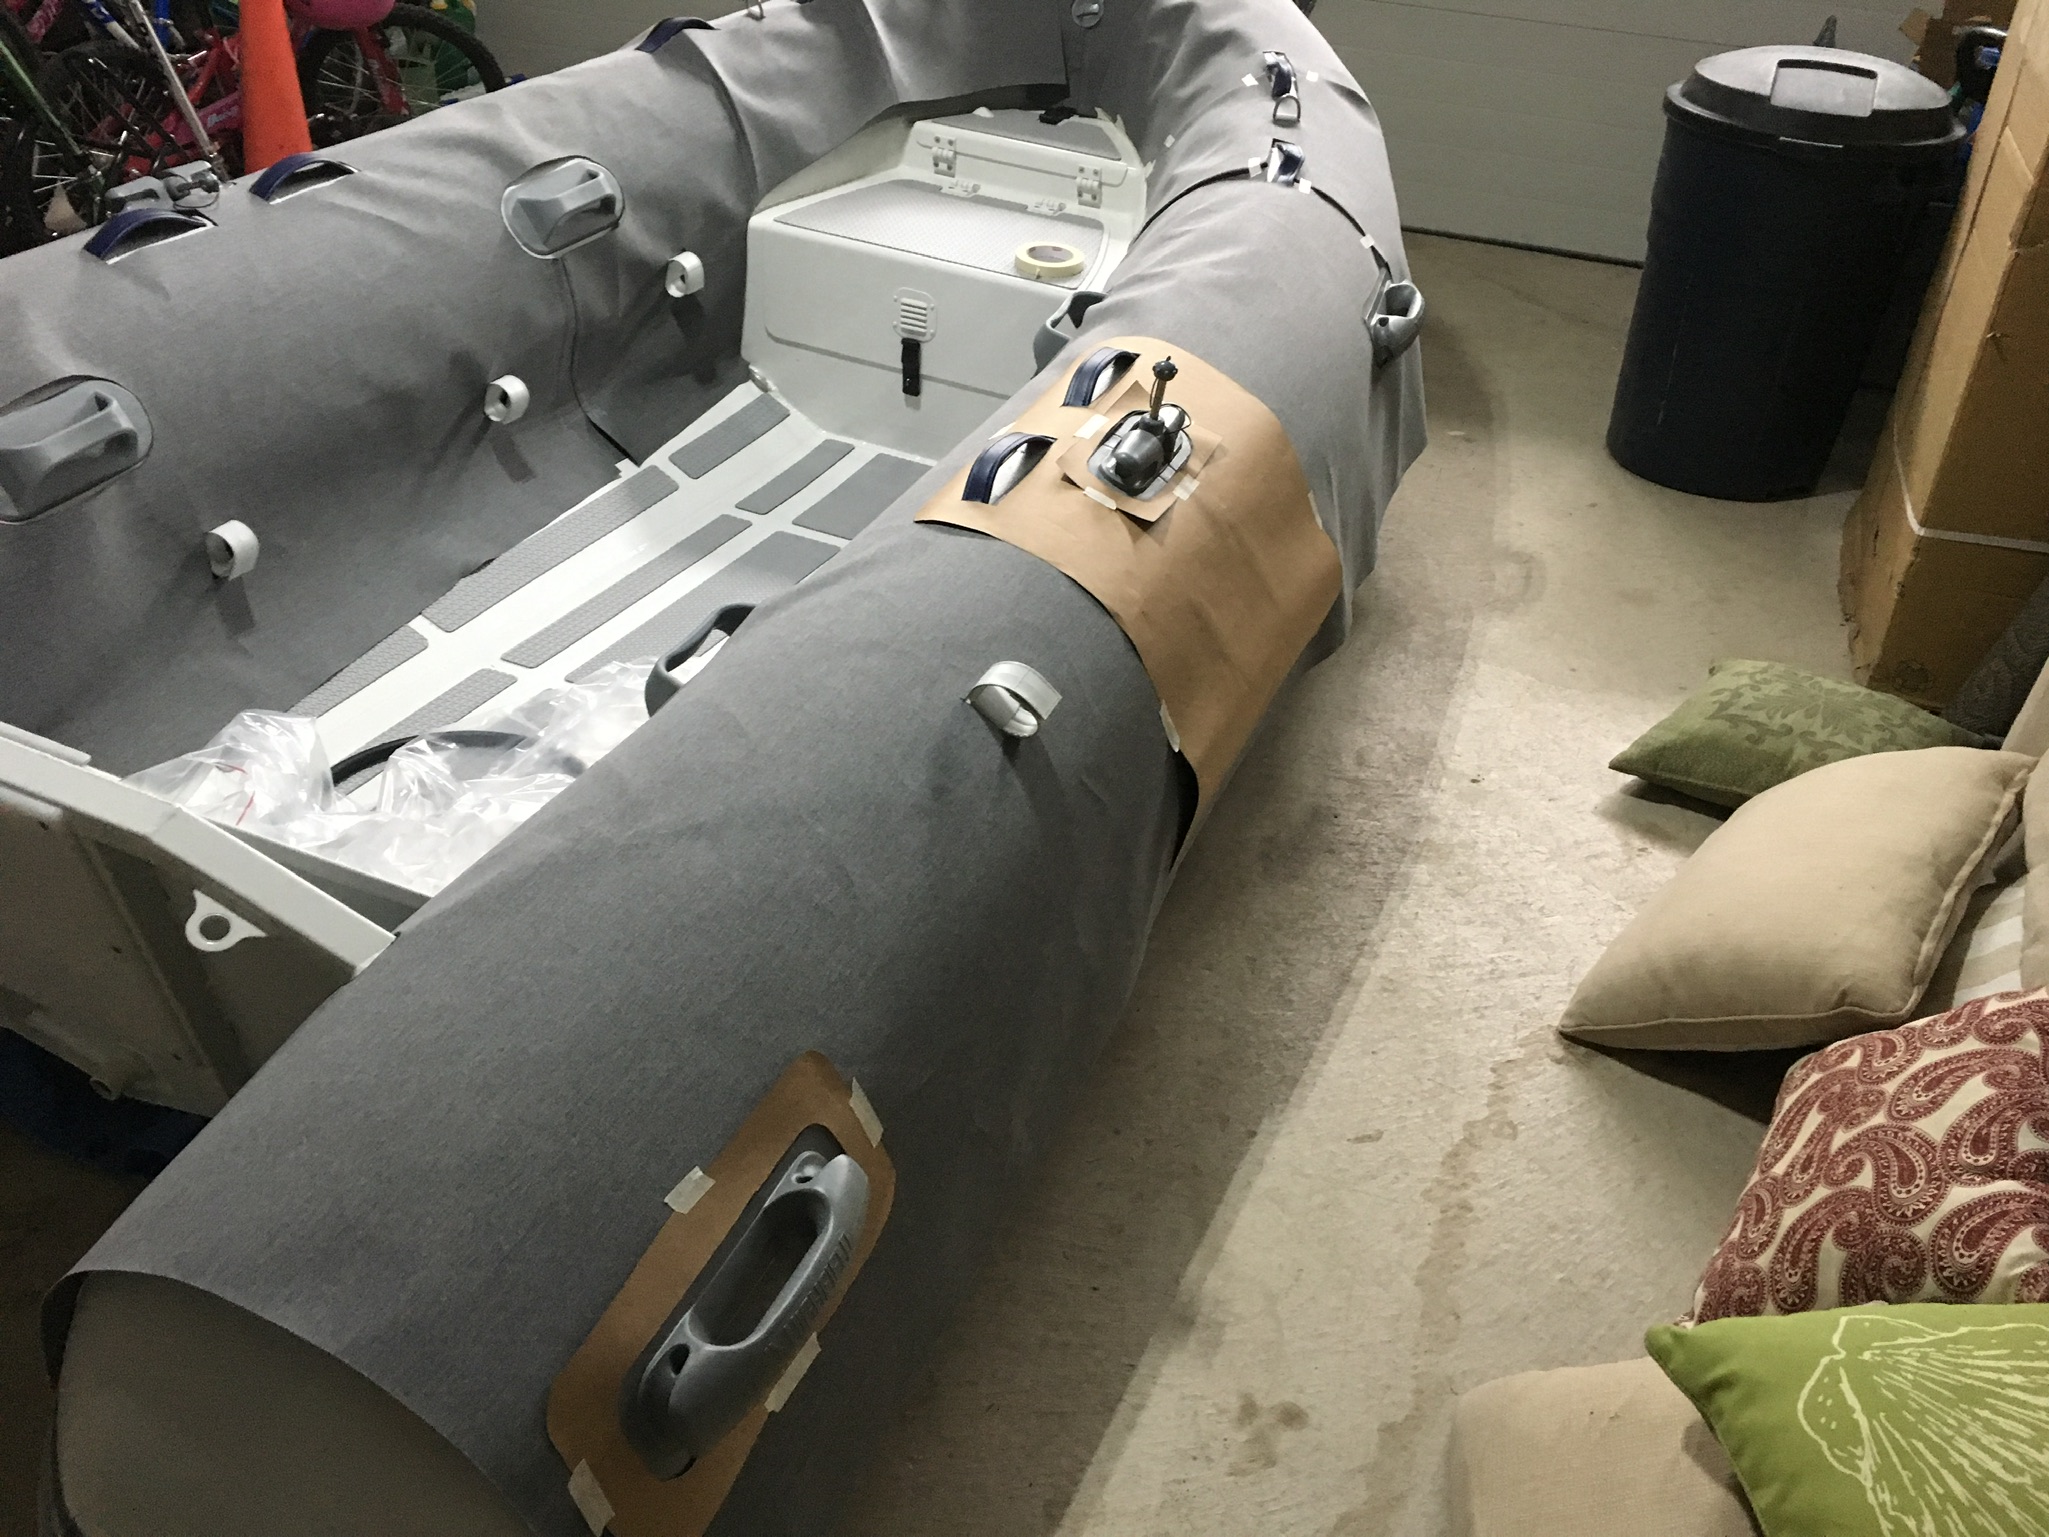
Step 1 was creating a template from which I could cut the fabric for the chaps and hopefully end up with three nicely fitted sections, once for each relatively straight section of the tube (bow, starboard side, port side). If I had to do it again I would use a real patterning material, but I was impatient and instead went with the thickest plastic drop cloth I could find at home depot which caused some aggravation by being a little too stretchy and prone to wrinkles.
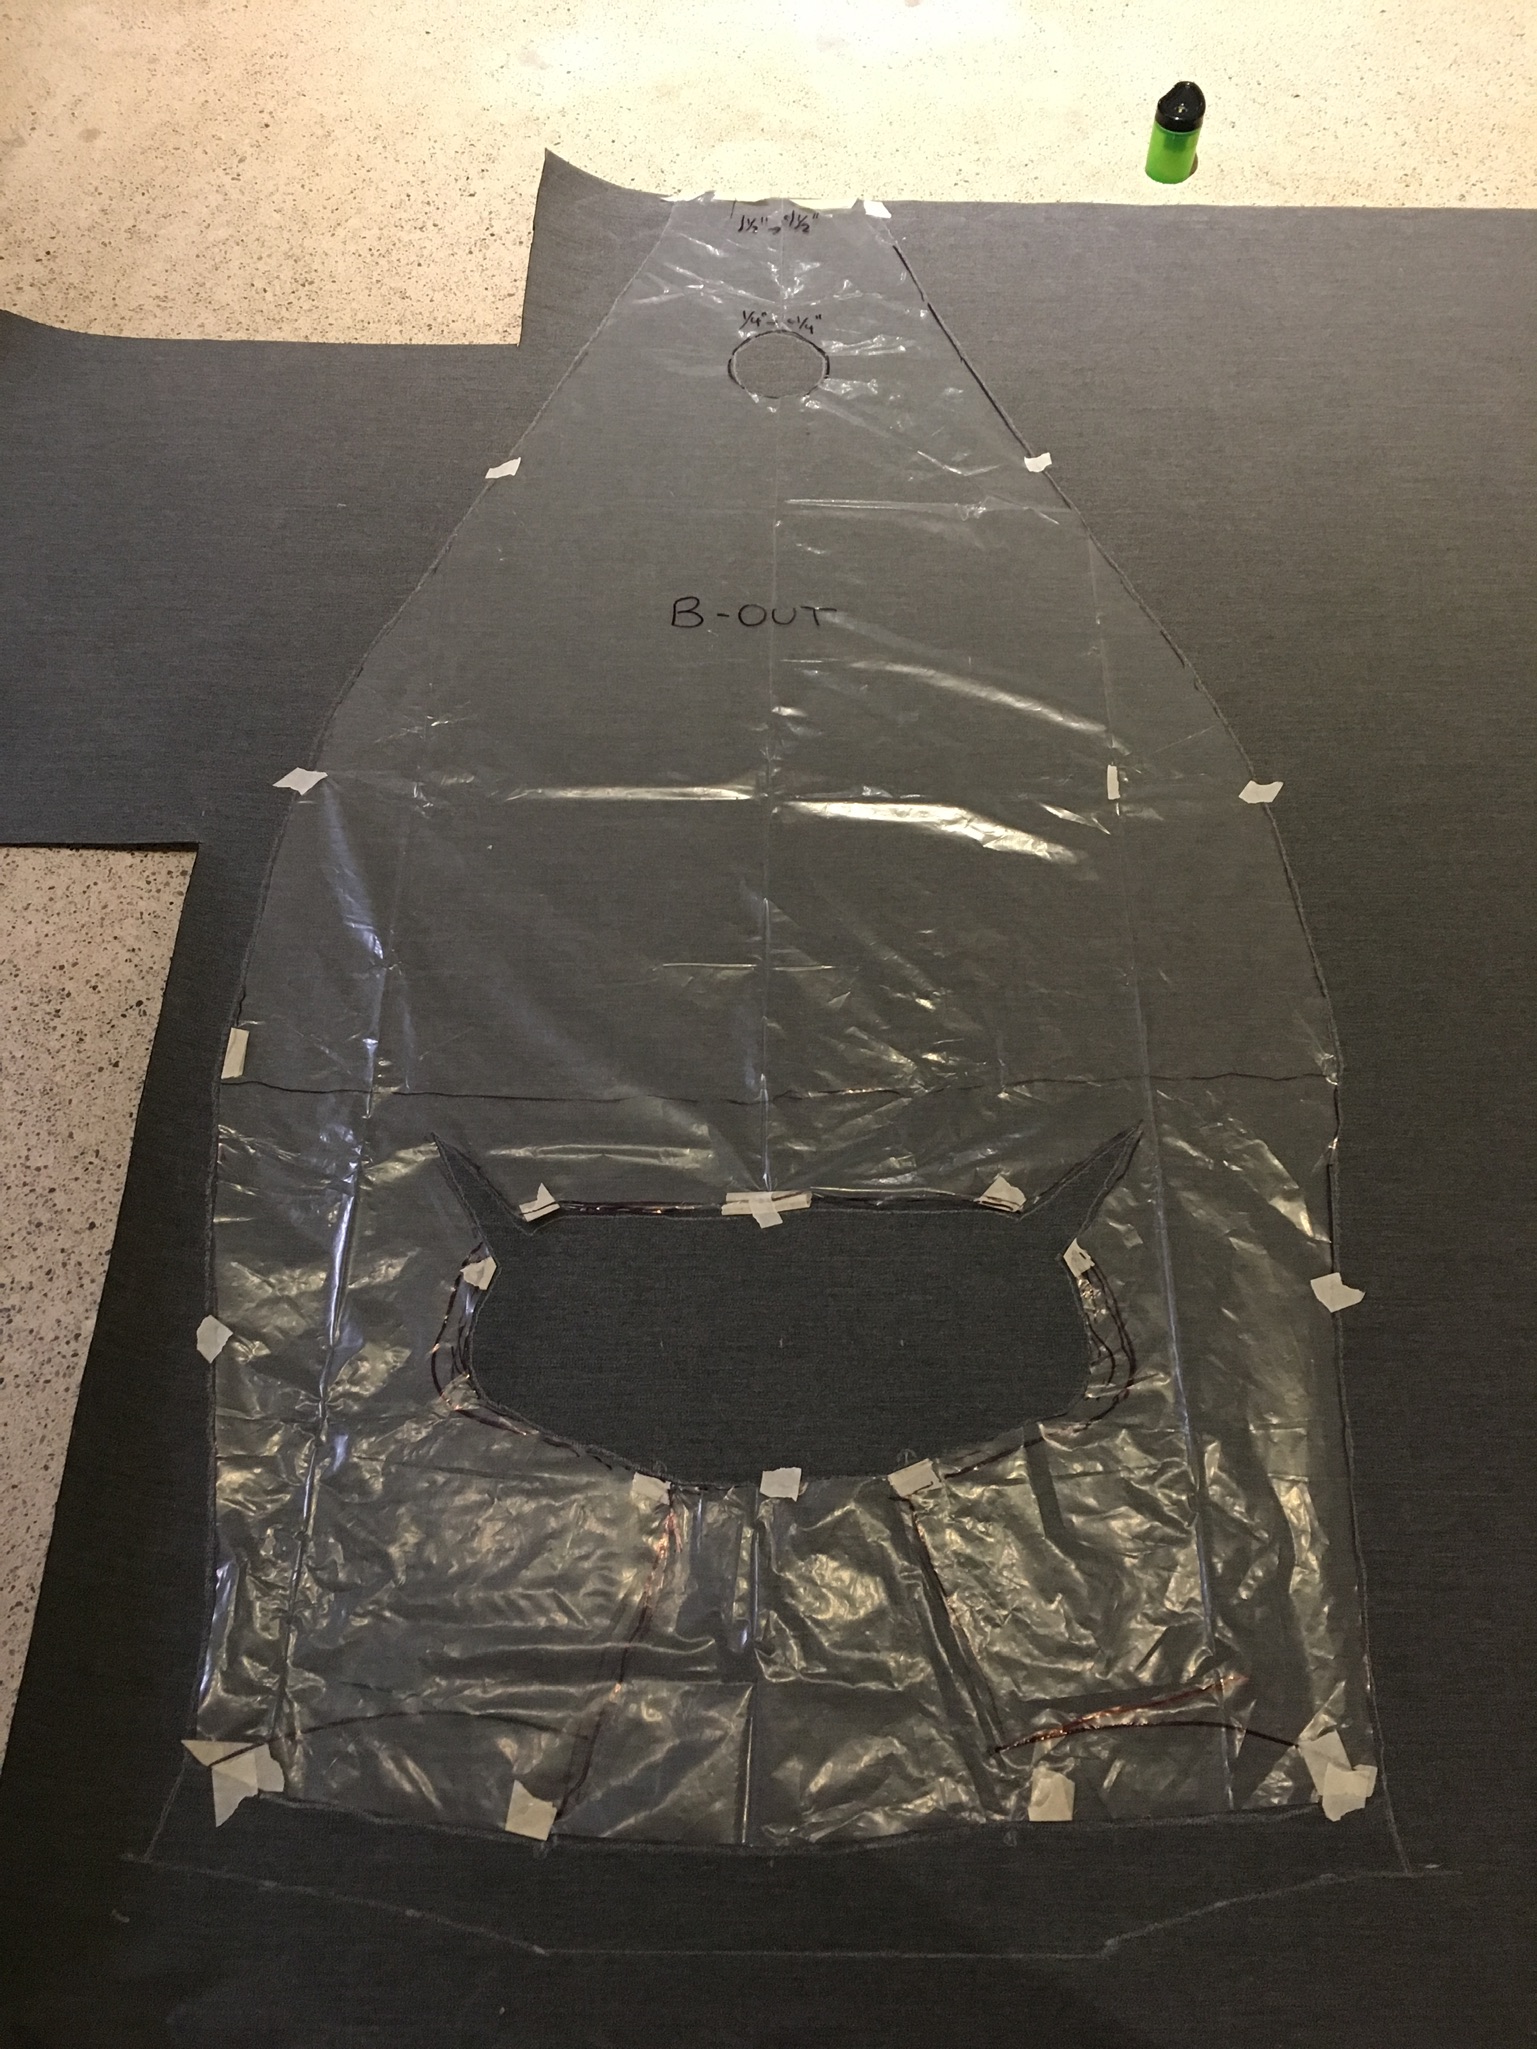
I created the templates by using masking tape to pin the drop sheet to the dinghy at some strategic points, making slices to allow the various handles and oar locks to poke through, then using a sharpie to outline all the borders. This step took some iterations of removing the template, cutting along the marked borders, reattaching the template to check fit, rinsing, and repeating until happy or too frustrated to continue.

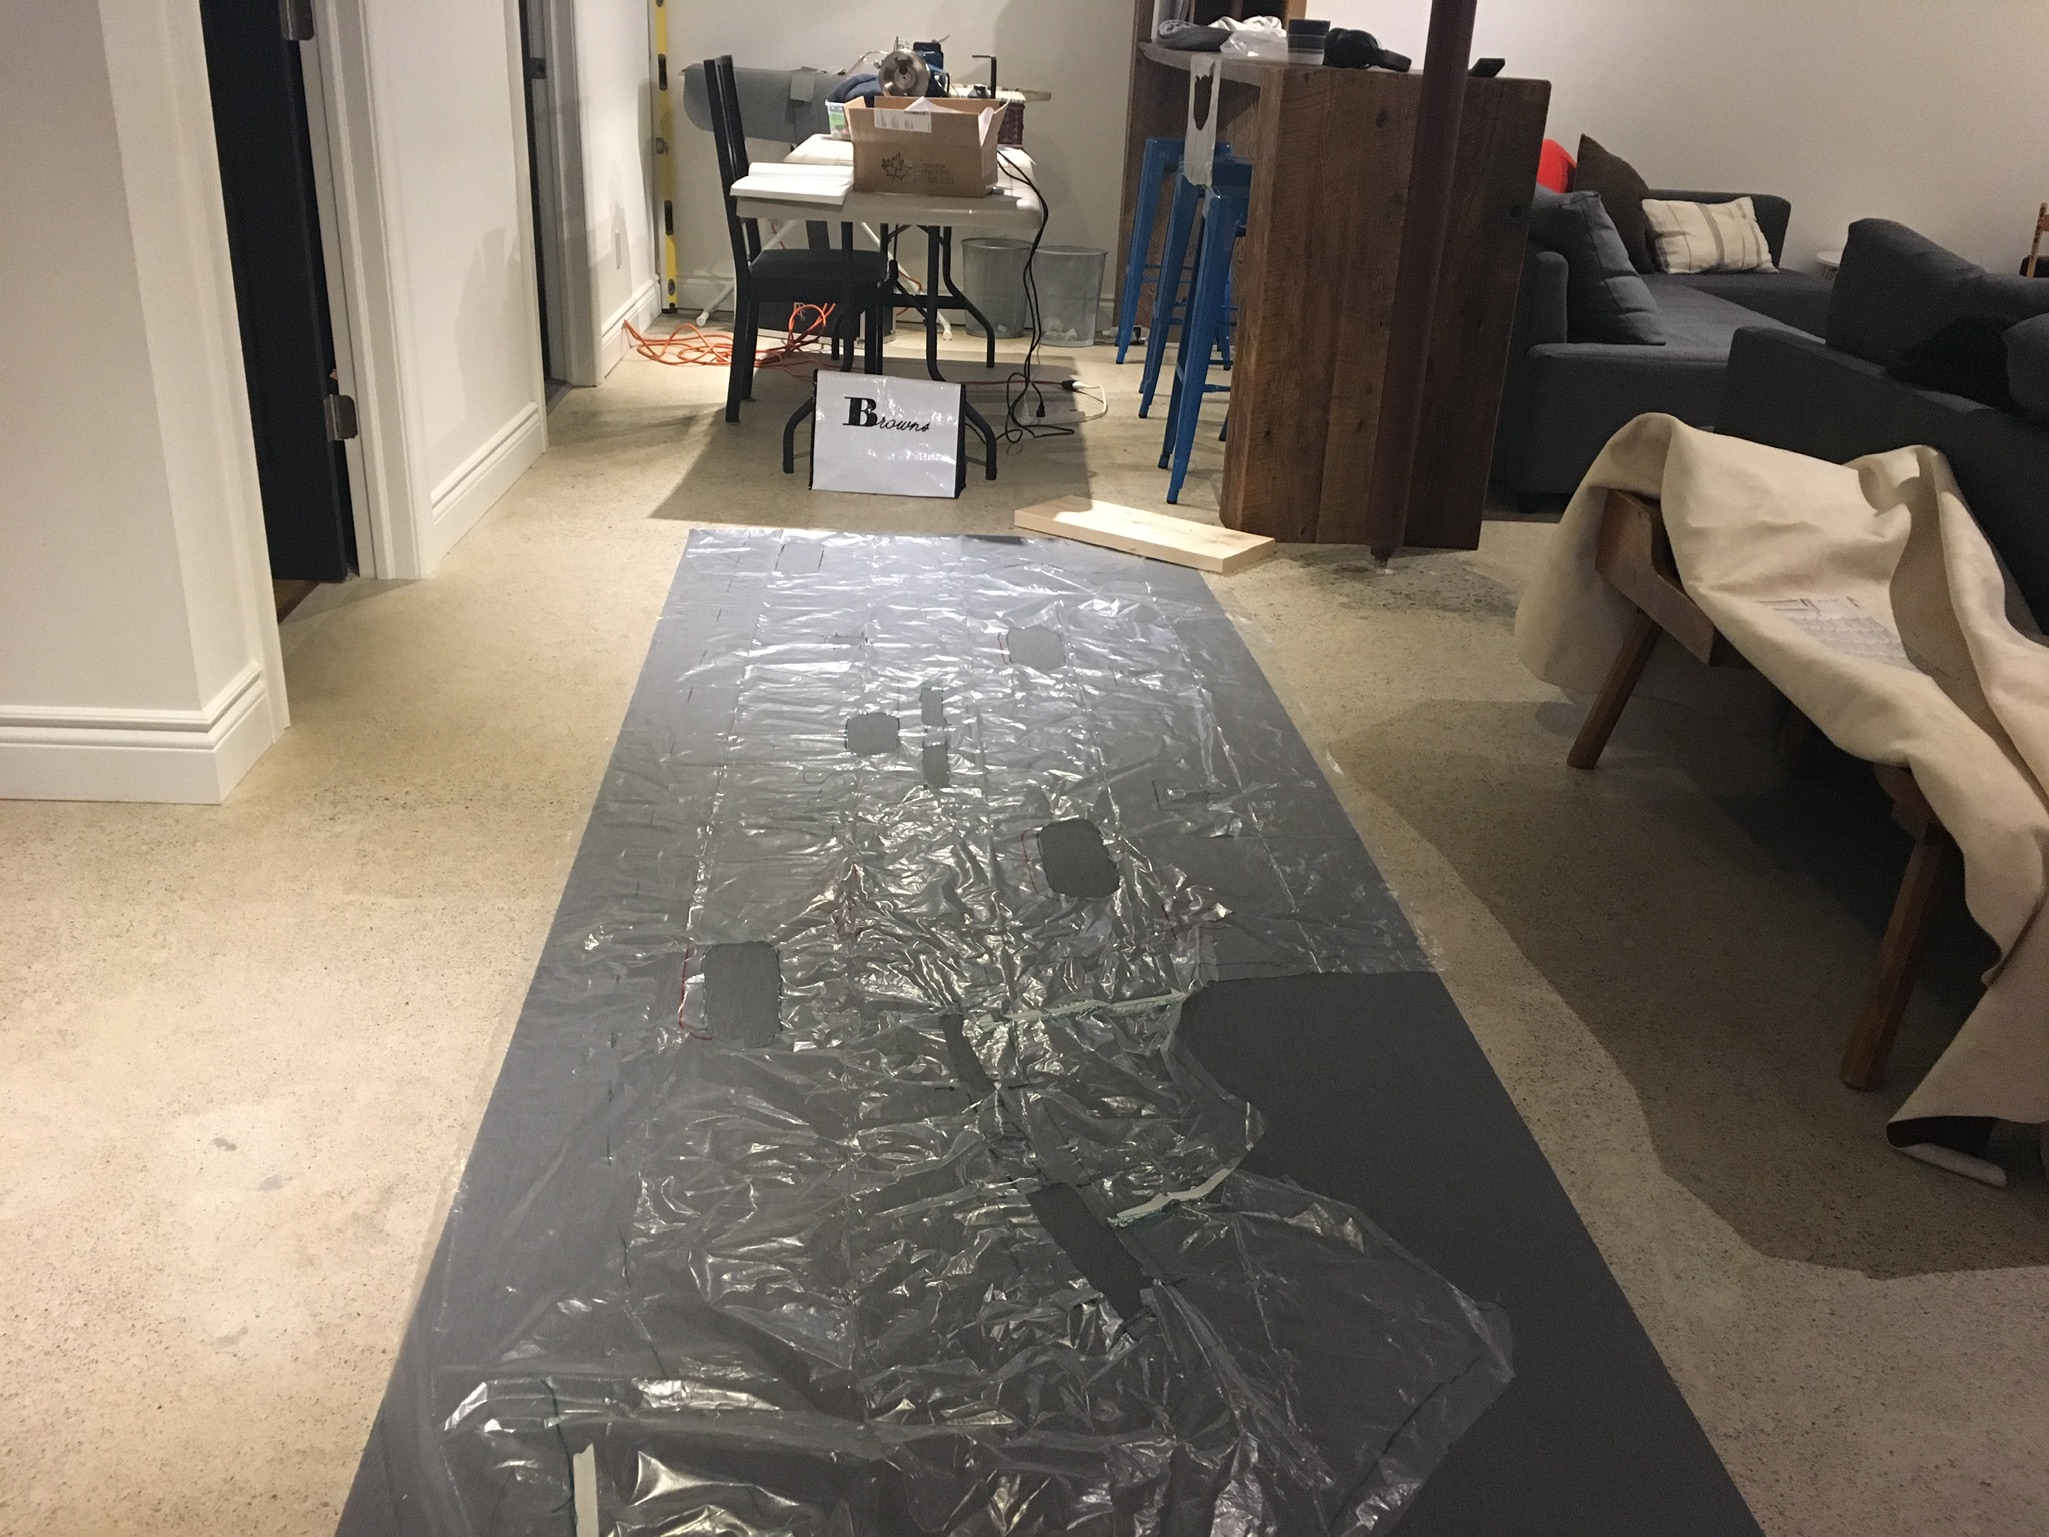
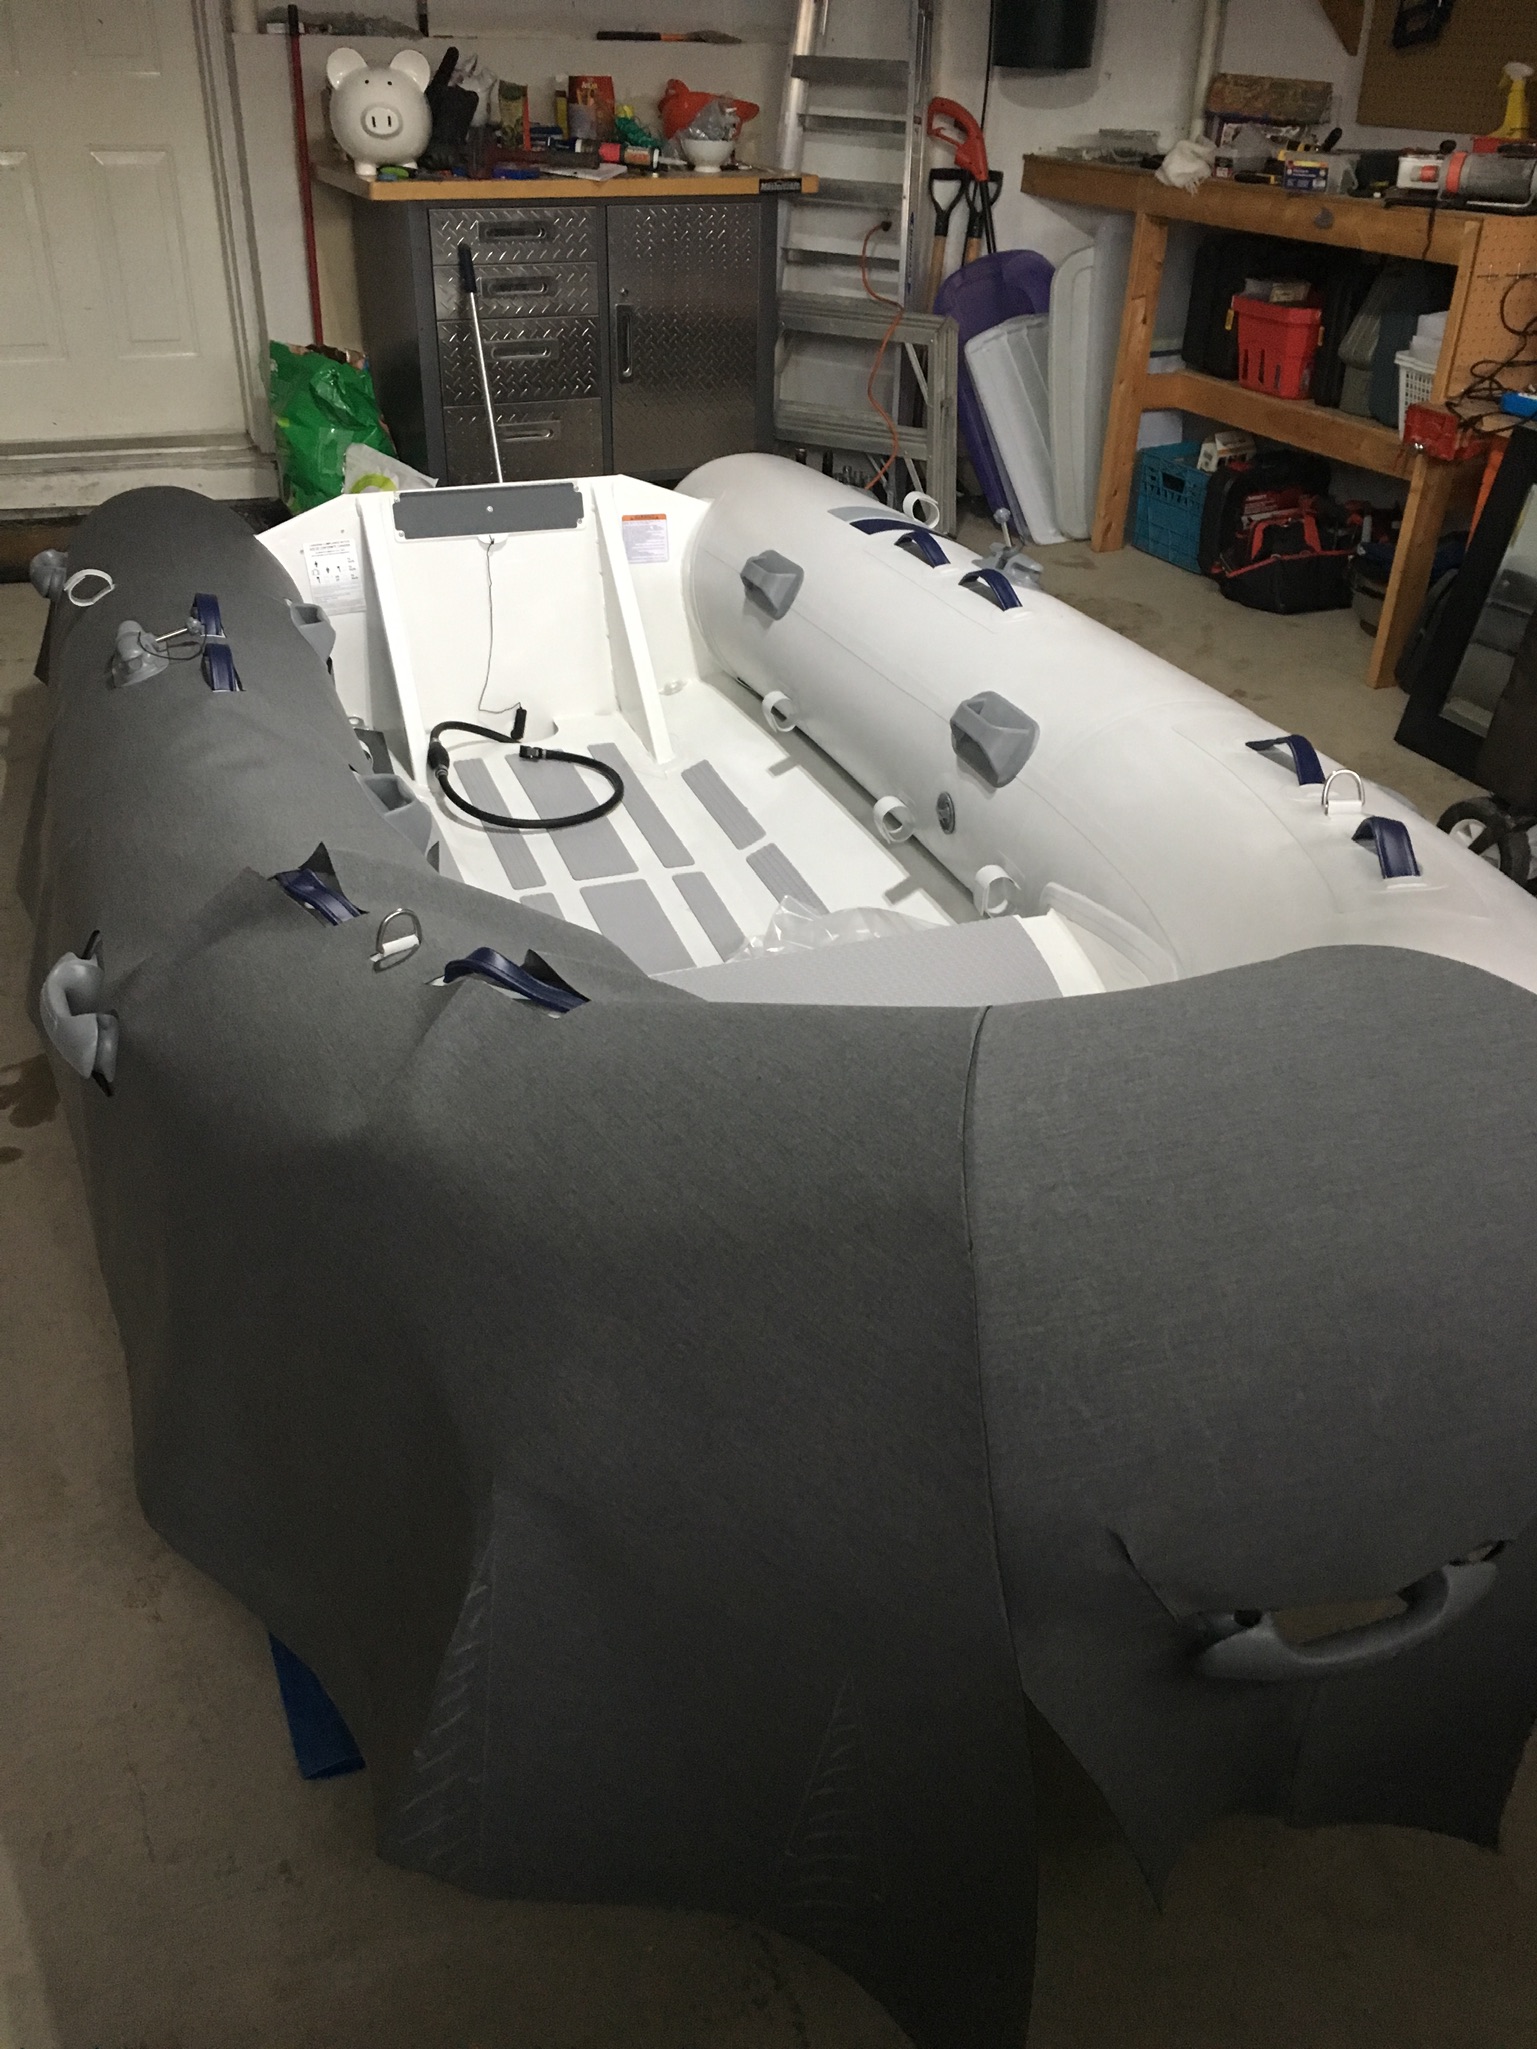
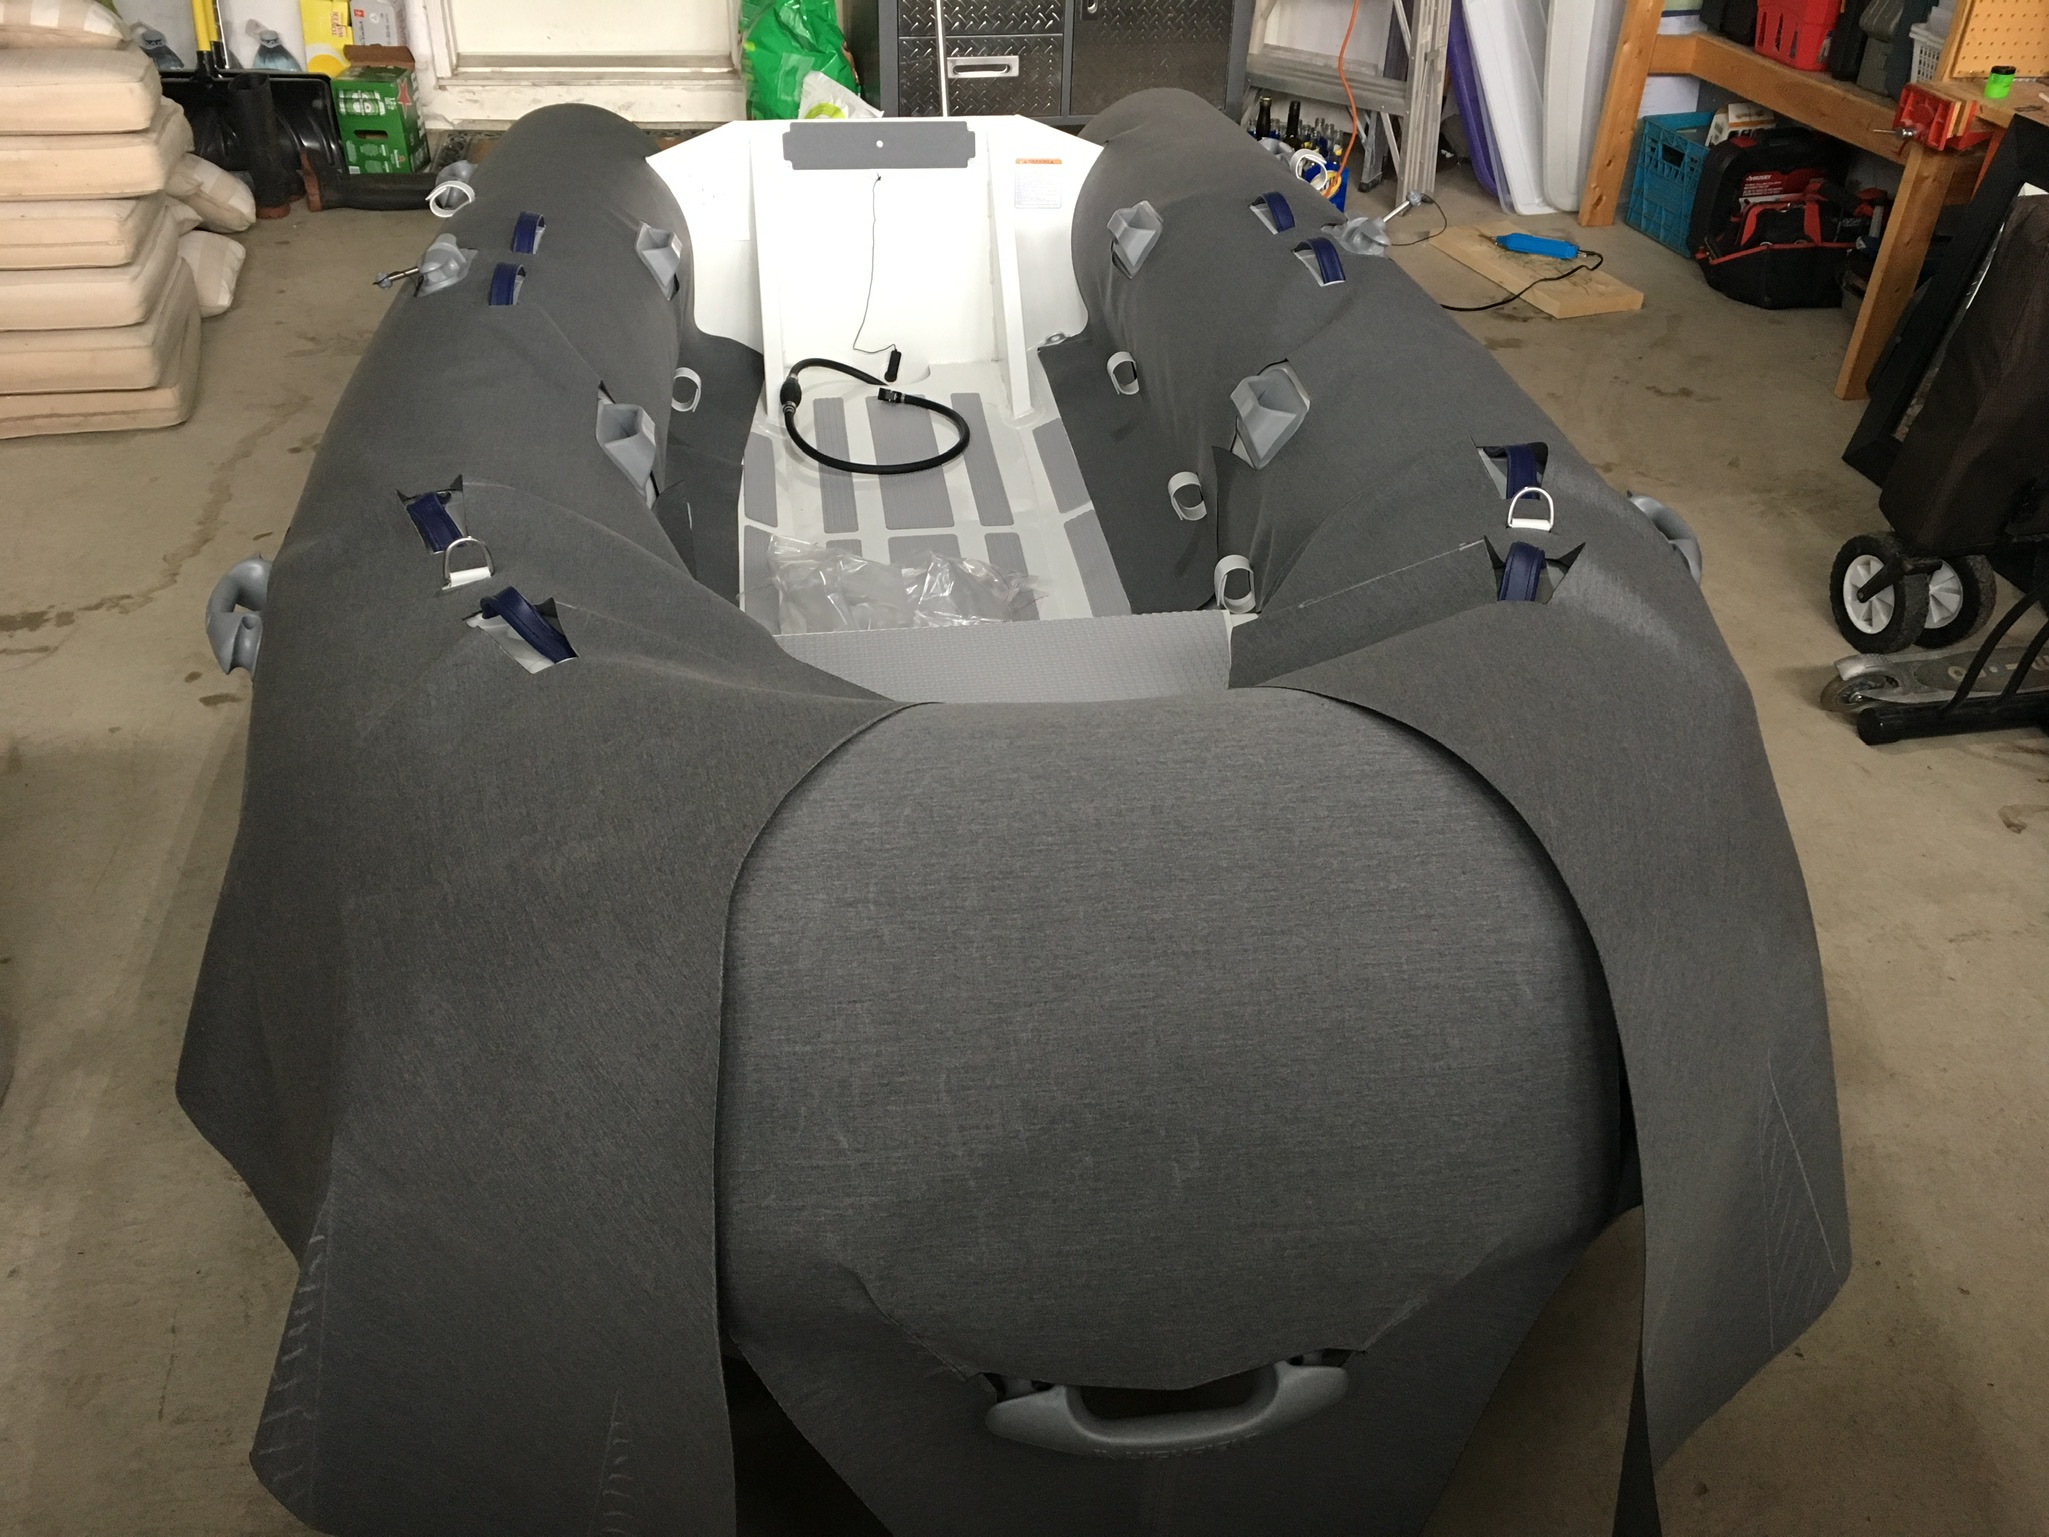
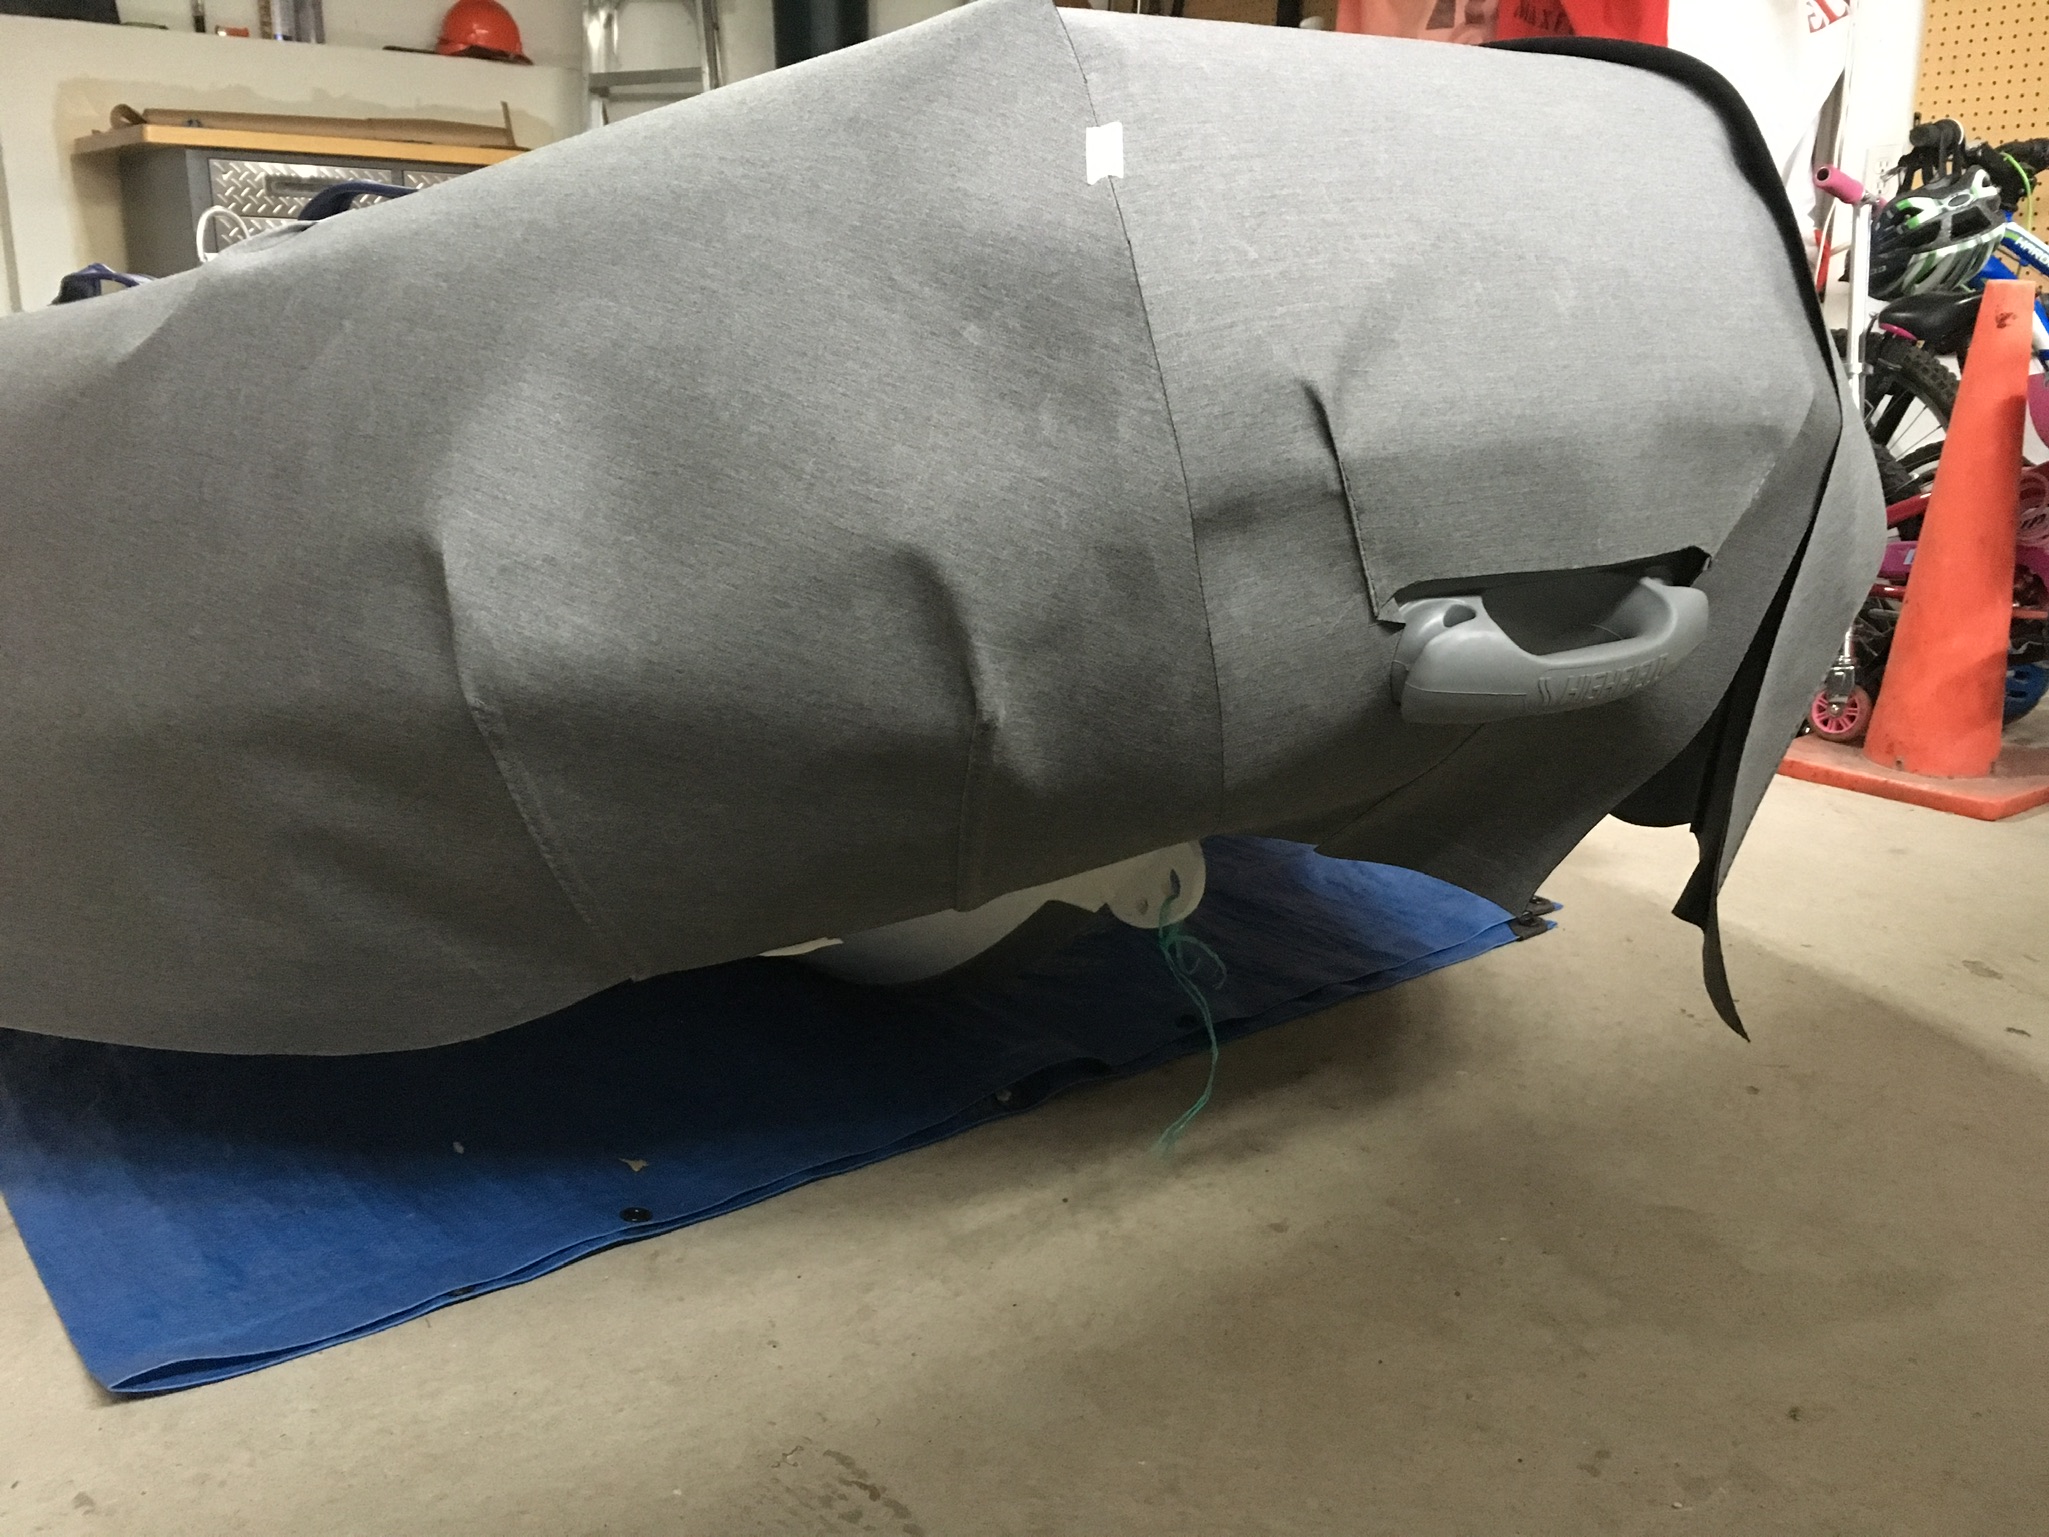
Cutting & Fitting
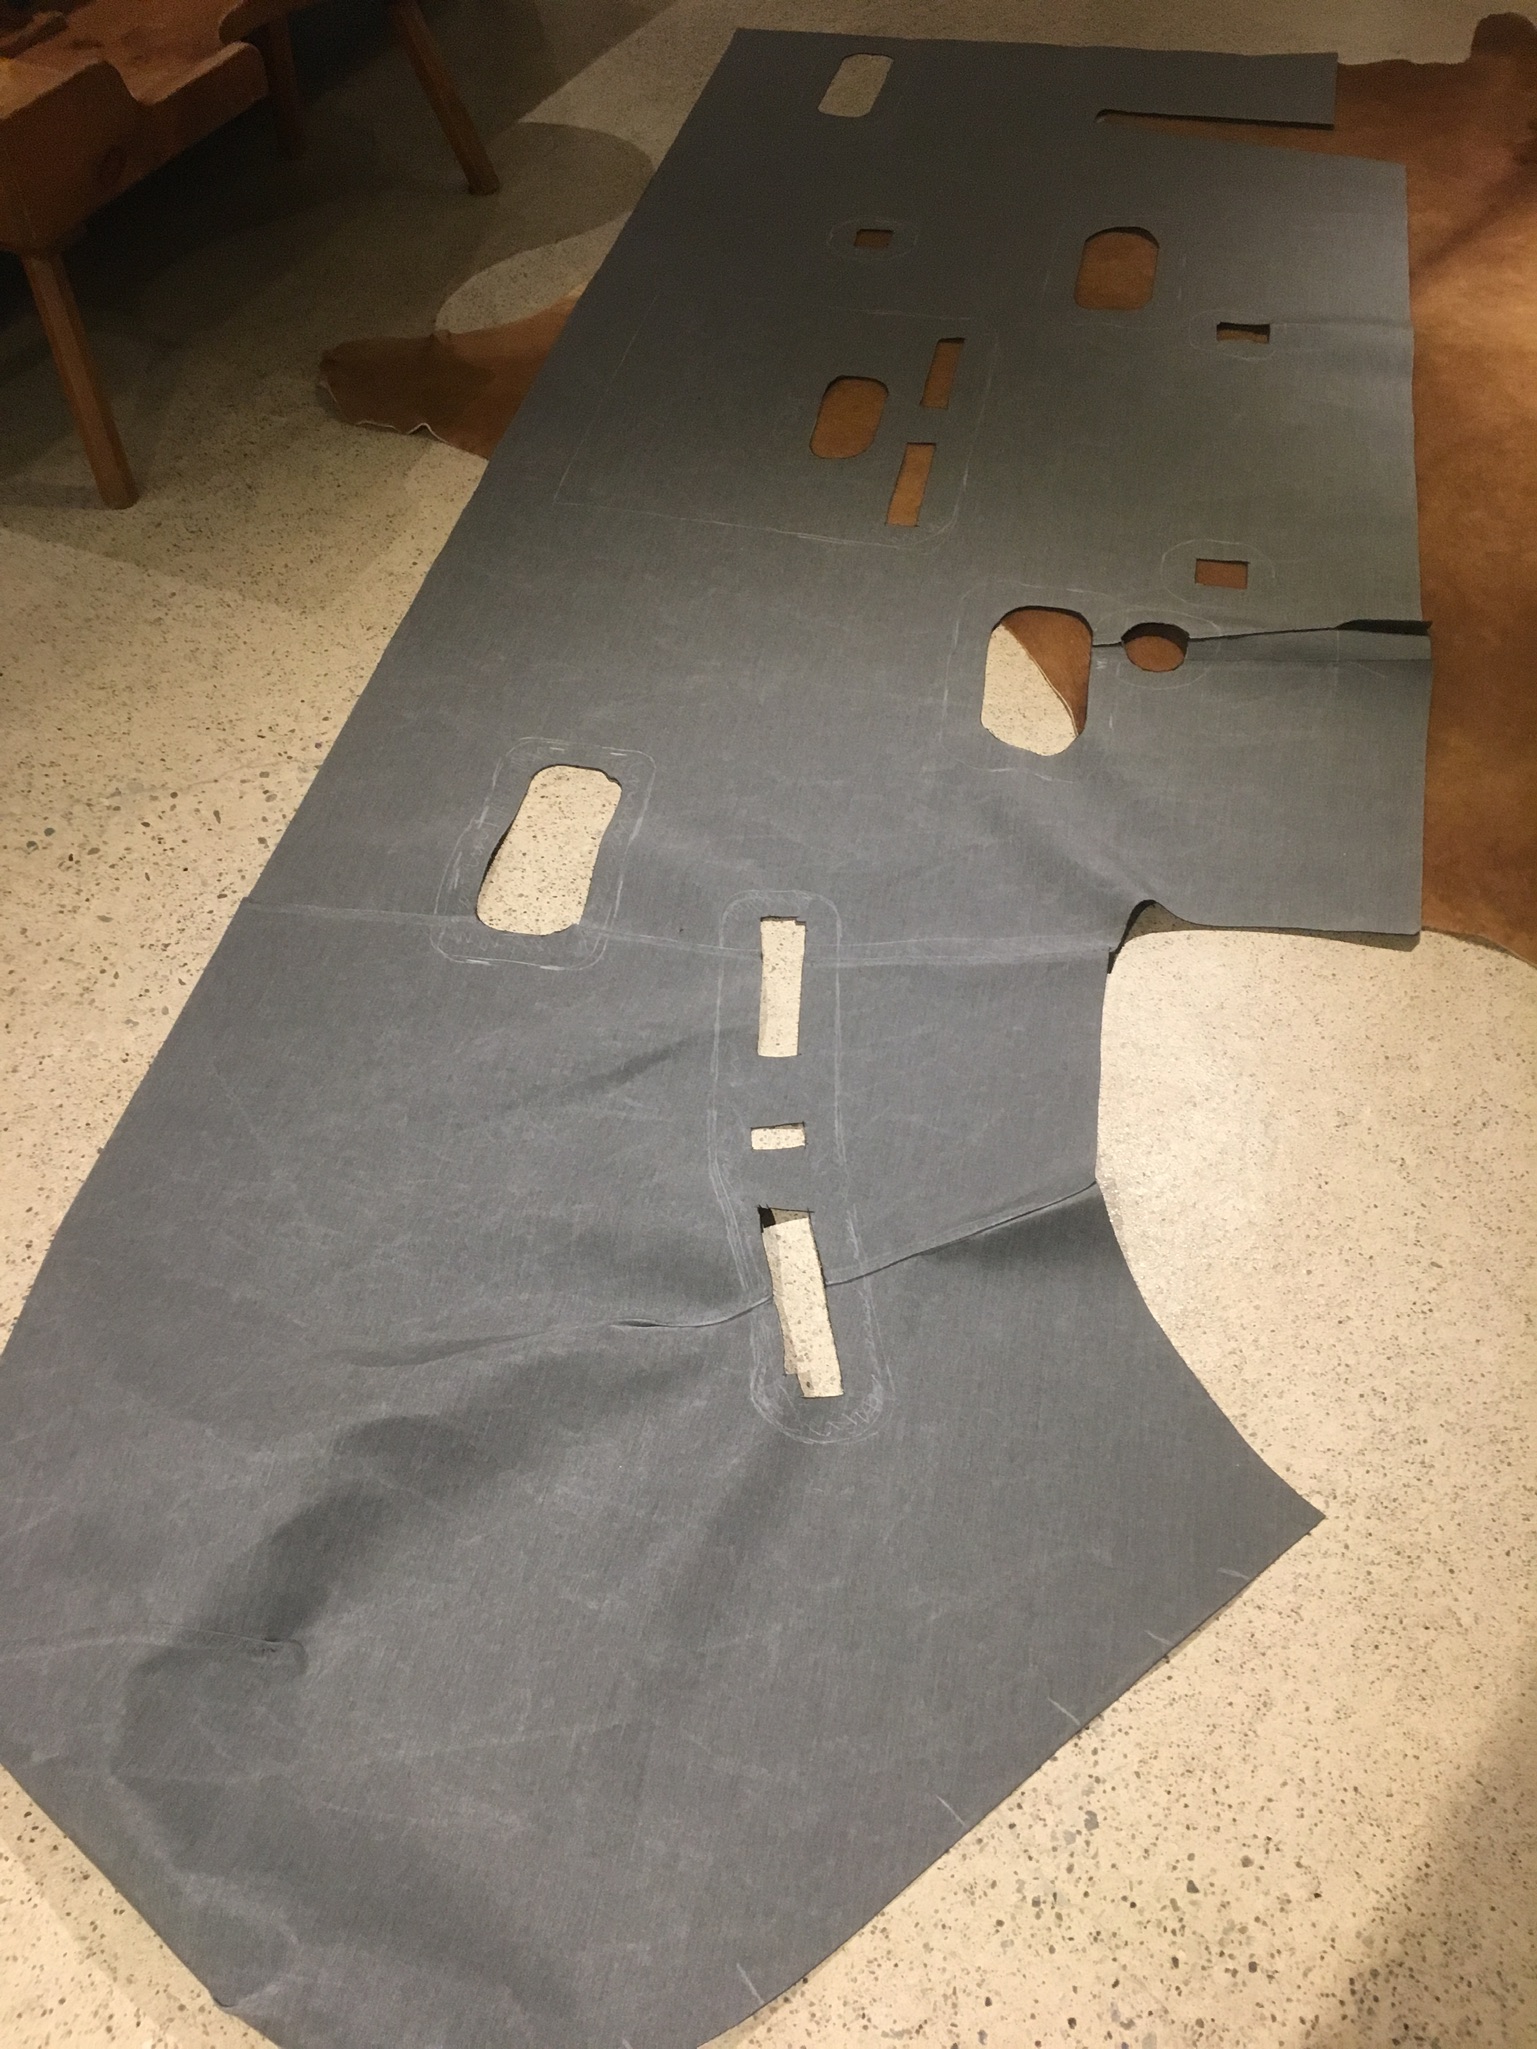
With templates in hand, it was down to my basement canvas shop where my roll of Sunbrella Marine Fabric and hot knife were waiting. While time consuming, using the template to mark and then cut the Sunbrella wasn’t particularly difficult. Piece by piece the first iteration of the chaps emerged with one piece for the bow, one for the starboard tube, and one for the port tube. Then it was back up to the garage to check the fit and make sure everything lined up before making anything permanent by sewing. This was another step that took some iterations of adjusting various folds/darts to get a good fit where the tubes curve around the bow, re-marking the edges of various holes for the handles, removing the pieces, trimming as necessary, reattaching the template to check fit, rinsing, and repeating again until happy or too frustrated to continue.
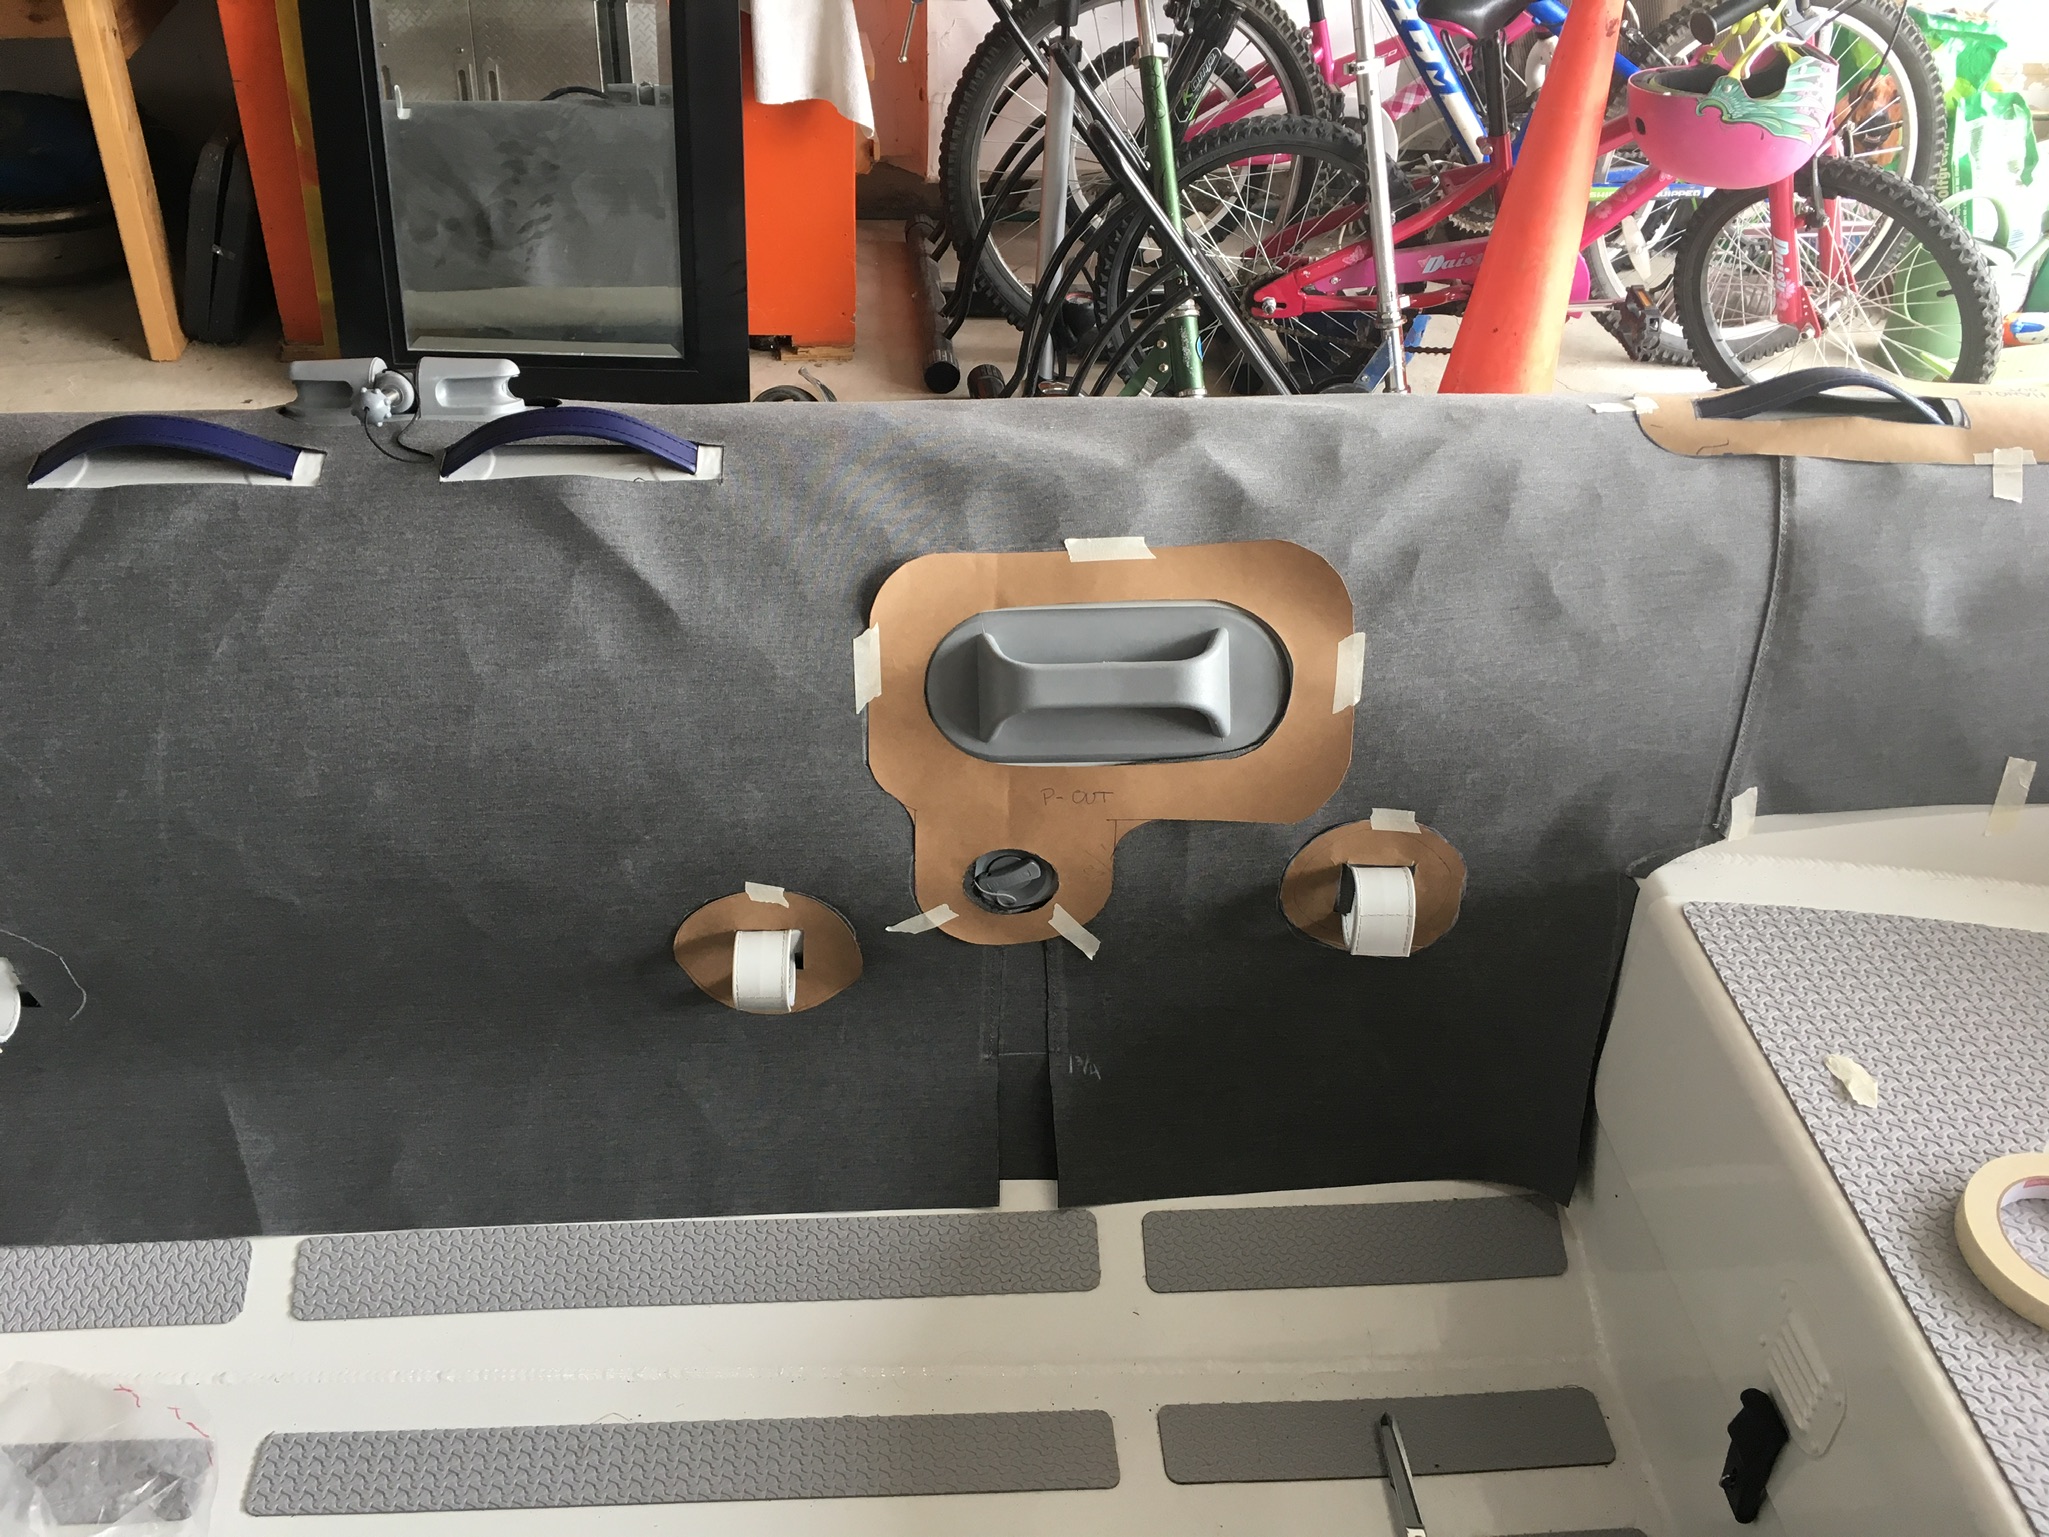
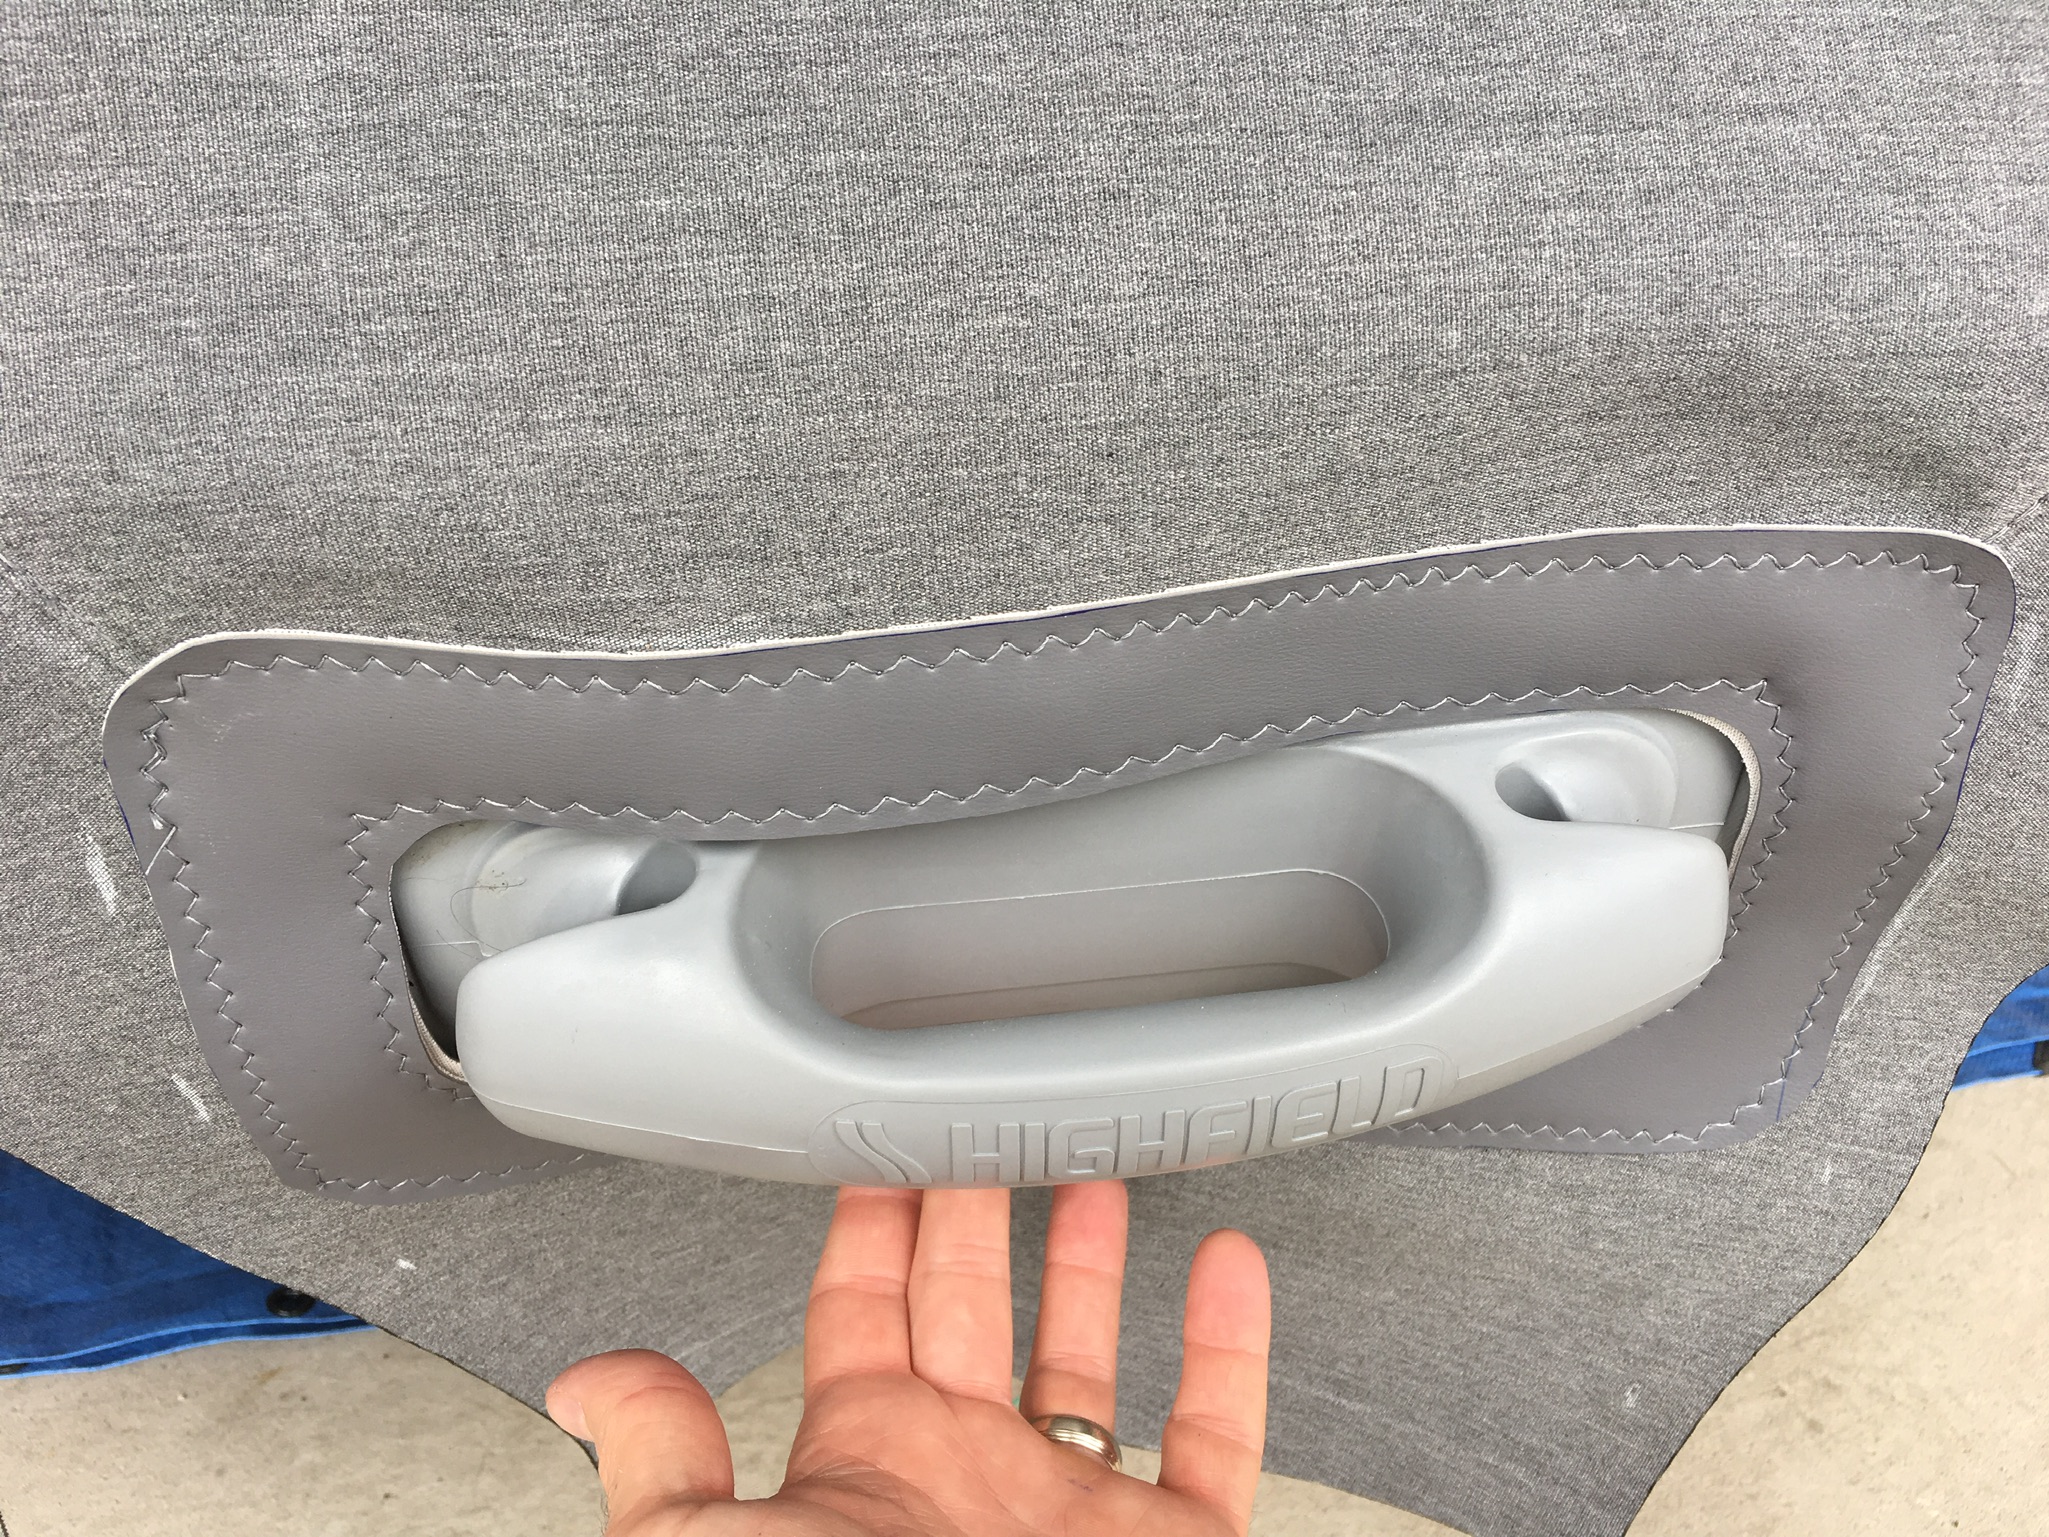
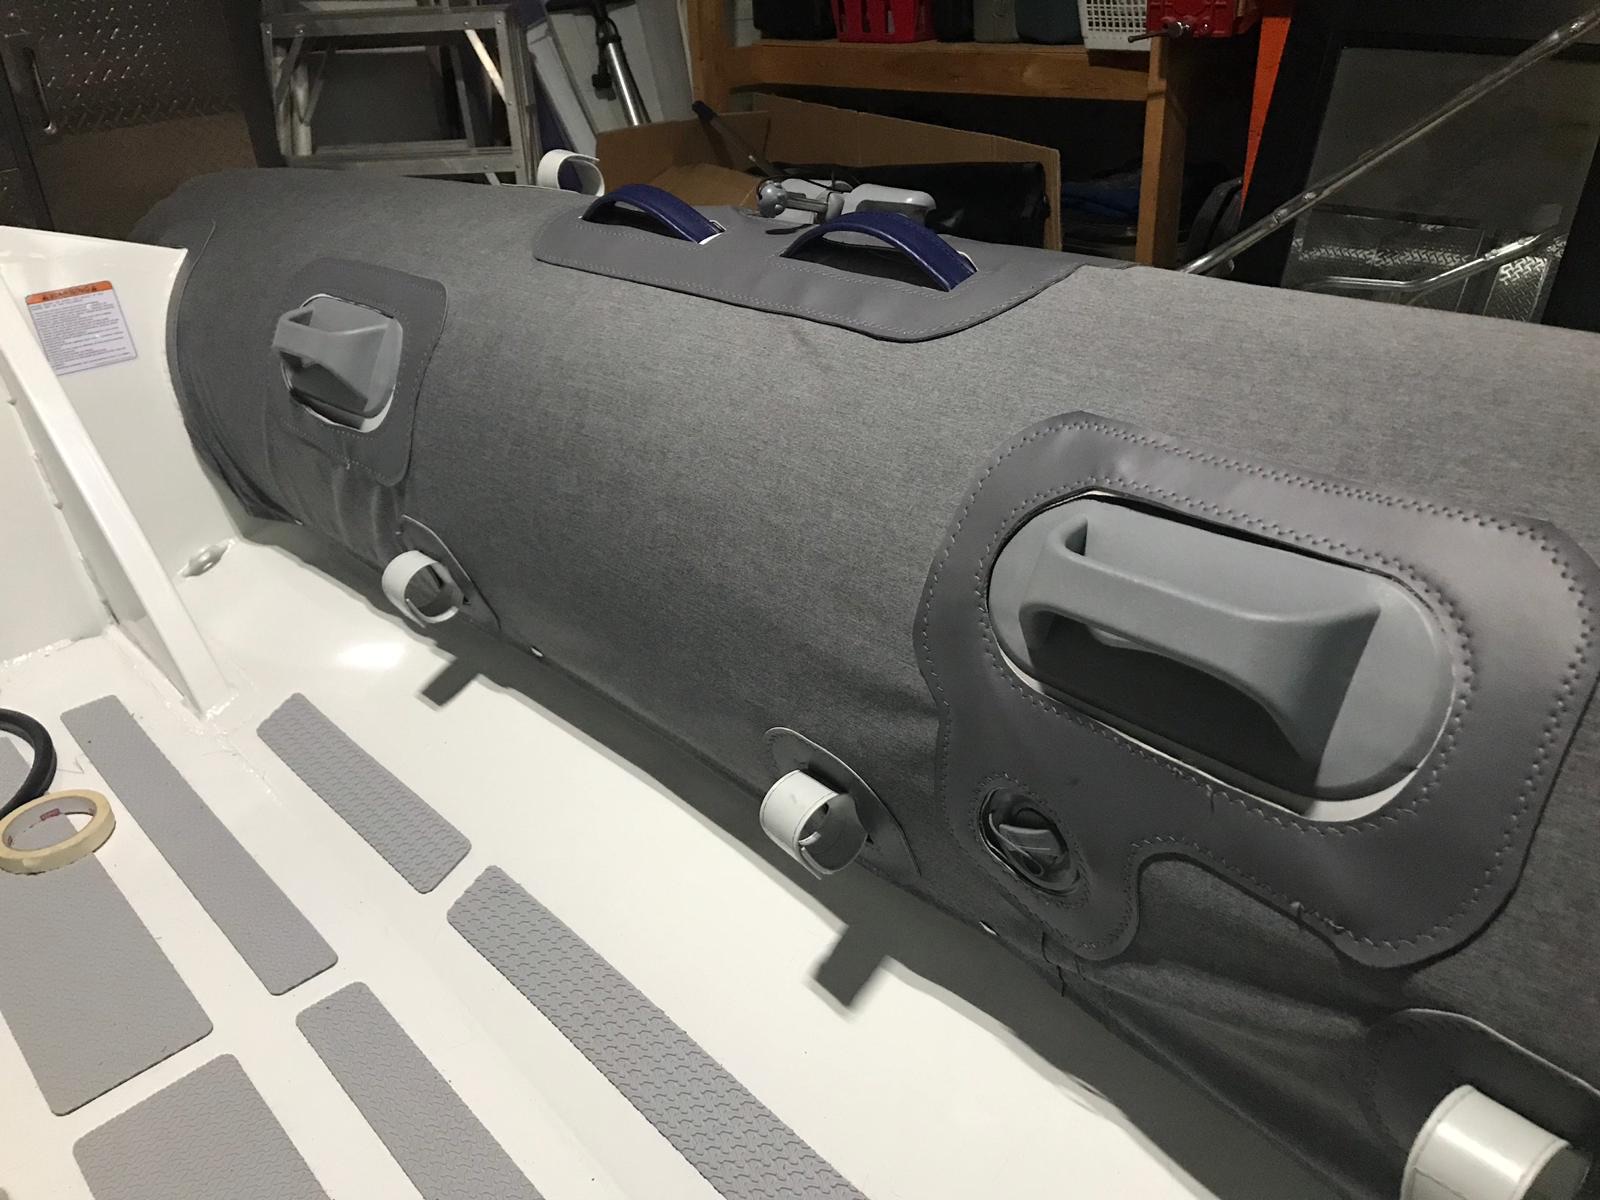
Reinforcing
Sunbrella Marine Fabric has high strength, excellent UV resistance, low stretch, and cleans easily; however, it doesn’t handle abrasion well and is prone to fraying along cut edges over time. For this reason, areas around handles, oar locks, the rub rail, and any other parts of the dinghy particularly prone to rubbing should be reinforced. Usually this would be done with a binding similar to what you see at the edges of carpets; however, this is very hard to accomplish around the many tight turns in chaps. Instead I followed Sailrite’s recommendation to sew a vinyl patch on the inside and outside of the chaps for each target area.
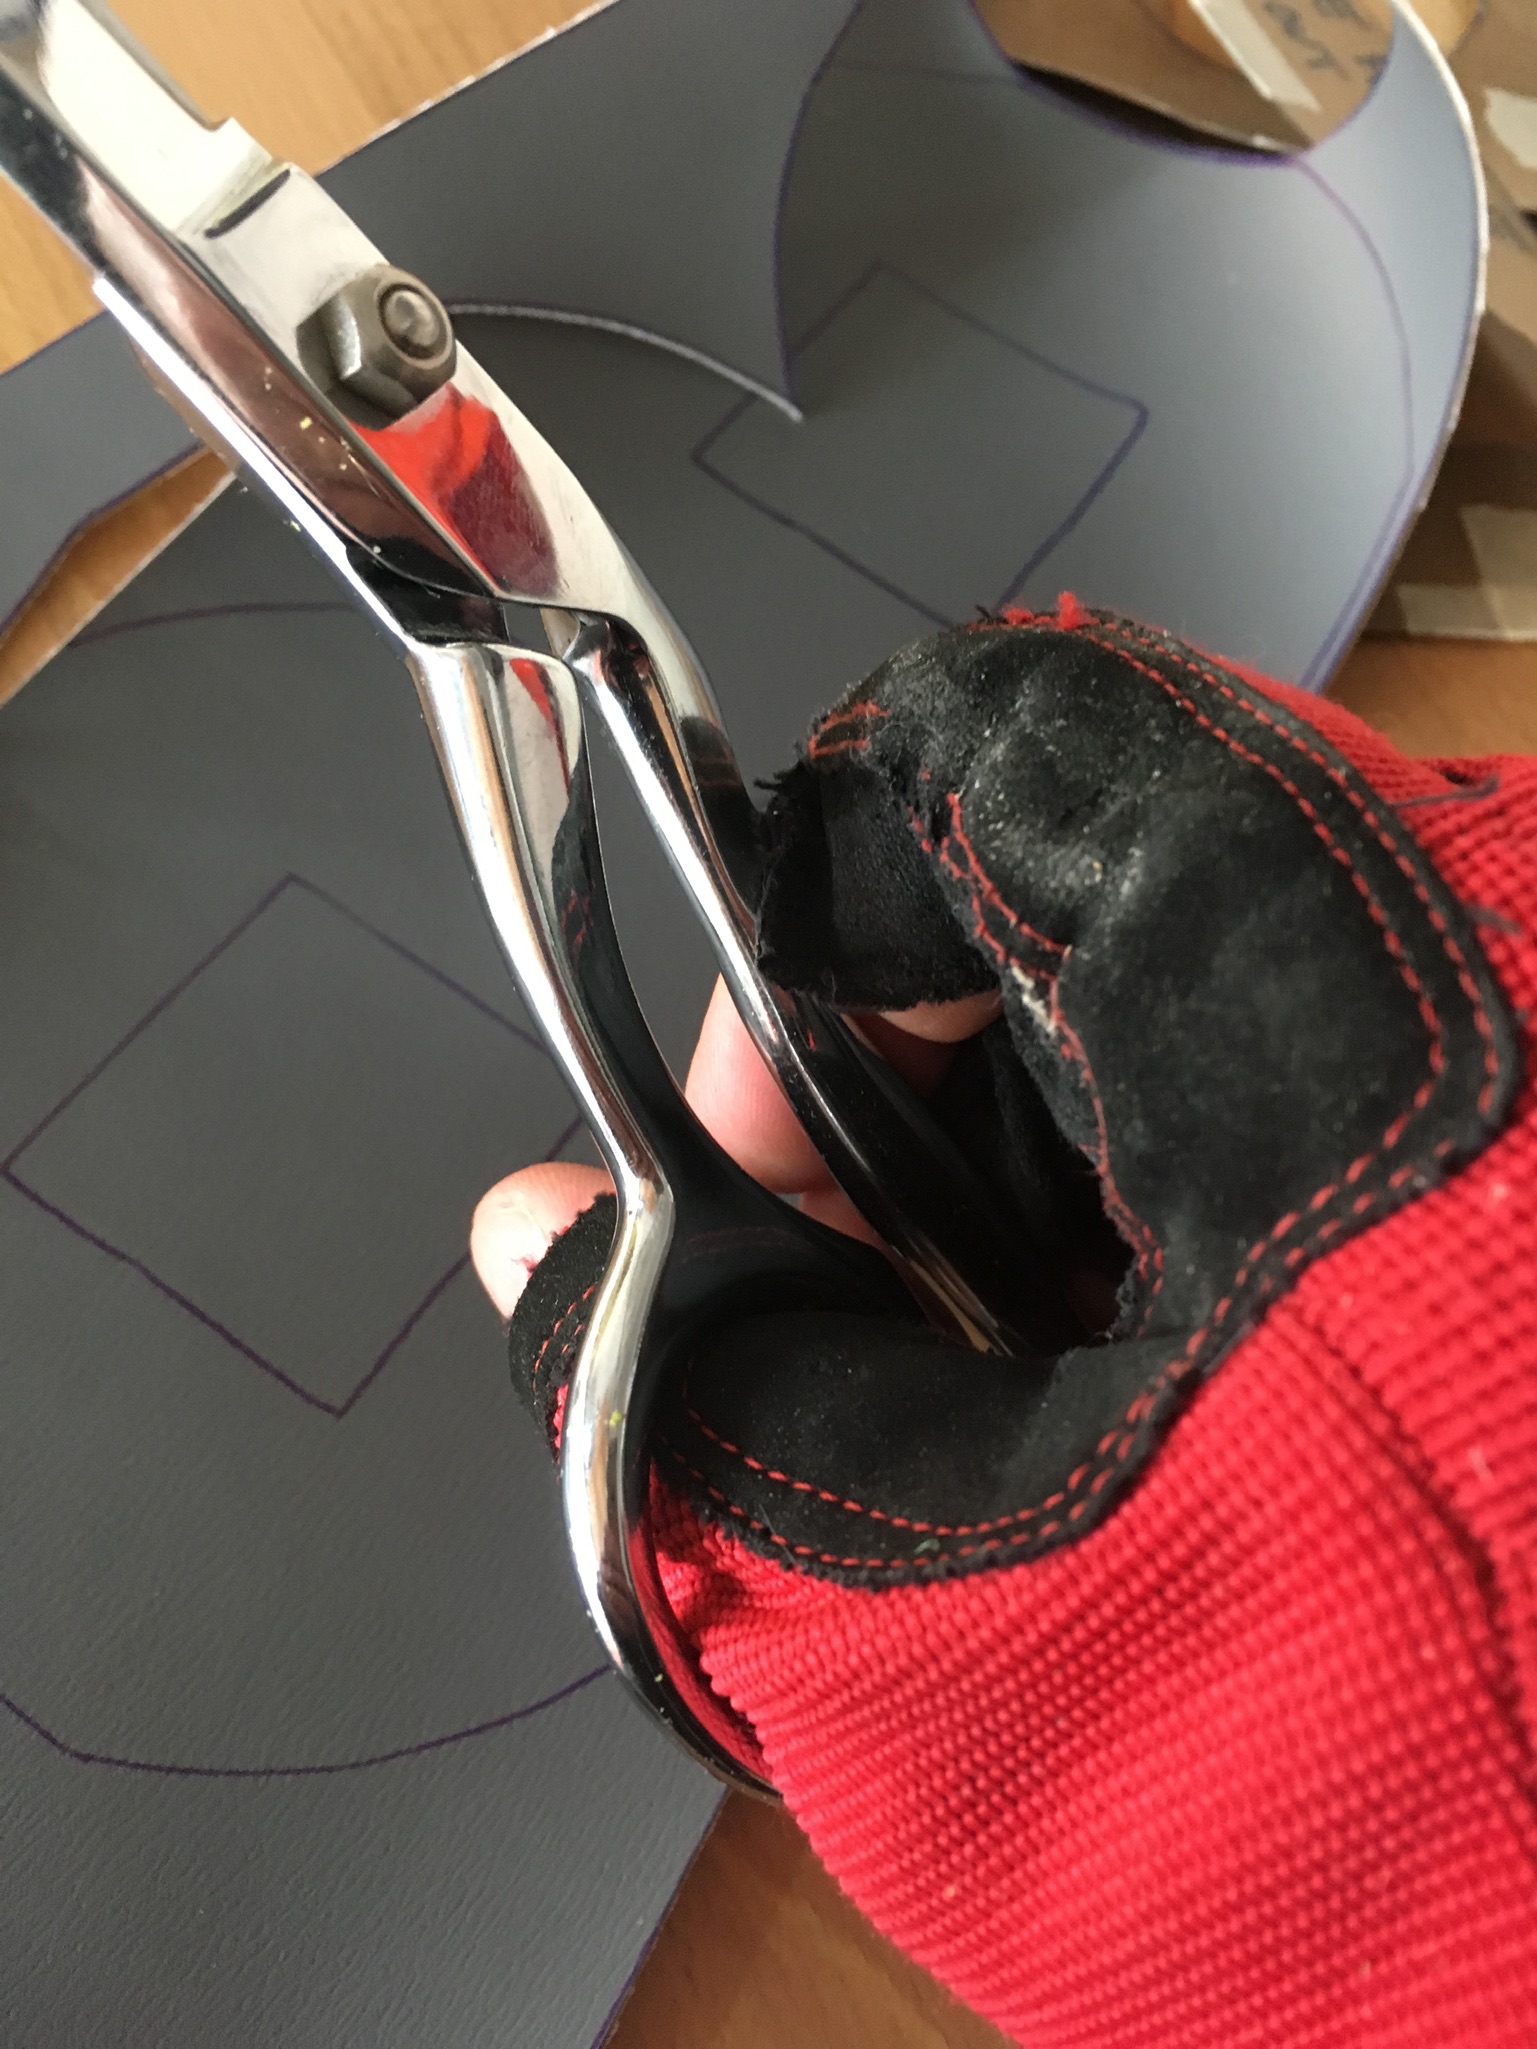
I made a template for each patch and traced them onto the back-side of the vinyl in such a way as to minimize waste. The vinyl needed to be cut with scissors which was nice and easy at first, but quickly turned into a hand-numbing task for which I improvised a solution from an old gardening glove.
Once the many reinforcing patches were cut, it was finally time for the first real sewing task of the project. I quickly found out that the vinyl fabric I chose for its high abrasion resistance was also a little stretchy which made keeping its shape on both sides of patch while sewing a little challenging. Using a liberal amount of basting tape to keep everything in place definitely helped, but there are still some spots that jump out as less than perfect (to my eye at least).
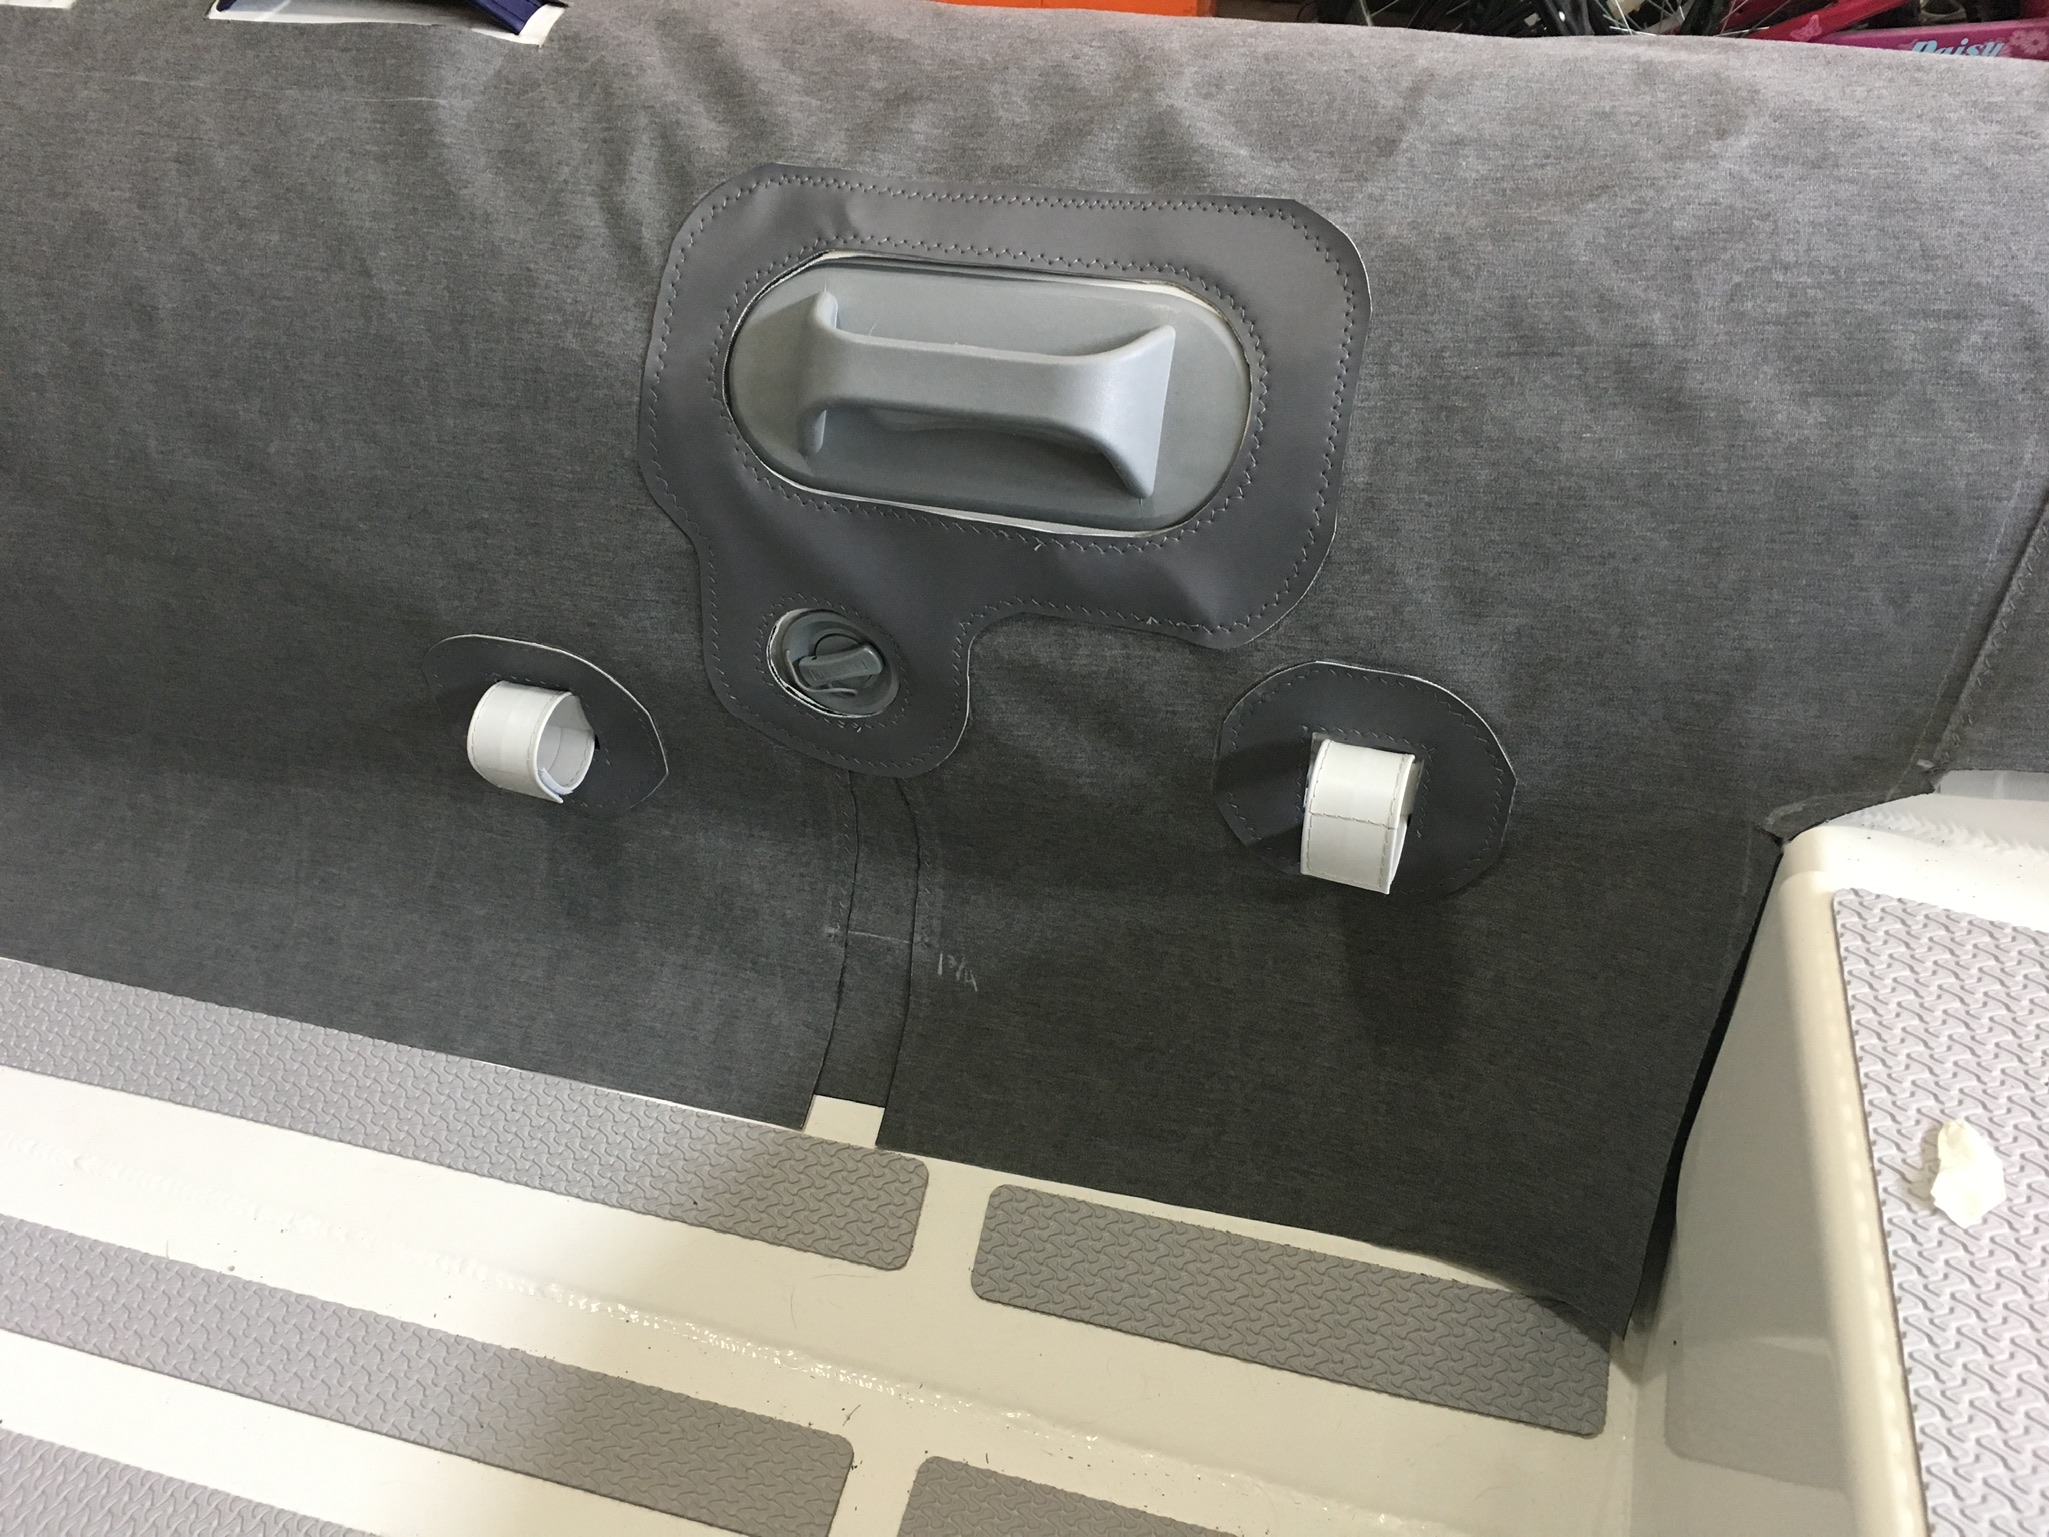
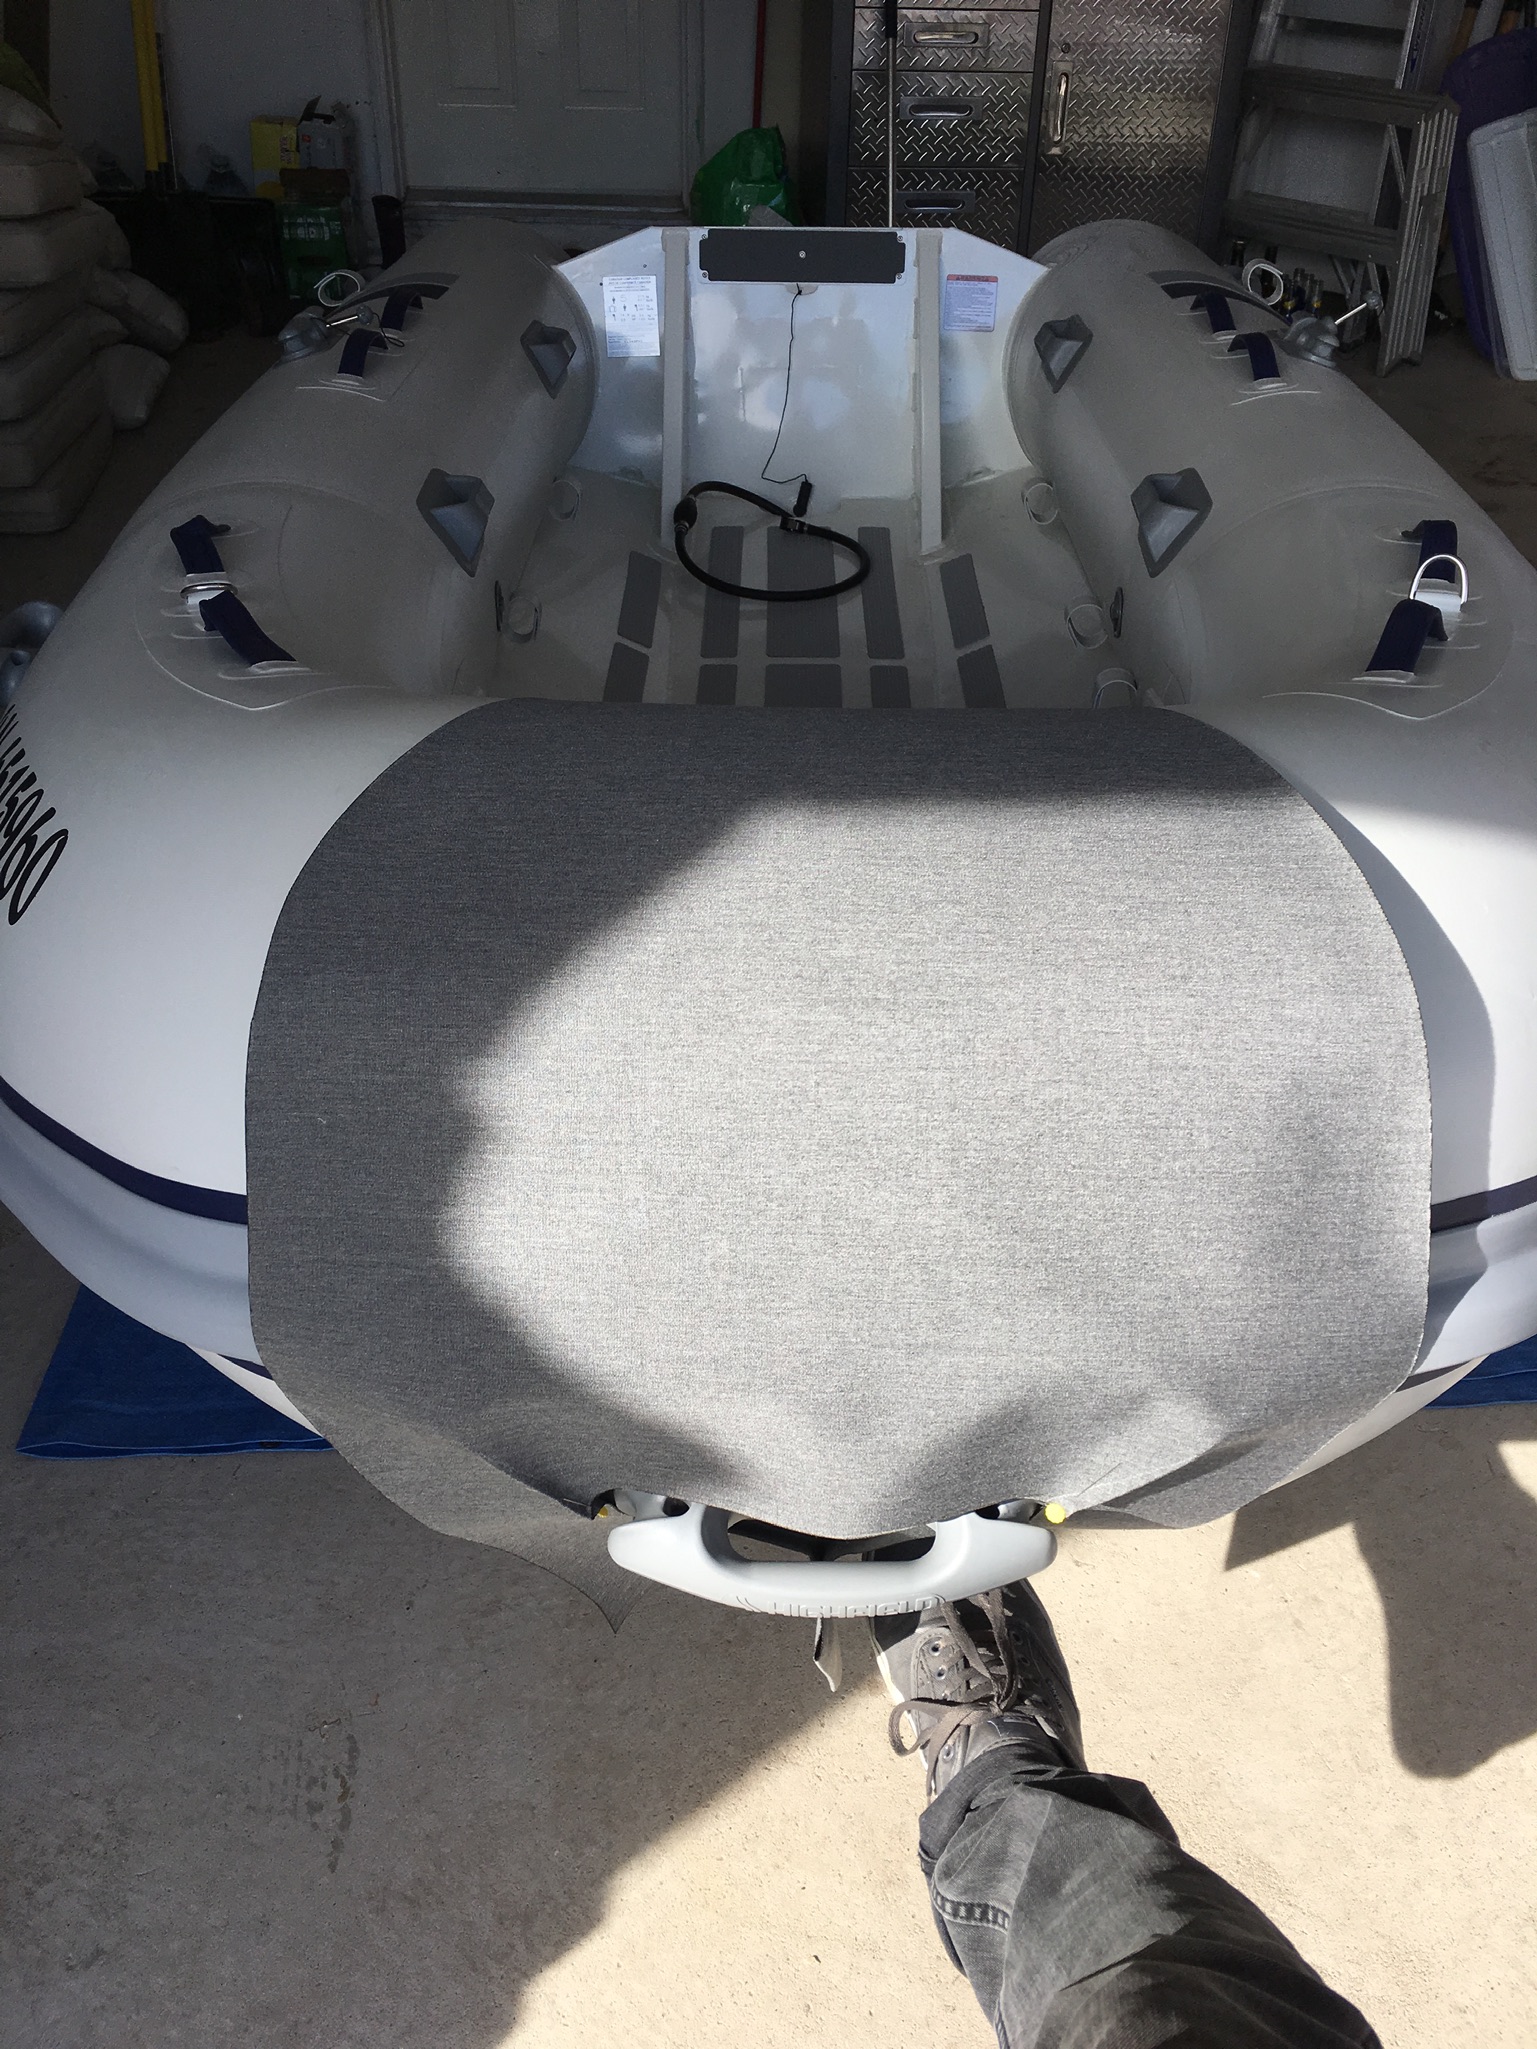
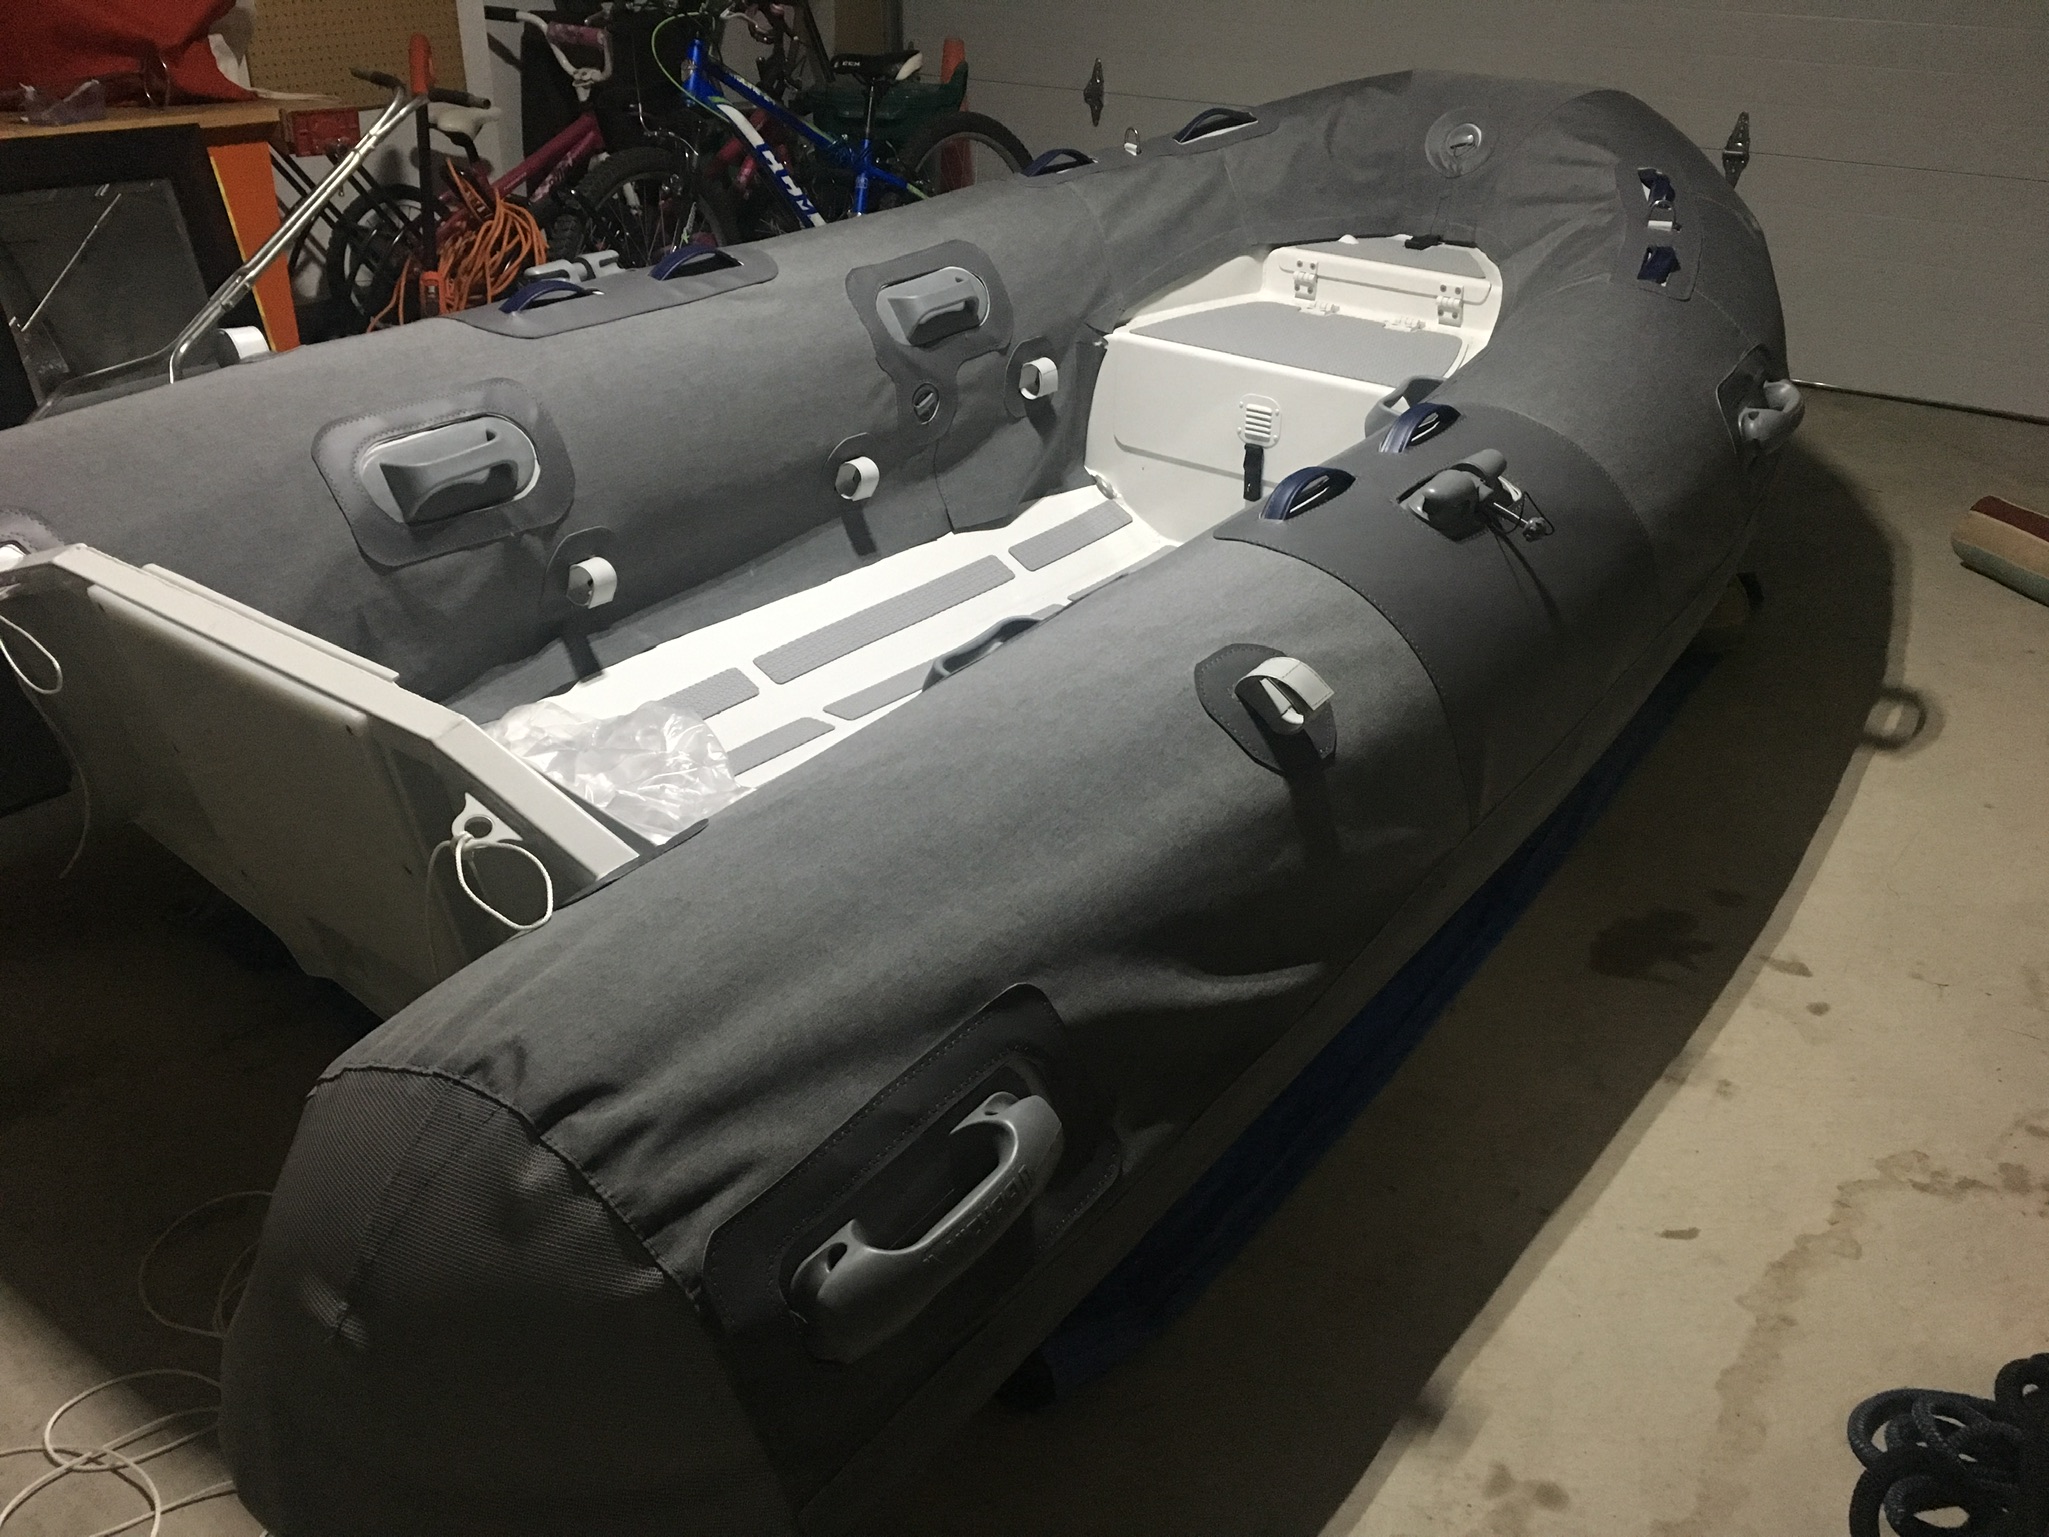
Fastening and Finishing
With the reinforcing patches all sewn on, I was free to sew the three main sections together along with the mesh sections at the aft of each tube. I used a semi-flat felled seam to join all the pieces and was pretty happy with the way it finished. Now the project was literally starting to take shape and I spent a lot of time making sure I was happy with the fit before marking the location of rub rail, hem for the bottom draw string which would run around the entire exterior of the chaps, and the location of the snaps for holding the interior side of the chaps to the dingy.
Sewing the rub rail and drawstring were quite easy as my skills with the Sailrite sewing machine had come a long way by this point. Installation of the snaps went very smoothly as well and just like that we had some finished chaps!
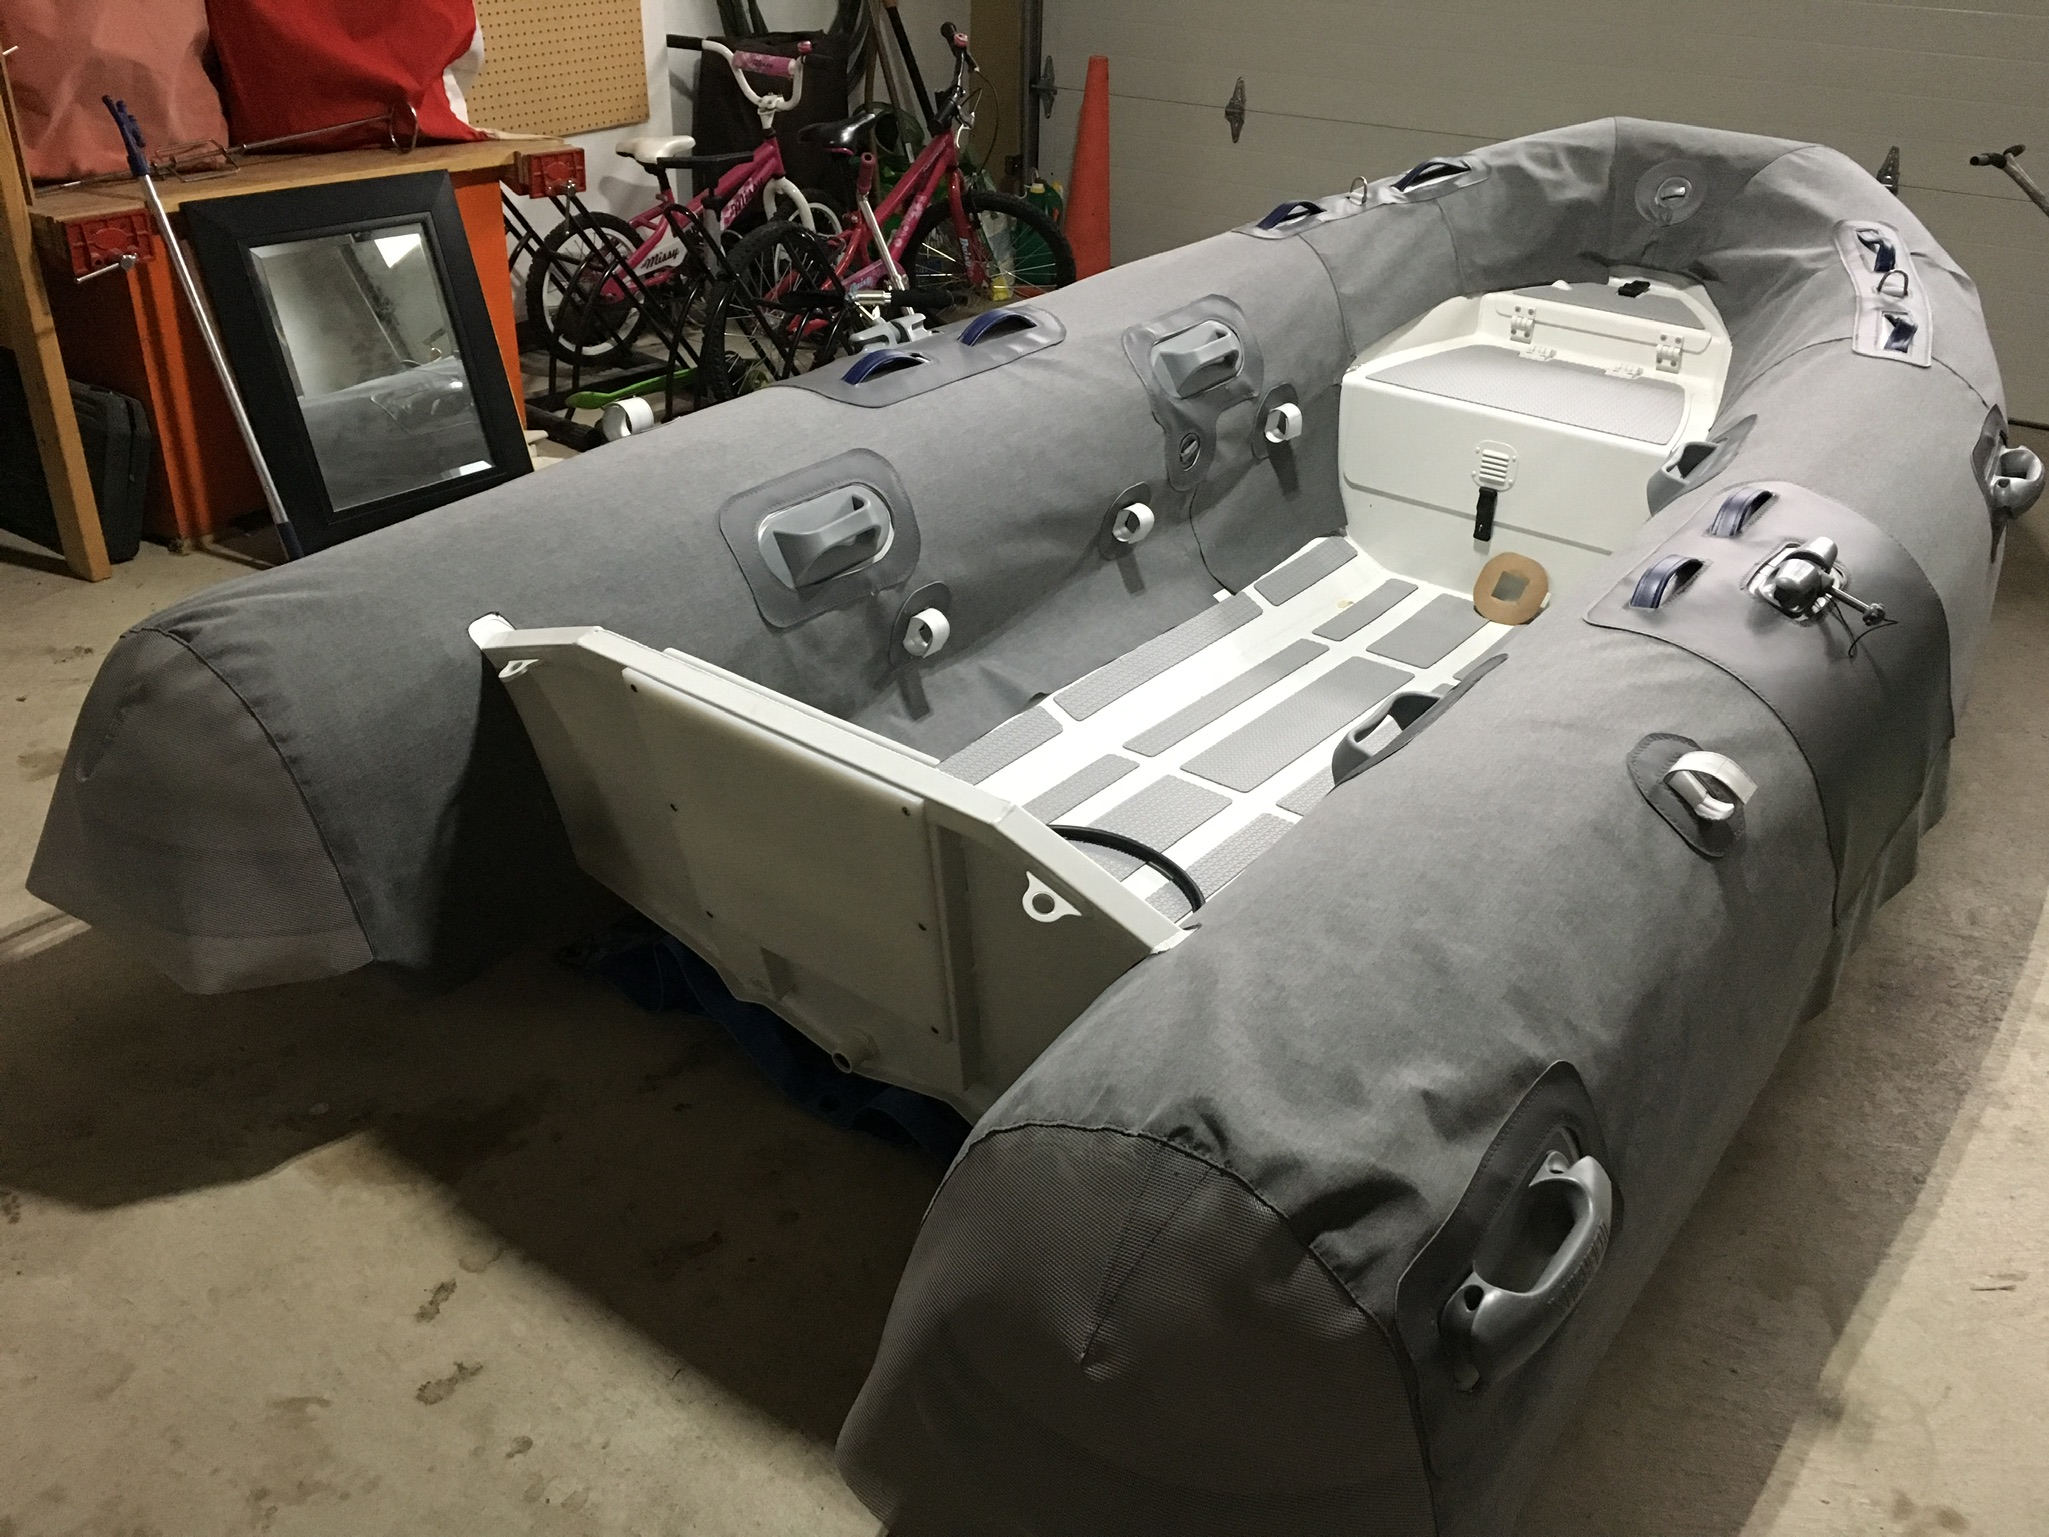
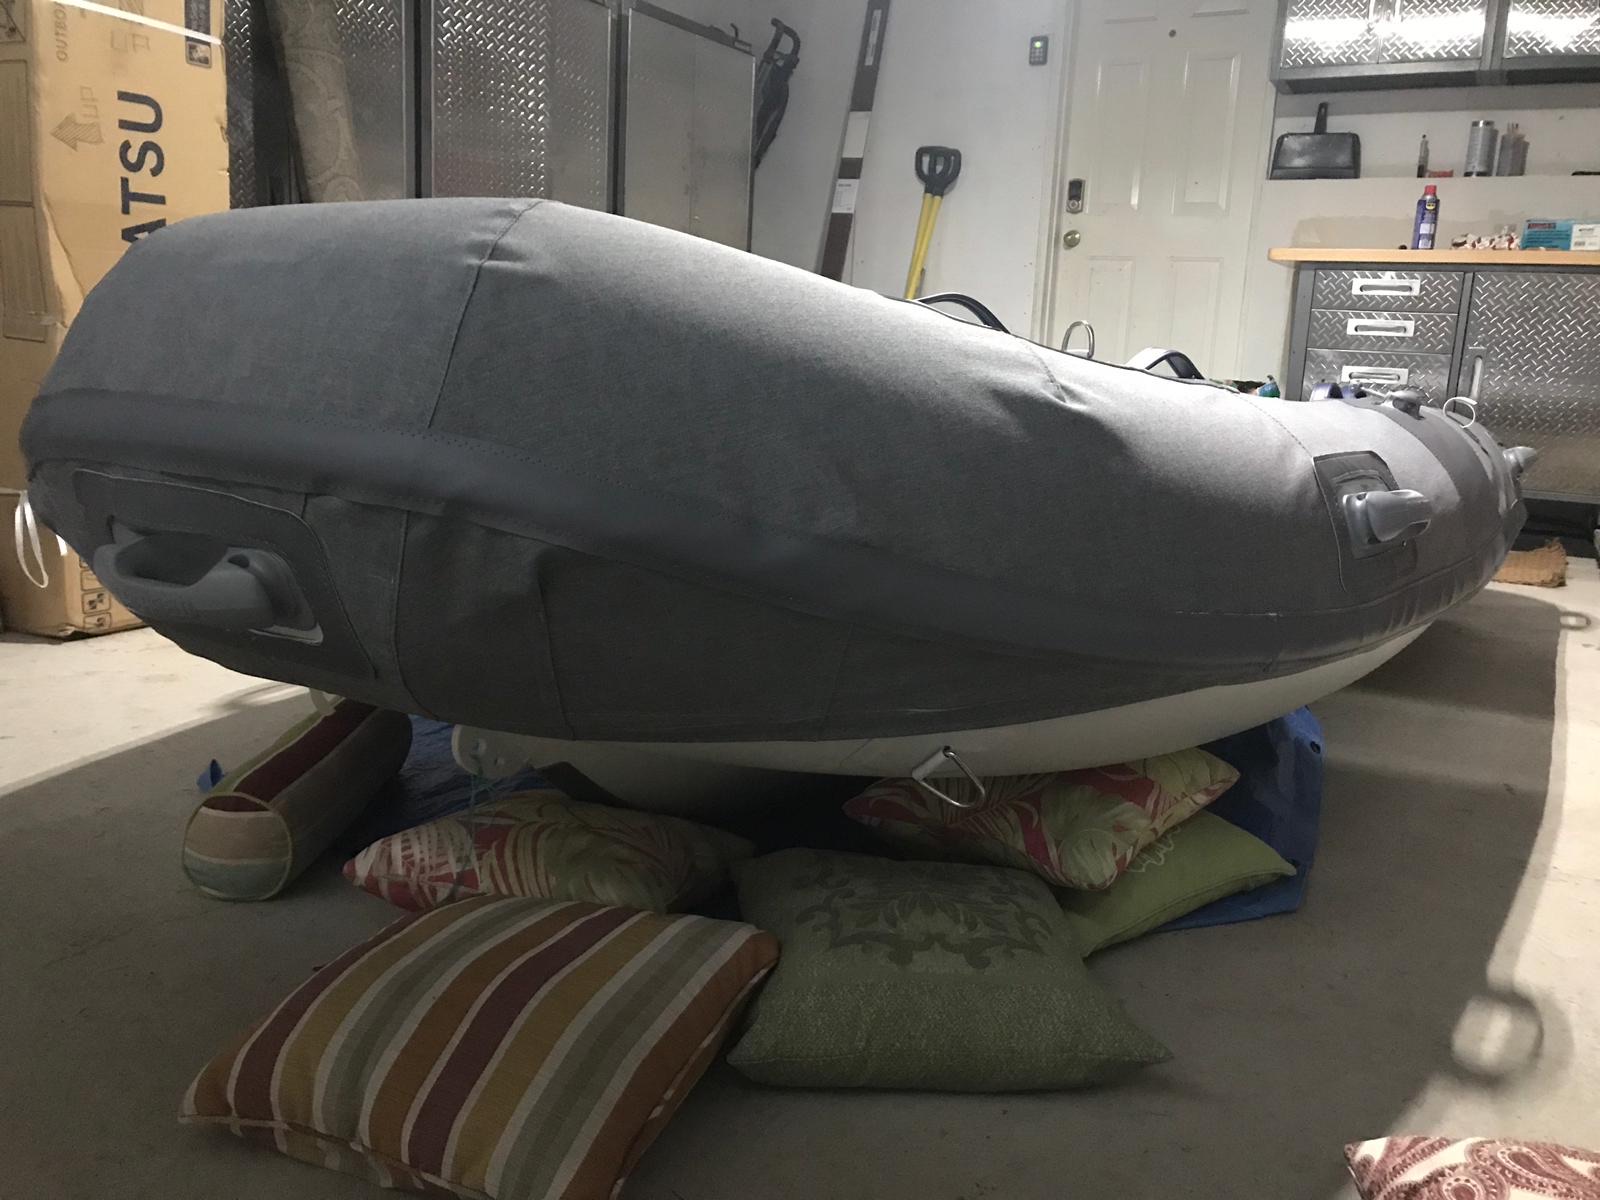
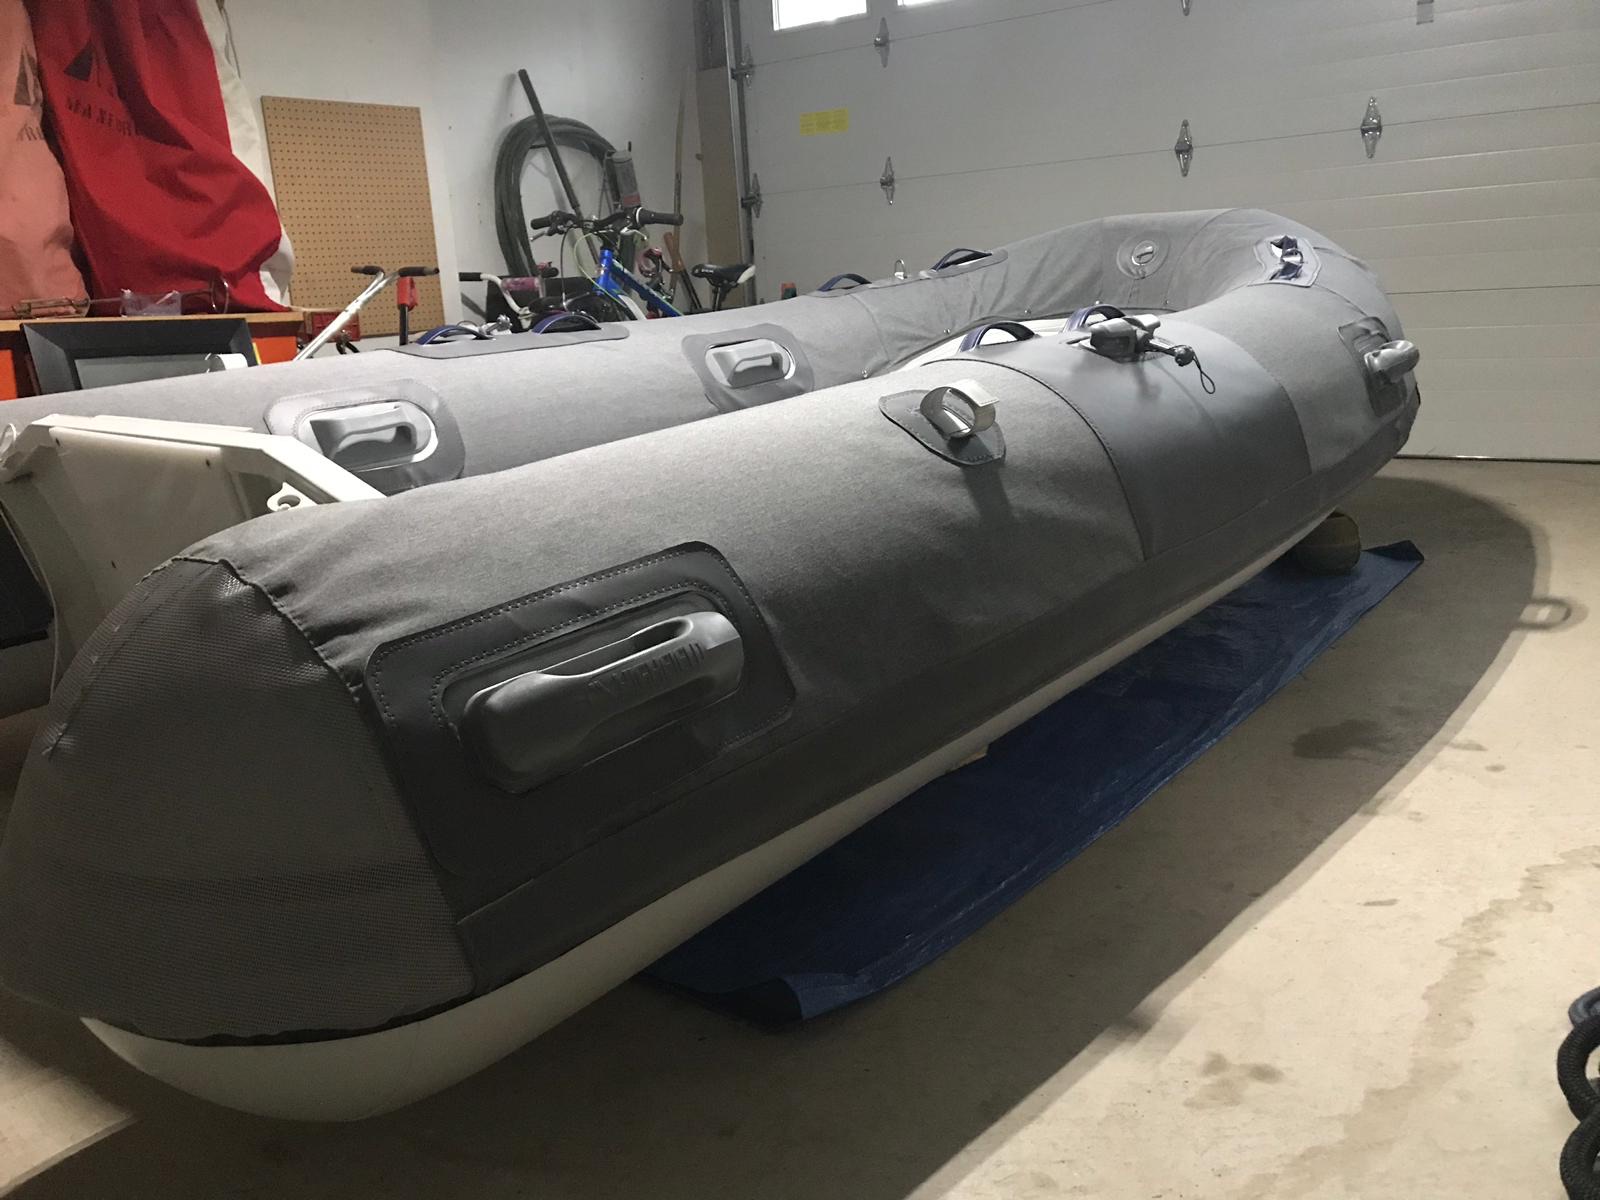
Conclusion
Remember that boat-project hours conversion rate? This job took me more like 70 hours, many of them past midnight and most with various accompanying curse words. That said, the finished product is pretty great according to the other sewers I know and it’s pretty satisfying to know we’ll be saving our dinghy from wearing out quickly as the UV beats down on it and Grace smashes it into the dock.
Last step will be adding our registration number to the outside of the chaps so we don’t have the Coast Guard chasing us as we head back to Matriarch filled to the waterline with provisions!


