
Chaps Aren't Just for Cowboys Anymore (Part 1)
I know, I know, the title drew you in and now you’re wondering what chaps and cowboys can possibly have to do with… well anything. To start off, this is the first in a series of posts covering our (my) first decent sized DIY boat project which was sewing a fitted cover (a.k.a. chaps) for our brand new Highfield CL340 dinghy (a.k.a. our vehicle for getting from ship to shore). So if you’re looking for an insightful post on our dreams, hopes and fears leading up to our move onto the boat may I humbly suggest checking out Liam’s post here or Megan’s post here (they are both much much better at expressing emotion than I am anyway 😉). But before getting to the project itself, let’s start with how we ended up here in the first place…
What Does Sewing Have to Do with Yachting?
Awhile ago Megan and I decided that one of the pieces of equipment we wanted to carry was a heavy-duty sewing machine capable of handling canvas and sails. Like everything with boats, such a thing doesn’t come cheap so we thought long and hard about it before finally pulling the trigger. In the end we decided it was worth the expense based on a few things:
Getting canvas work done by a professional shop is EXPENSIVE. To put this in perspective, when we first purchased Matriarch we got quotes on replacing the cockpit cushions which had definitely seen betters days while sailing around the world once. To our chagrin, the cost to have new cockpit cushions made was more than 3x the cost of buying the materials AND the sewing machine capable of getting it done. And that doesn’t even account for the pain-in-the-a$$ factor of trying to get work done on island time somewhere.
Being self-reliant is a real goal we have. Being on the ocean where salt water, wind, and UV deliver a constant beating mean your boat canvas and sails are in a constant state of decay and it’s only a matter of time before repairs are needed. With the proper equipment and skillset, it’s a relatively easy and inexpensive problem to fix (two words I wish I heard a lot more these days). Plus who wants to be a couple hundred miles offshore trying to repair a 10ft sail tear through a fews layers of dacron (that’s sail material for those non-sailor readers)?
I have a weakness for taking on big projects. Let’s be honest, with #1 and #2 out of the way it only took a little nudge to get me excited about learning an entirely new skill that could keep the boat in good shape while helping the budget at the same time. So queue up the youtube how-to videos and here we go…
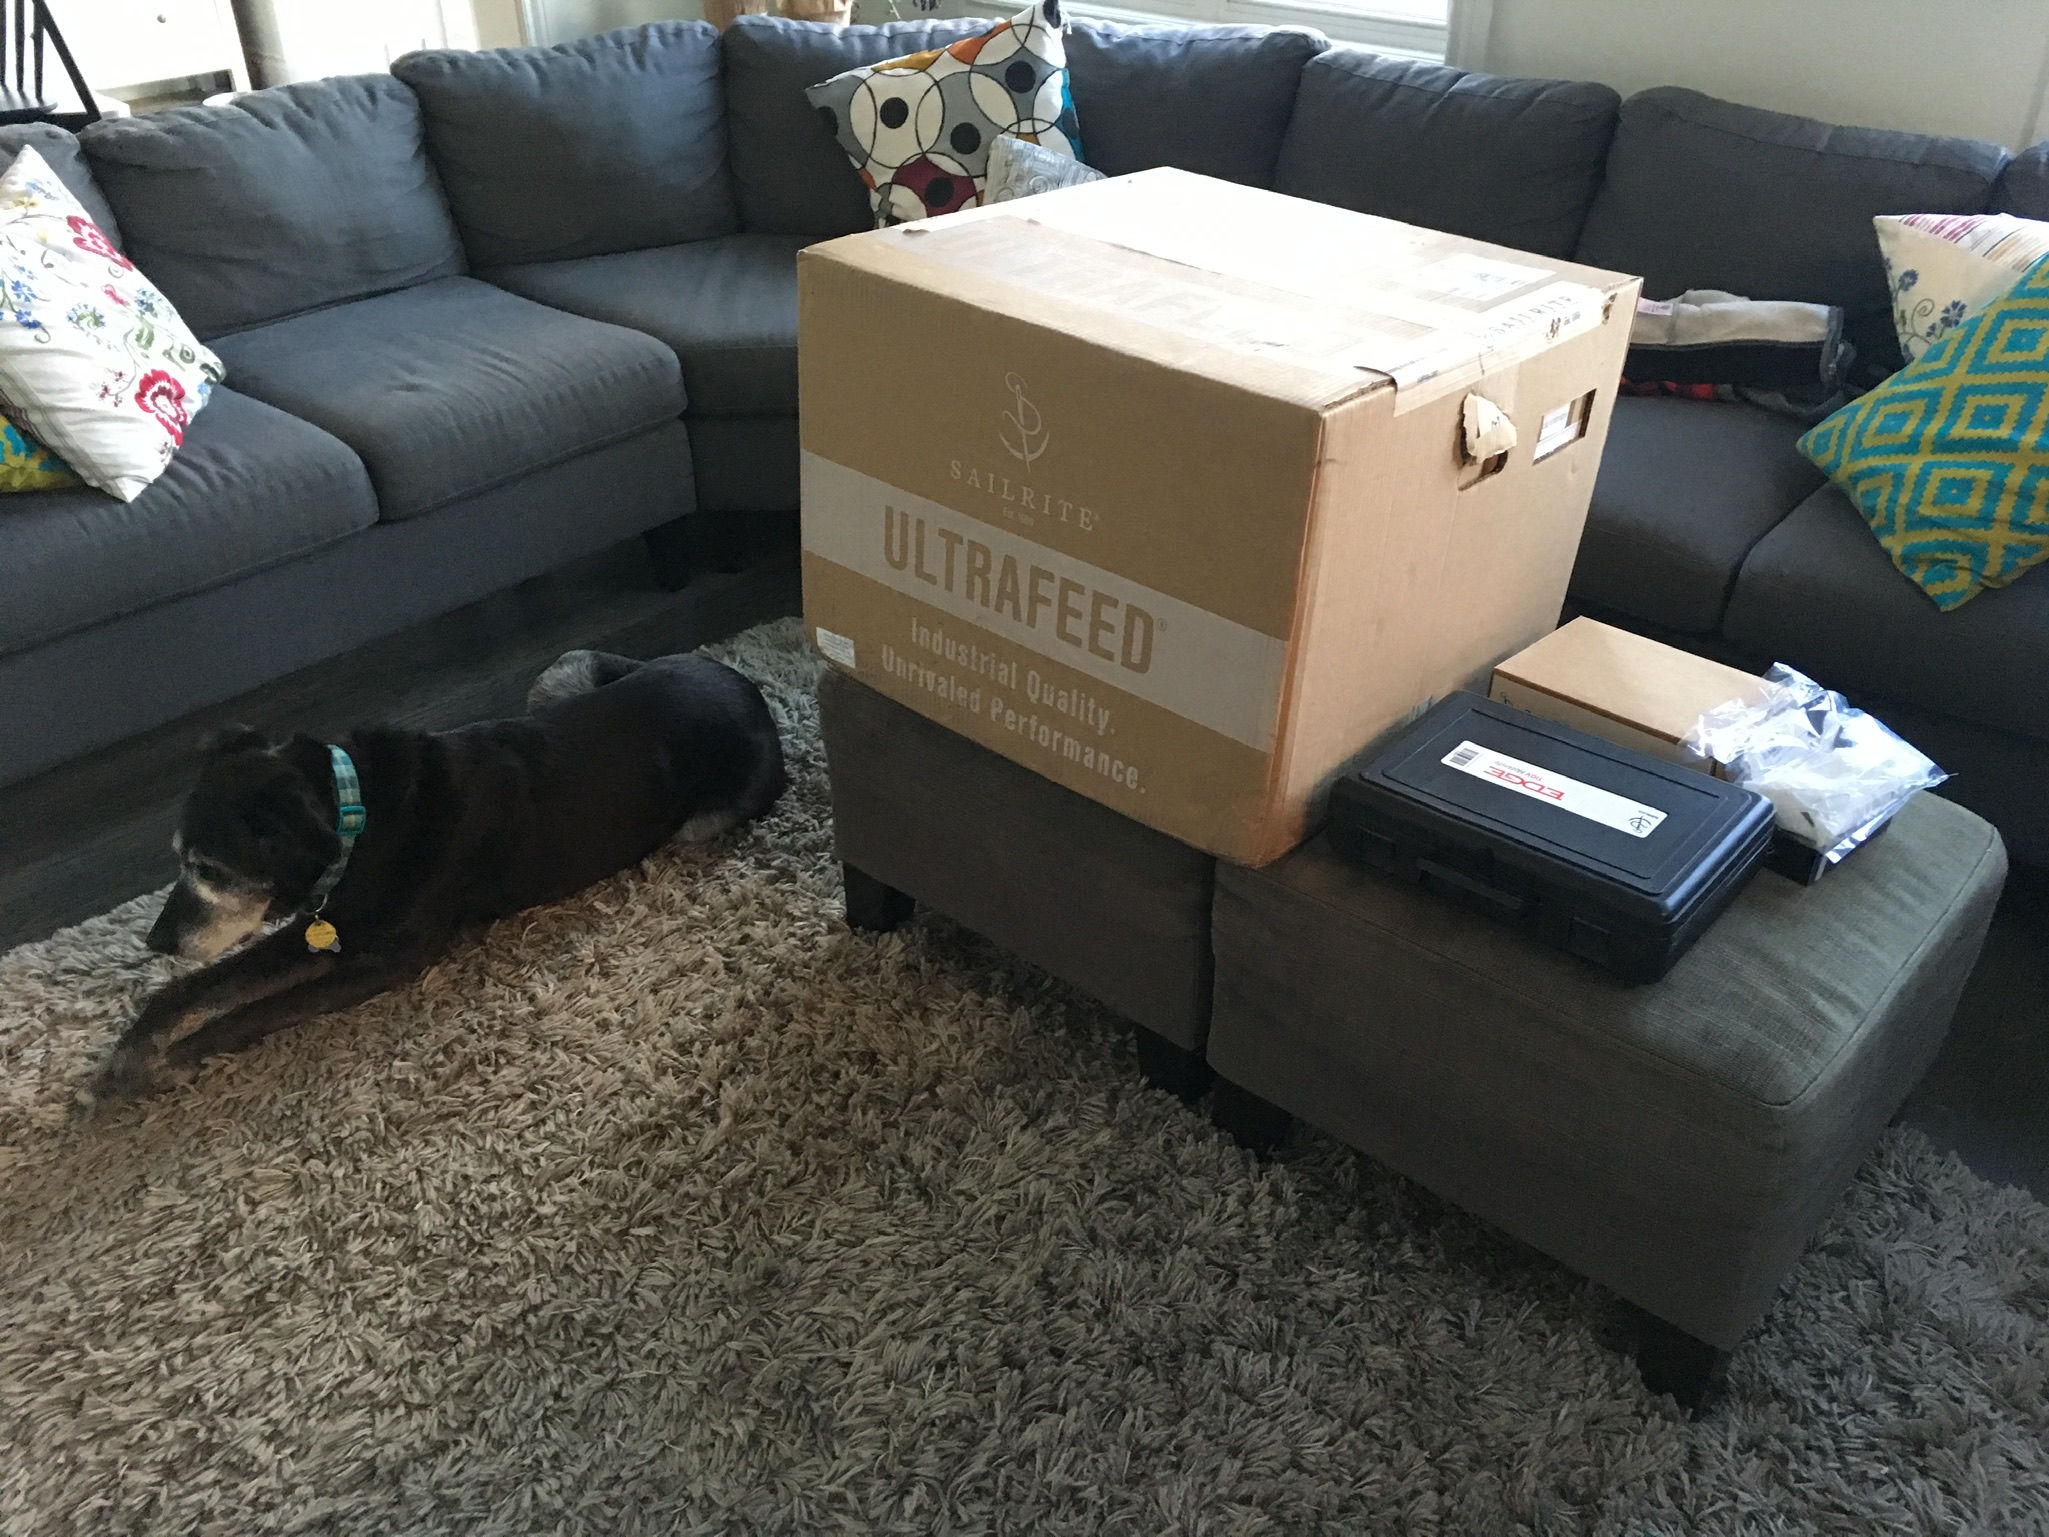
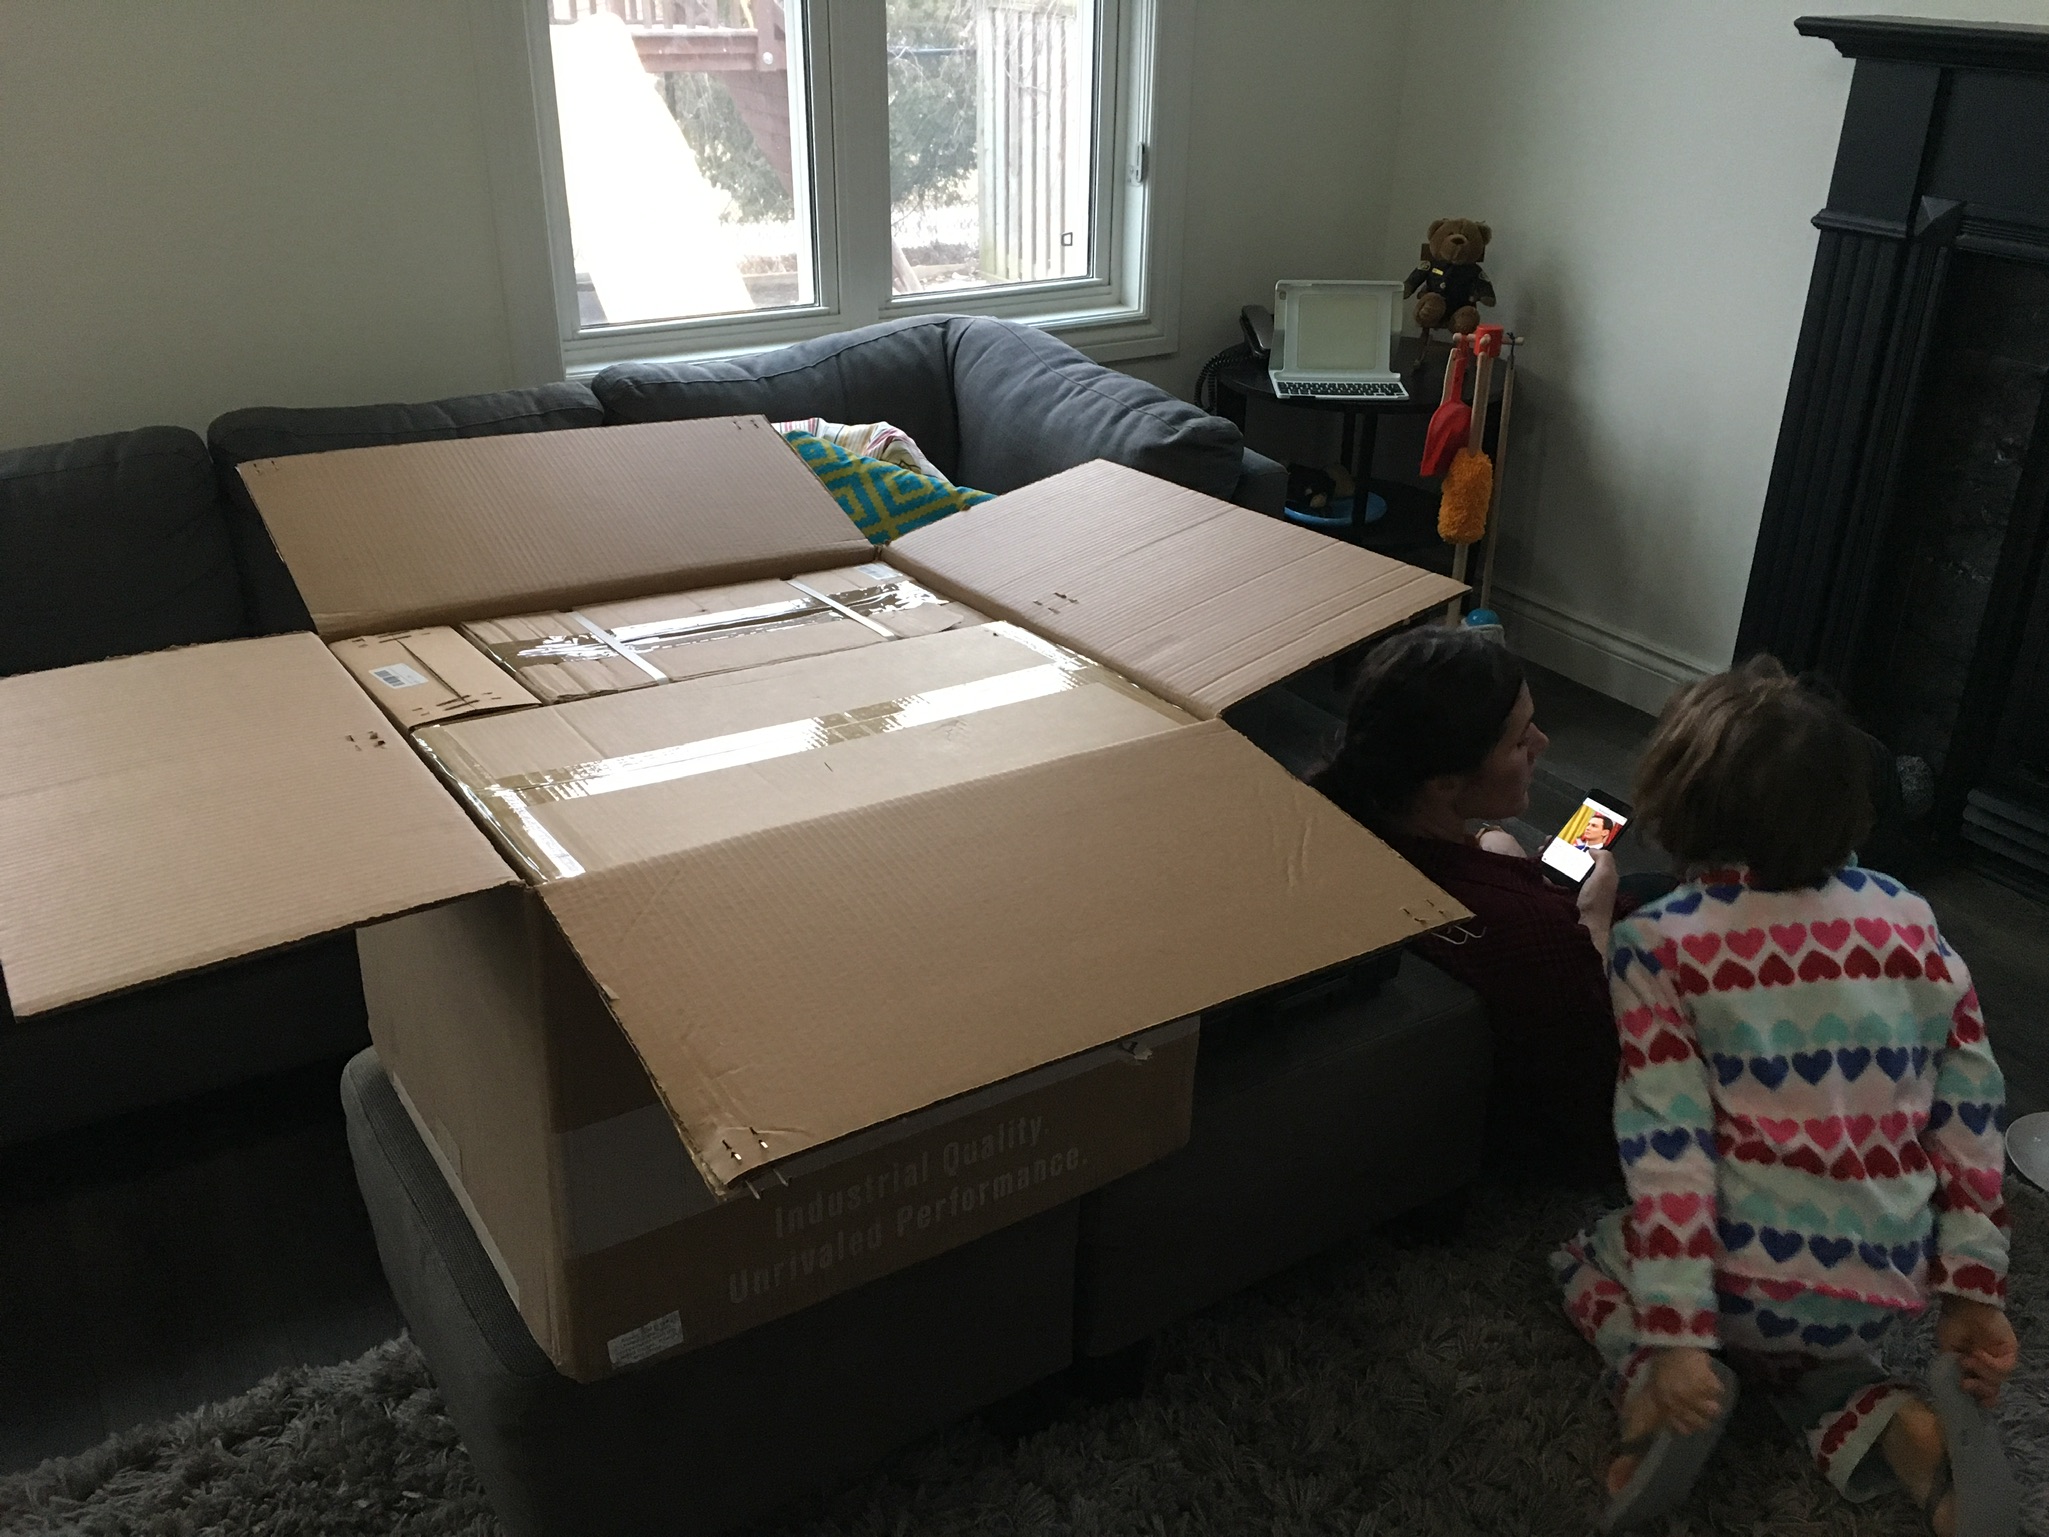
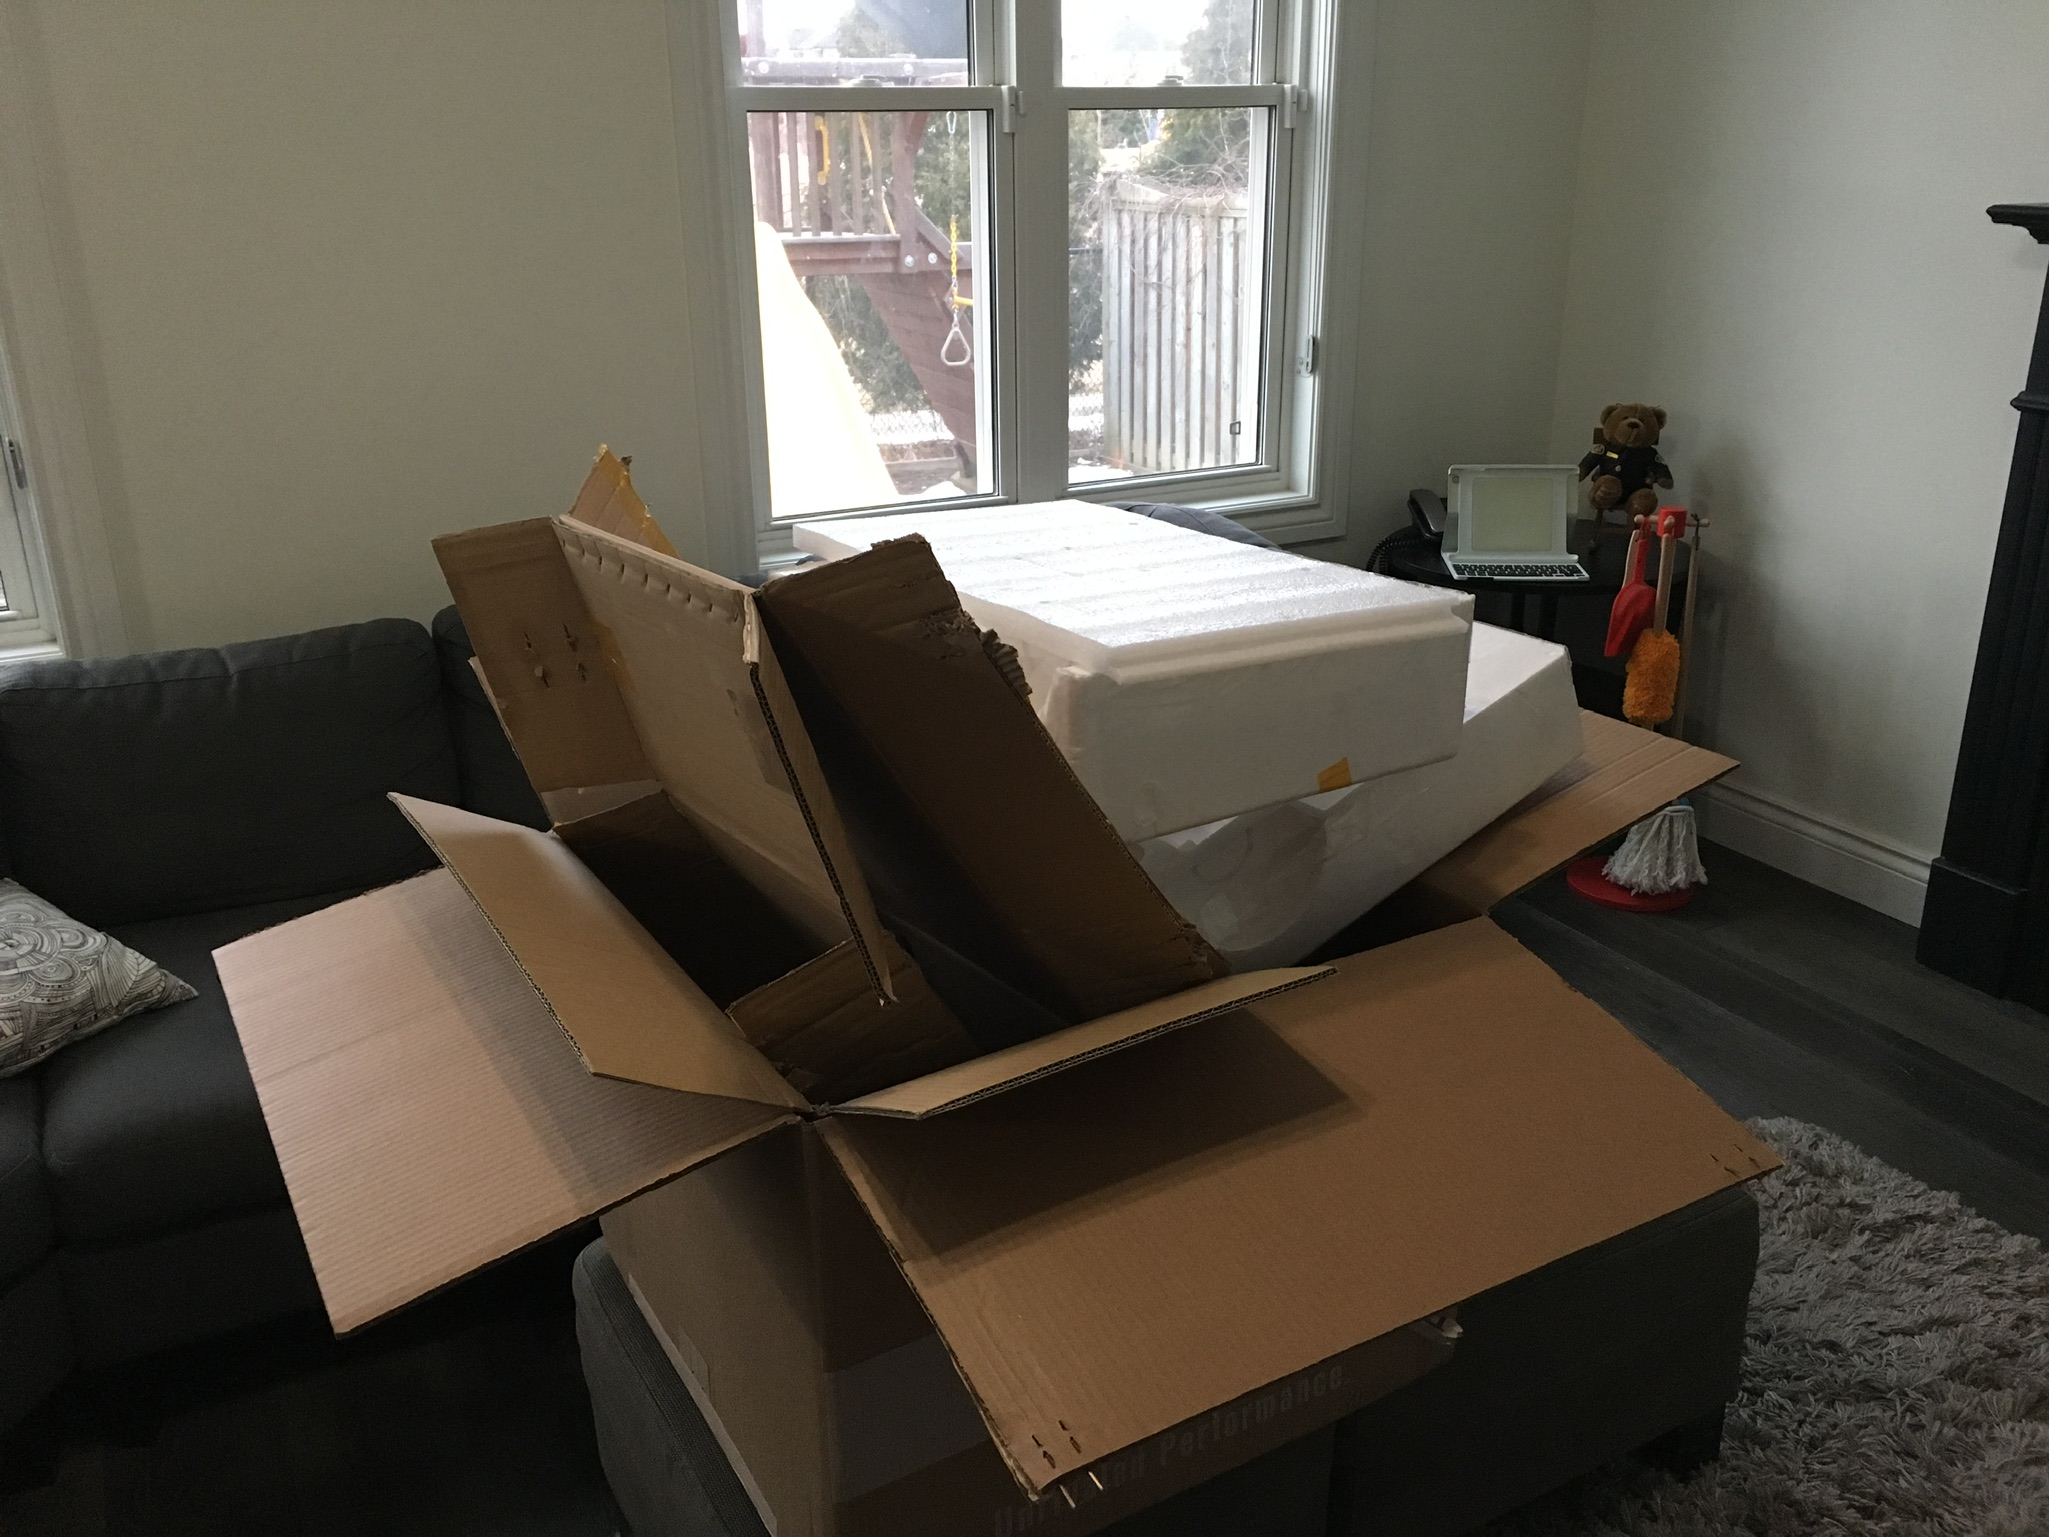
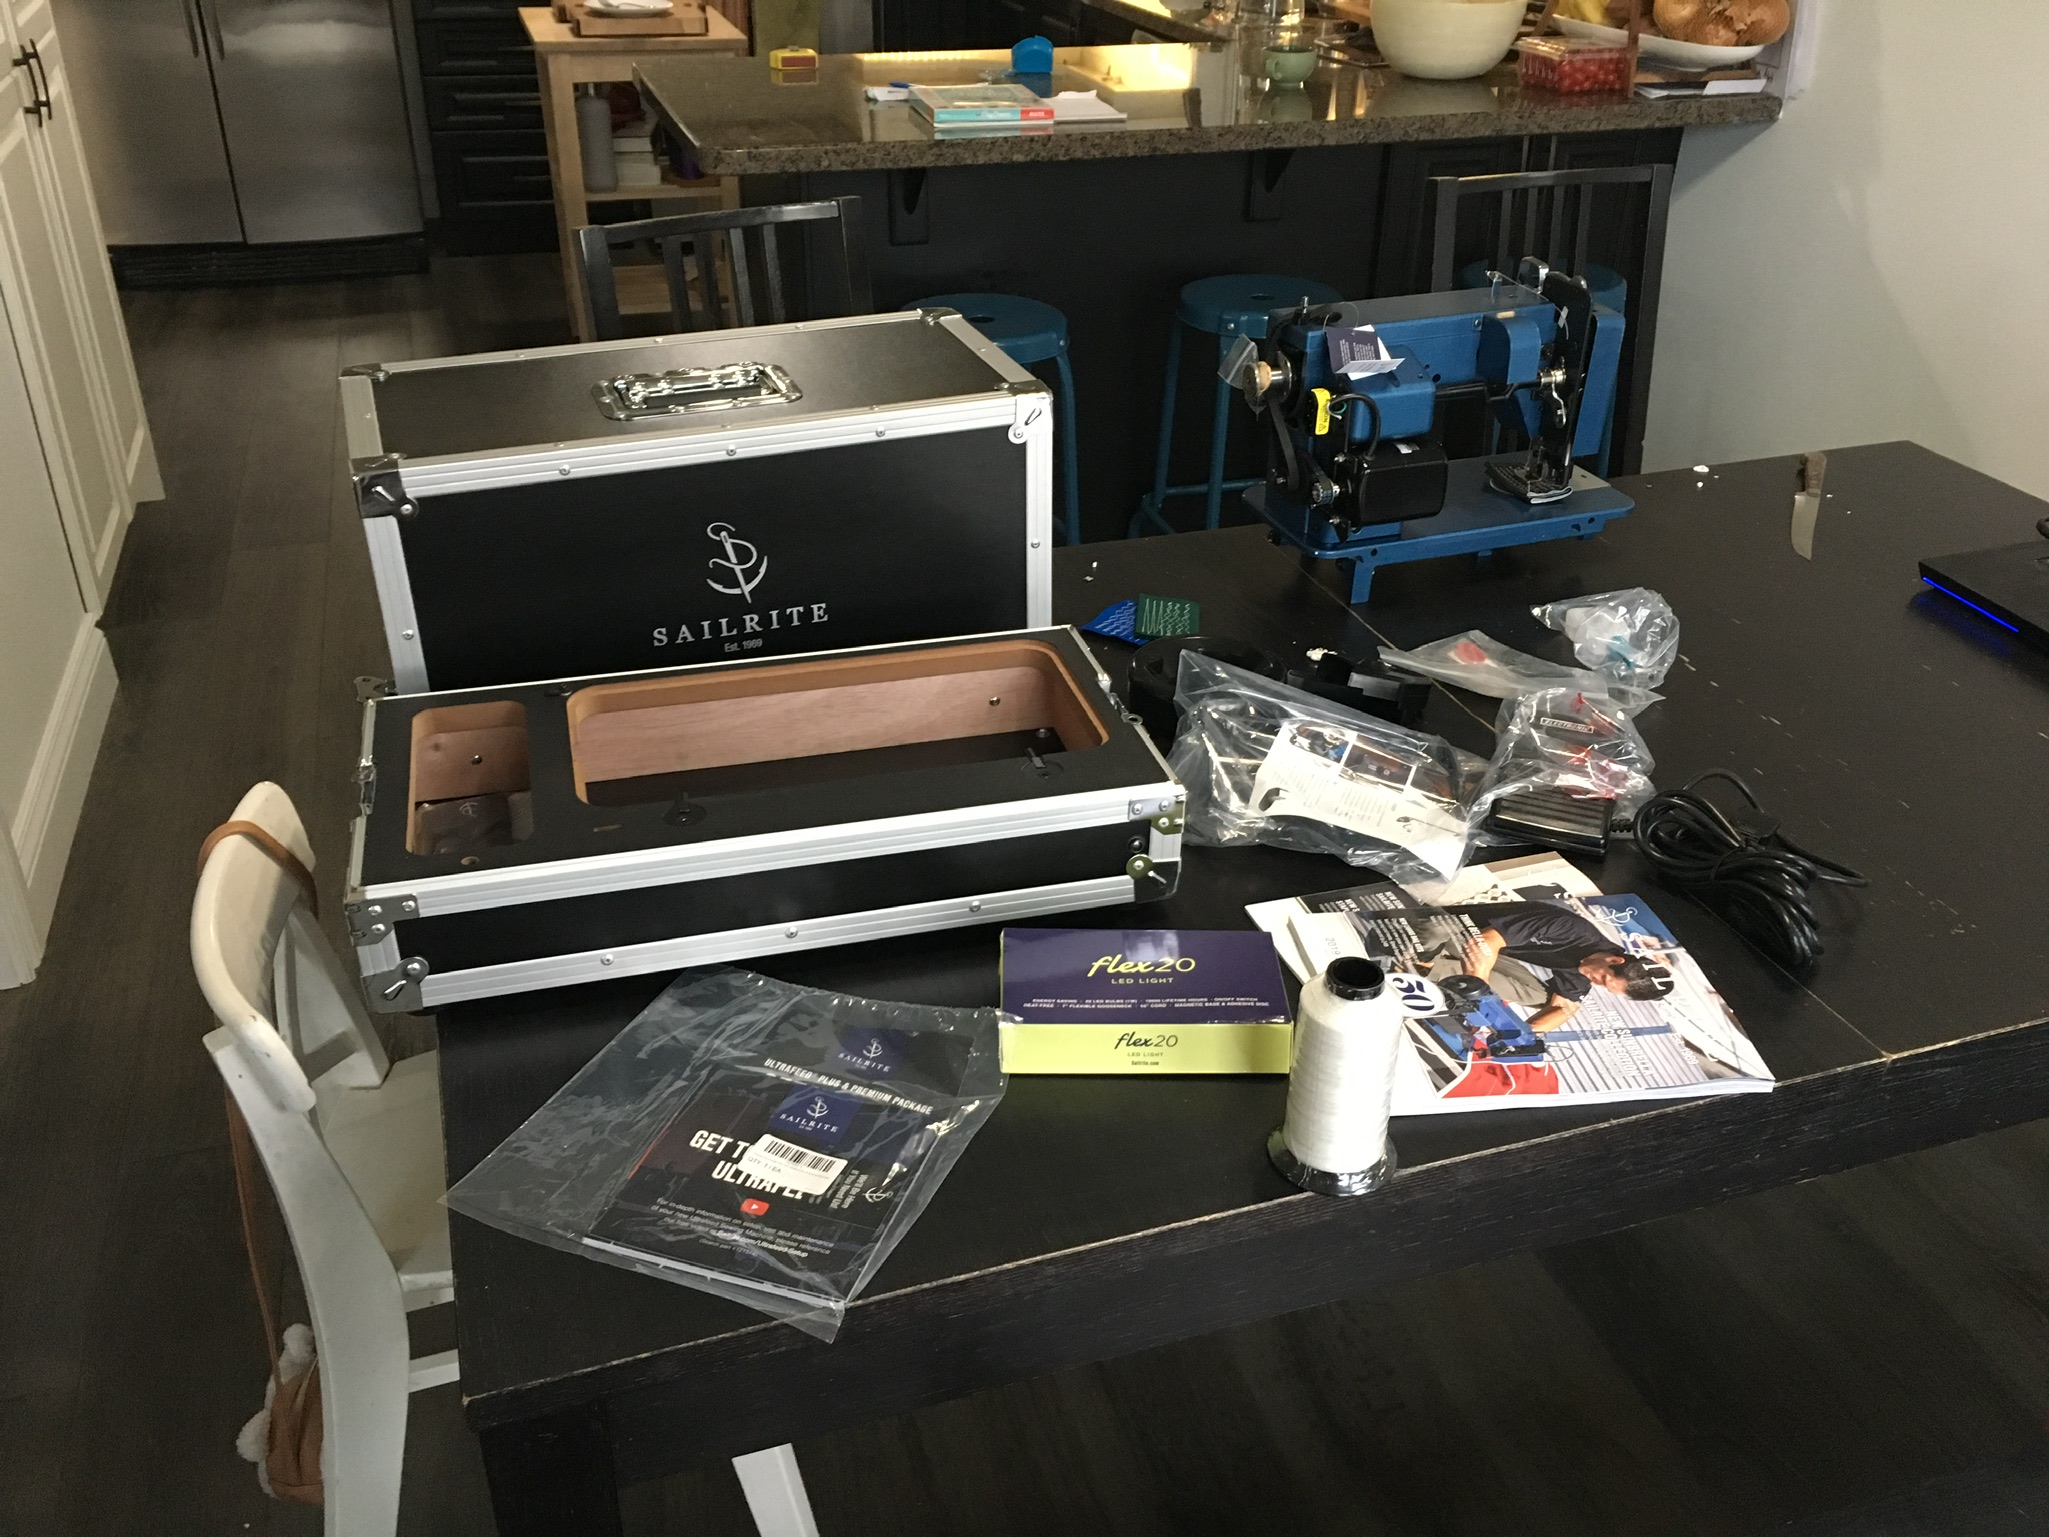
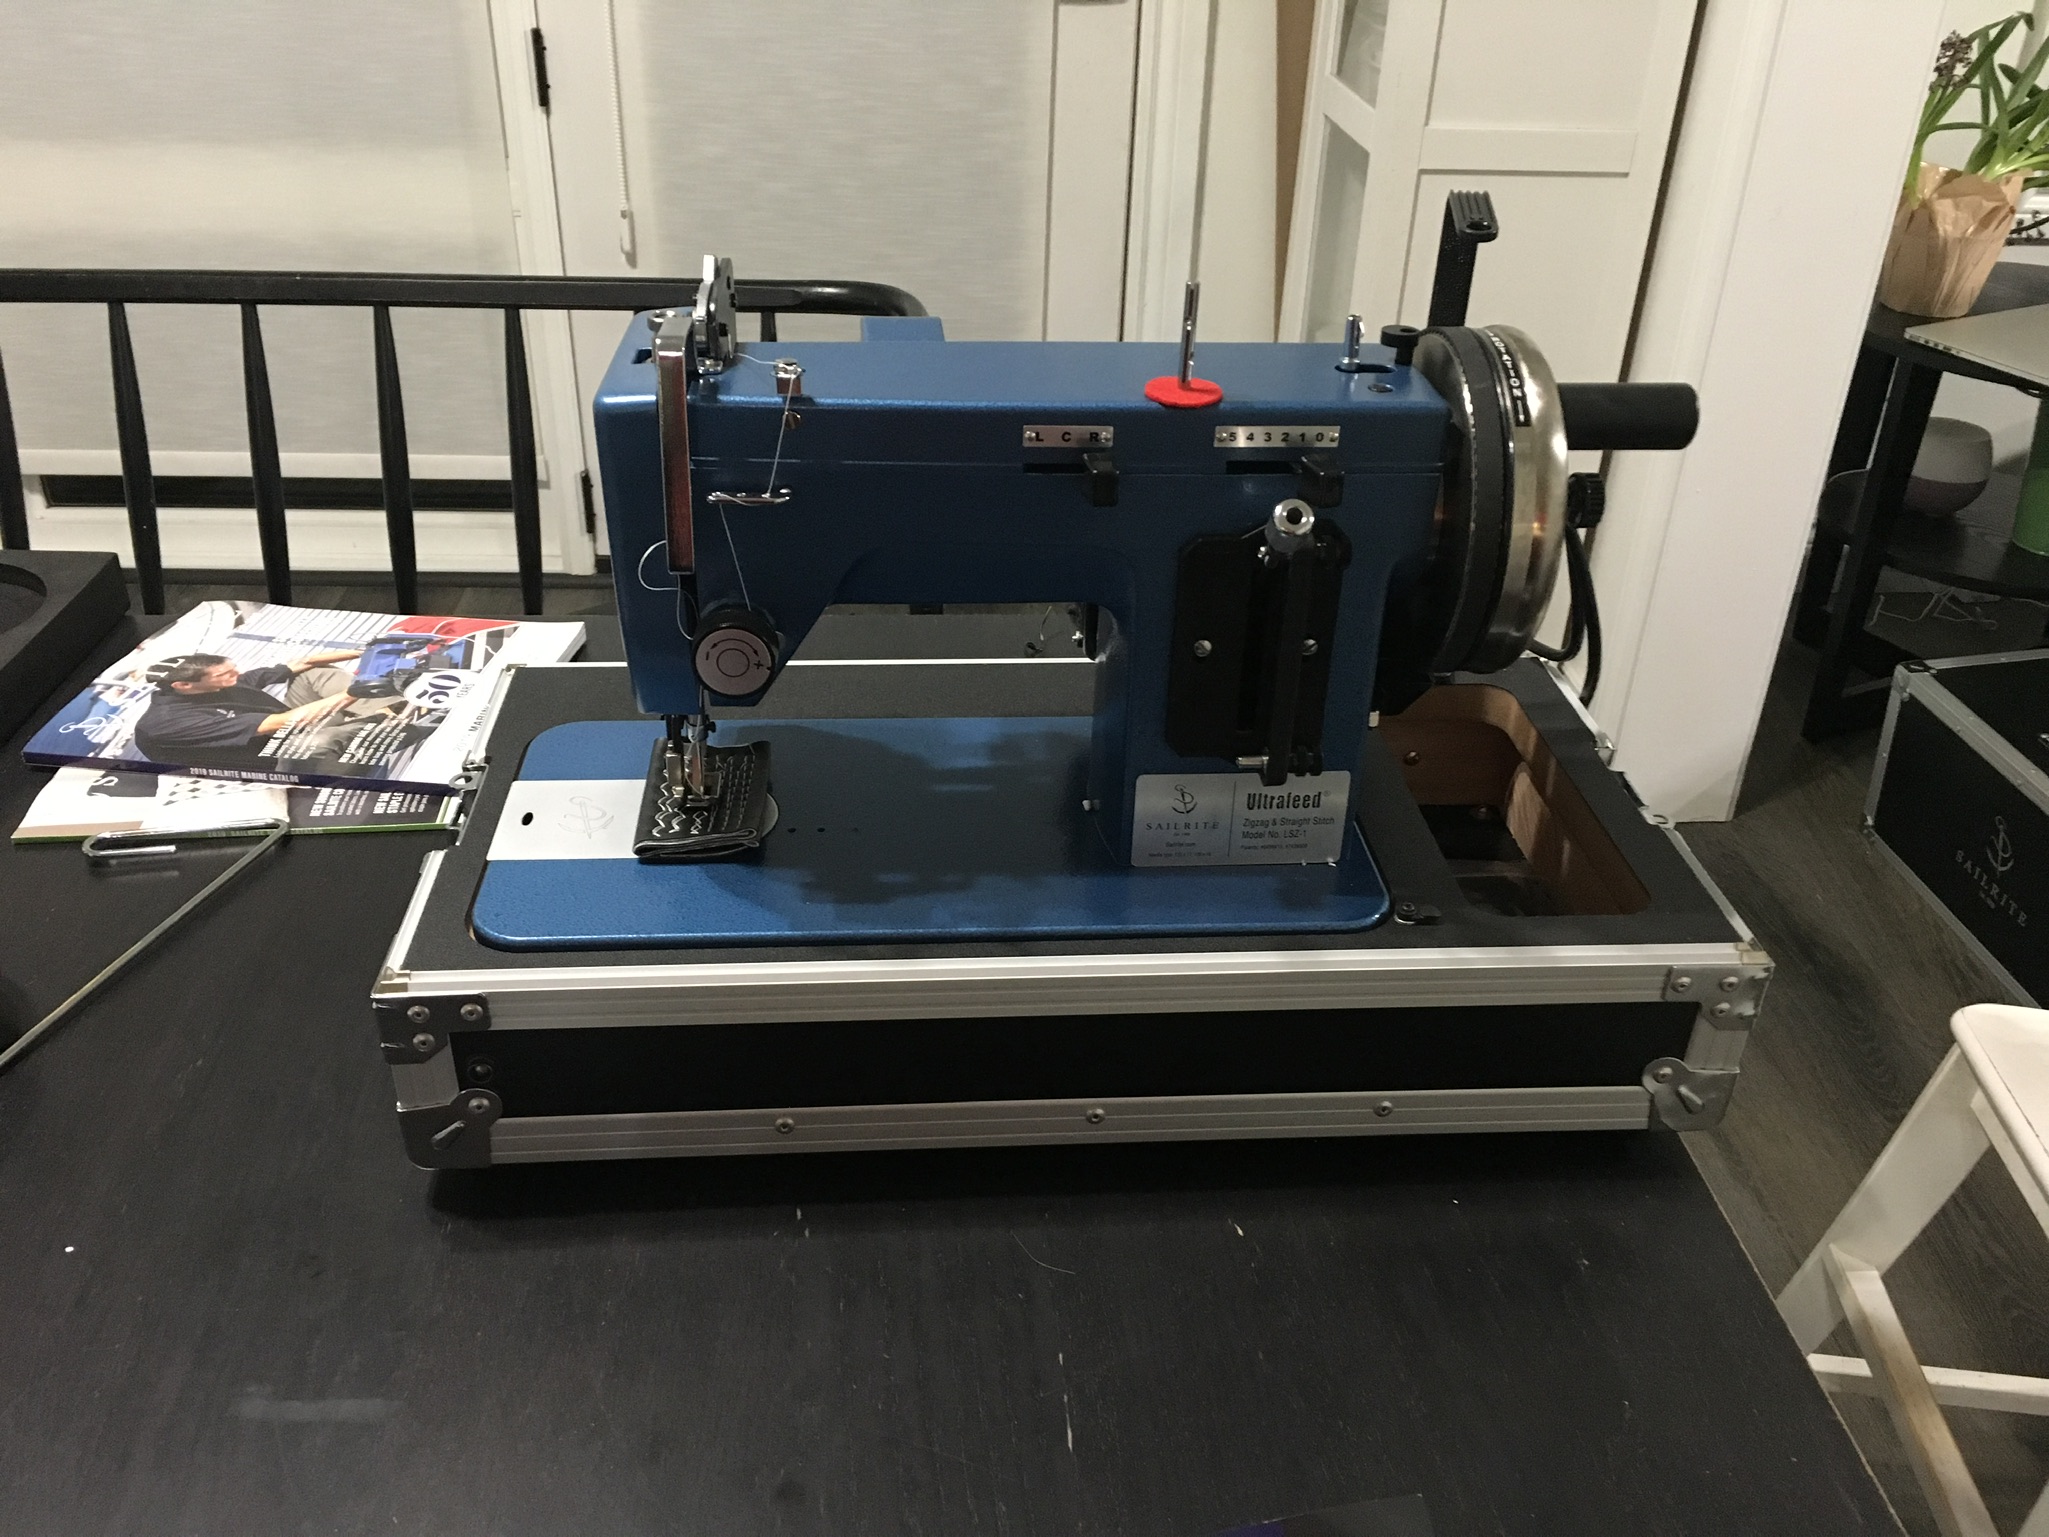
Unboxing a New Toy
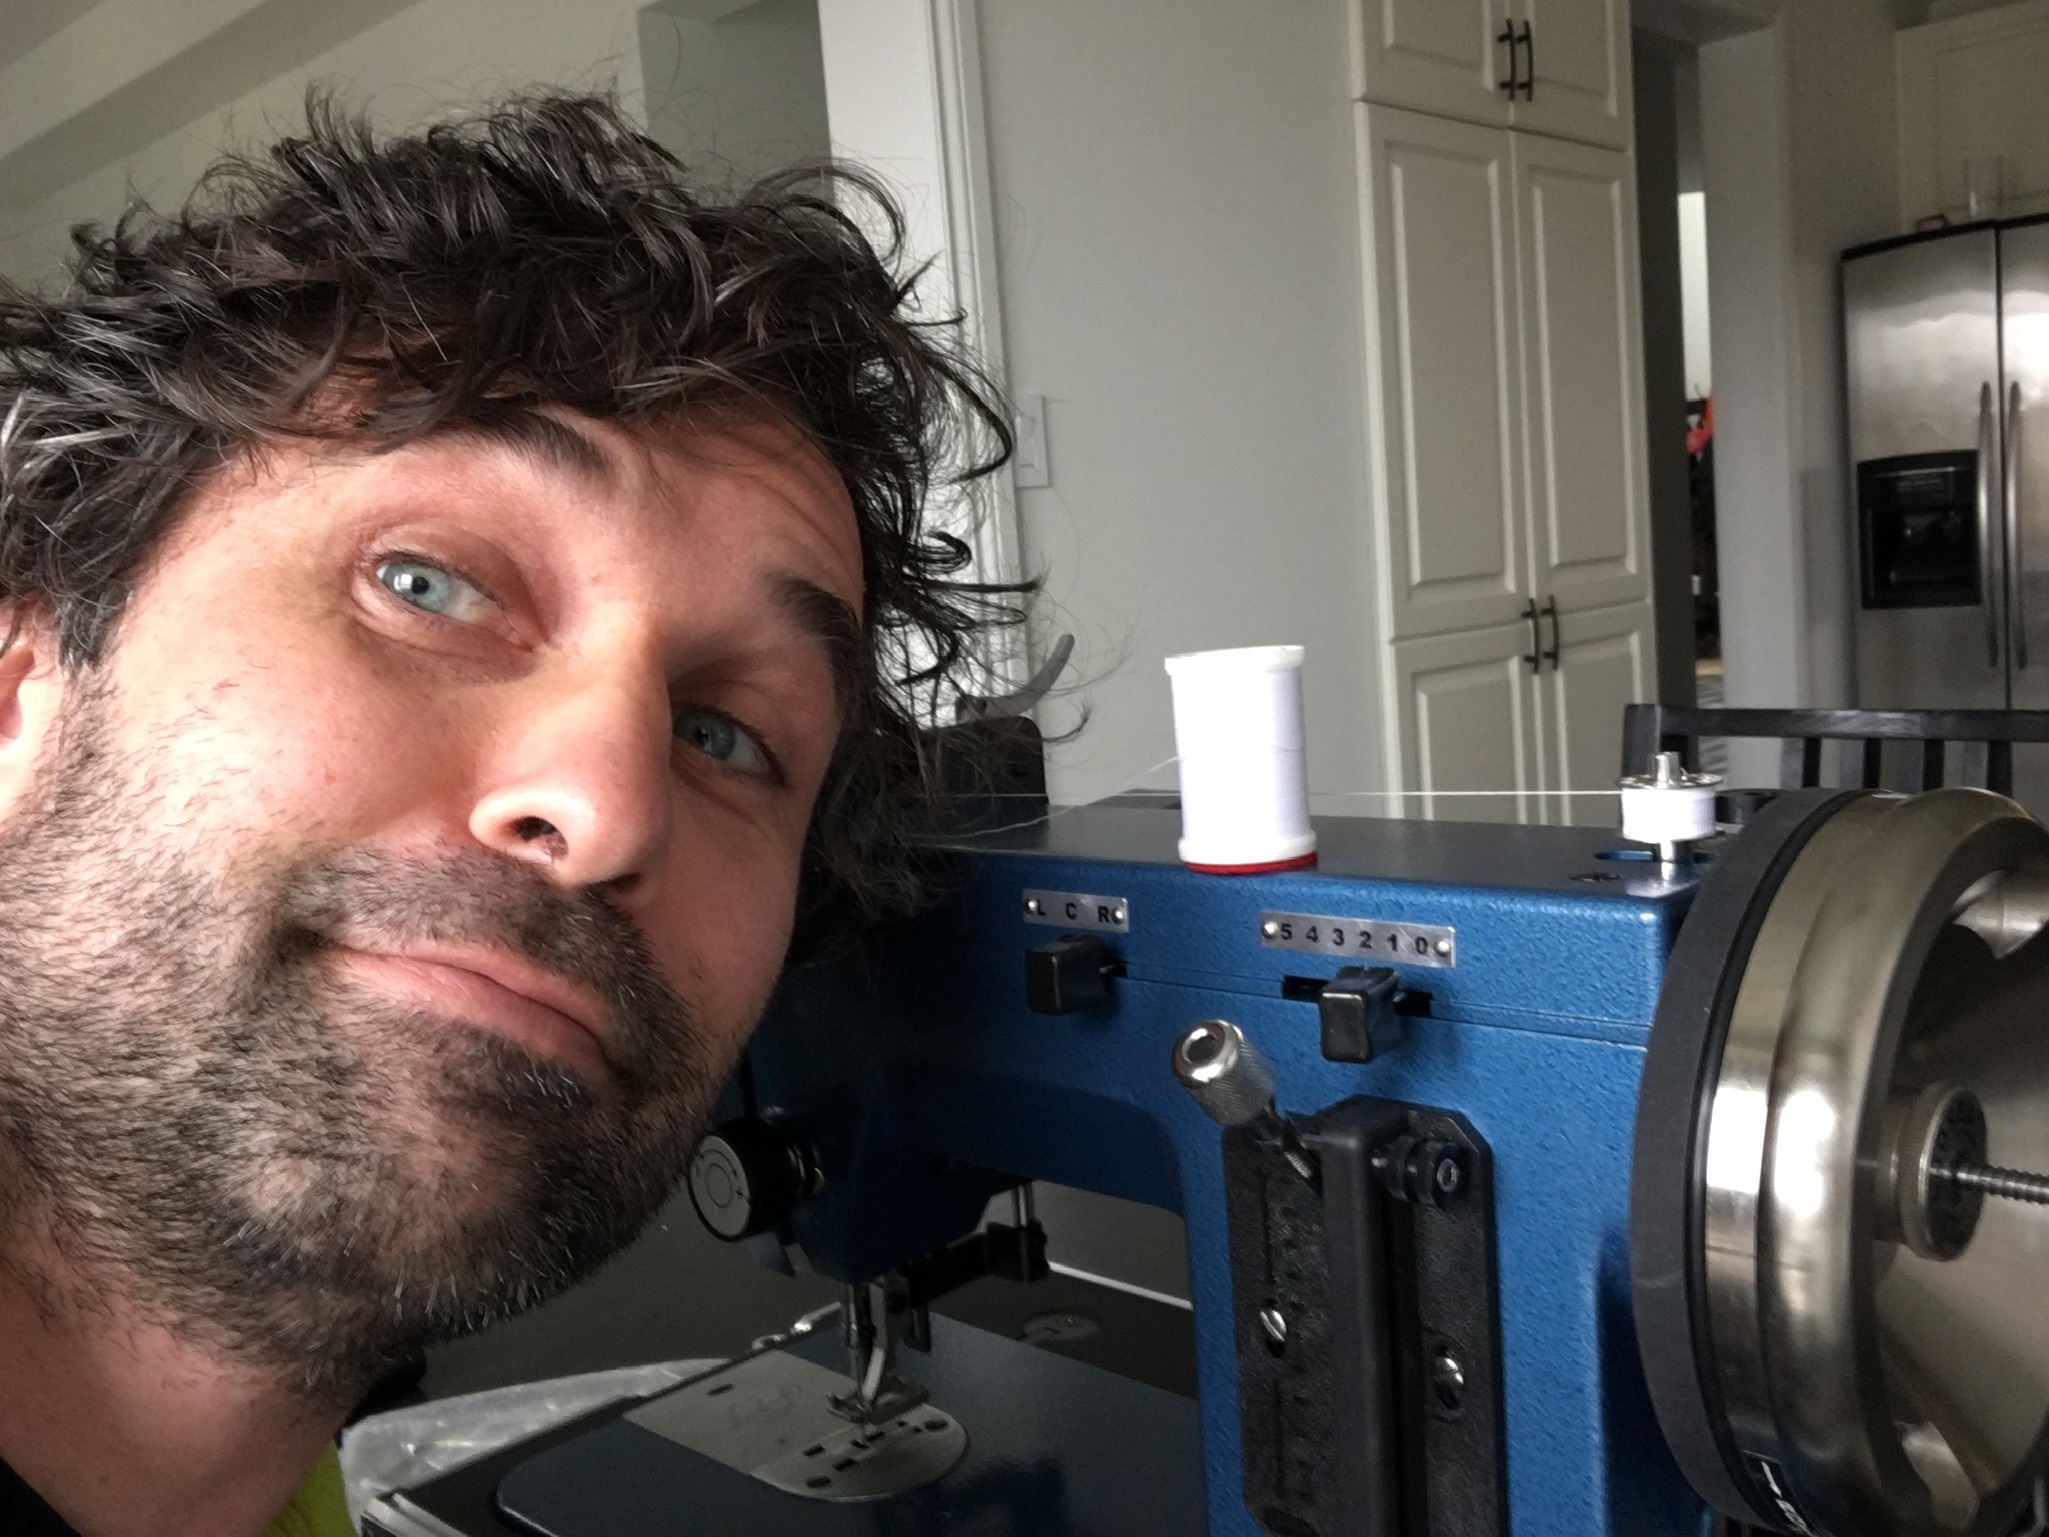
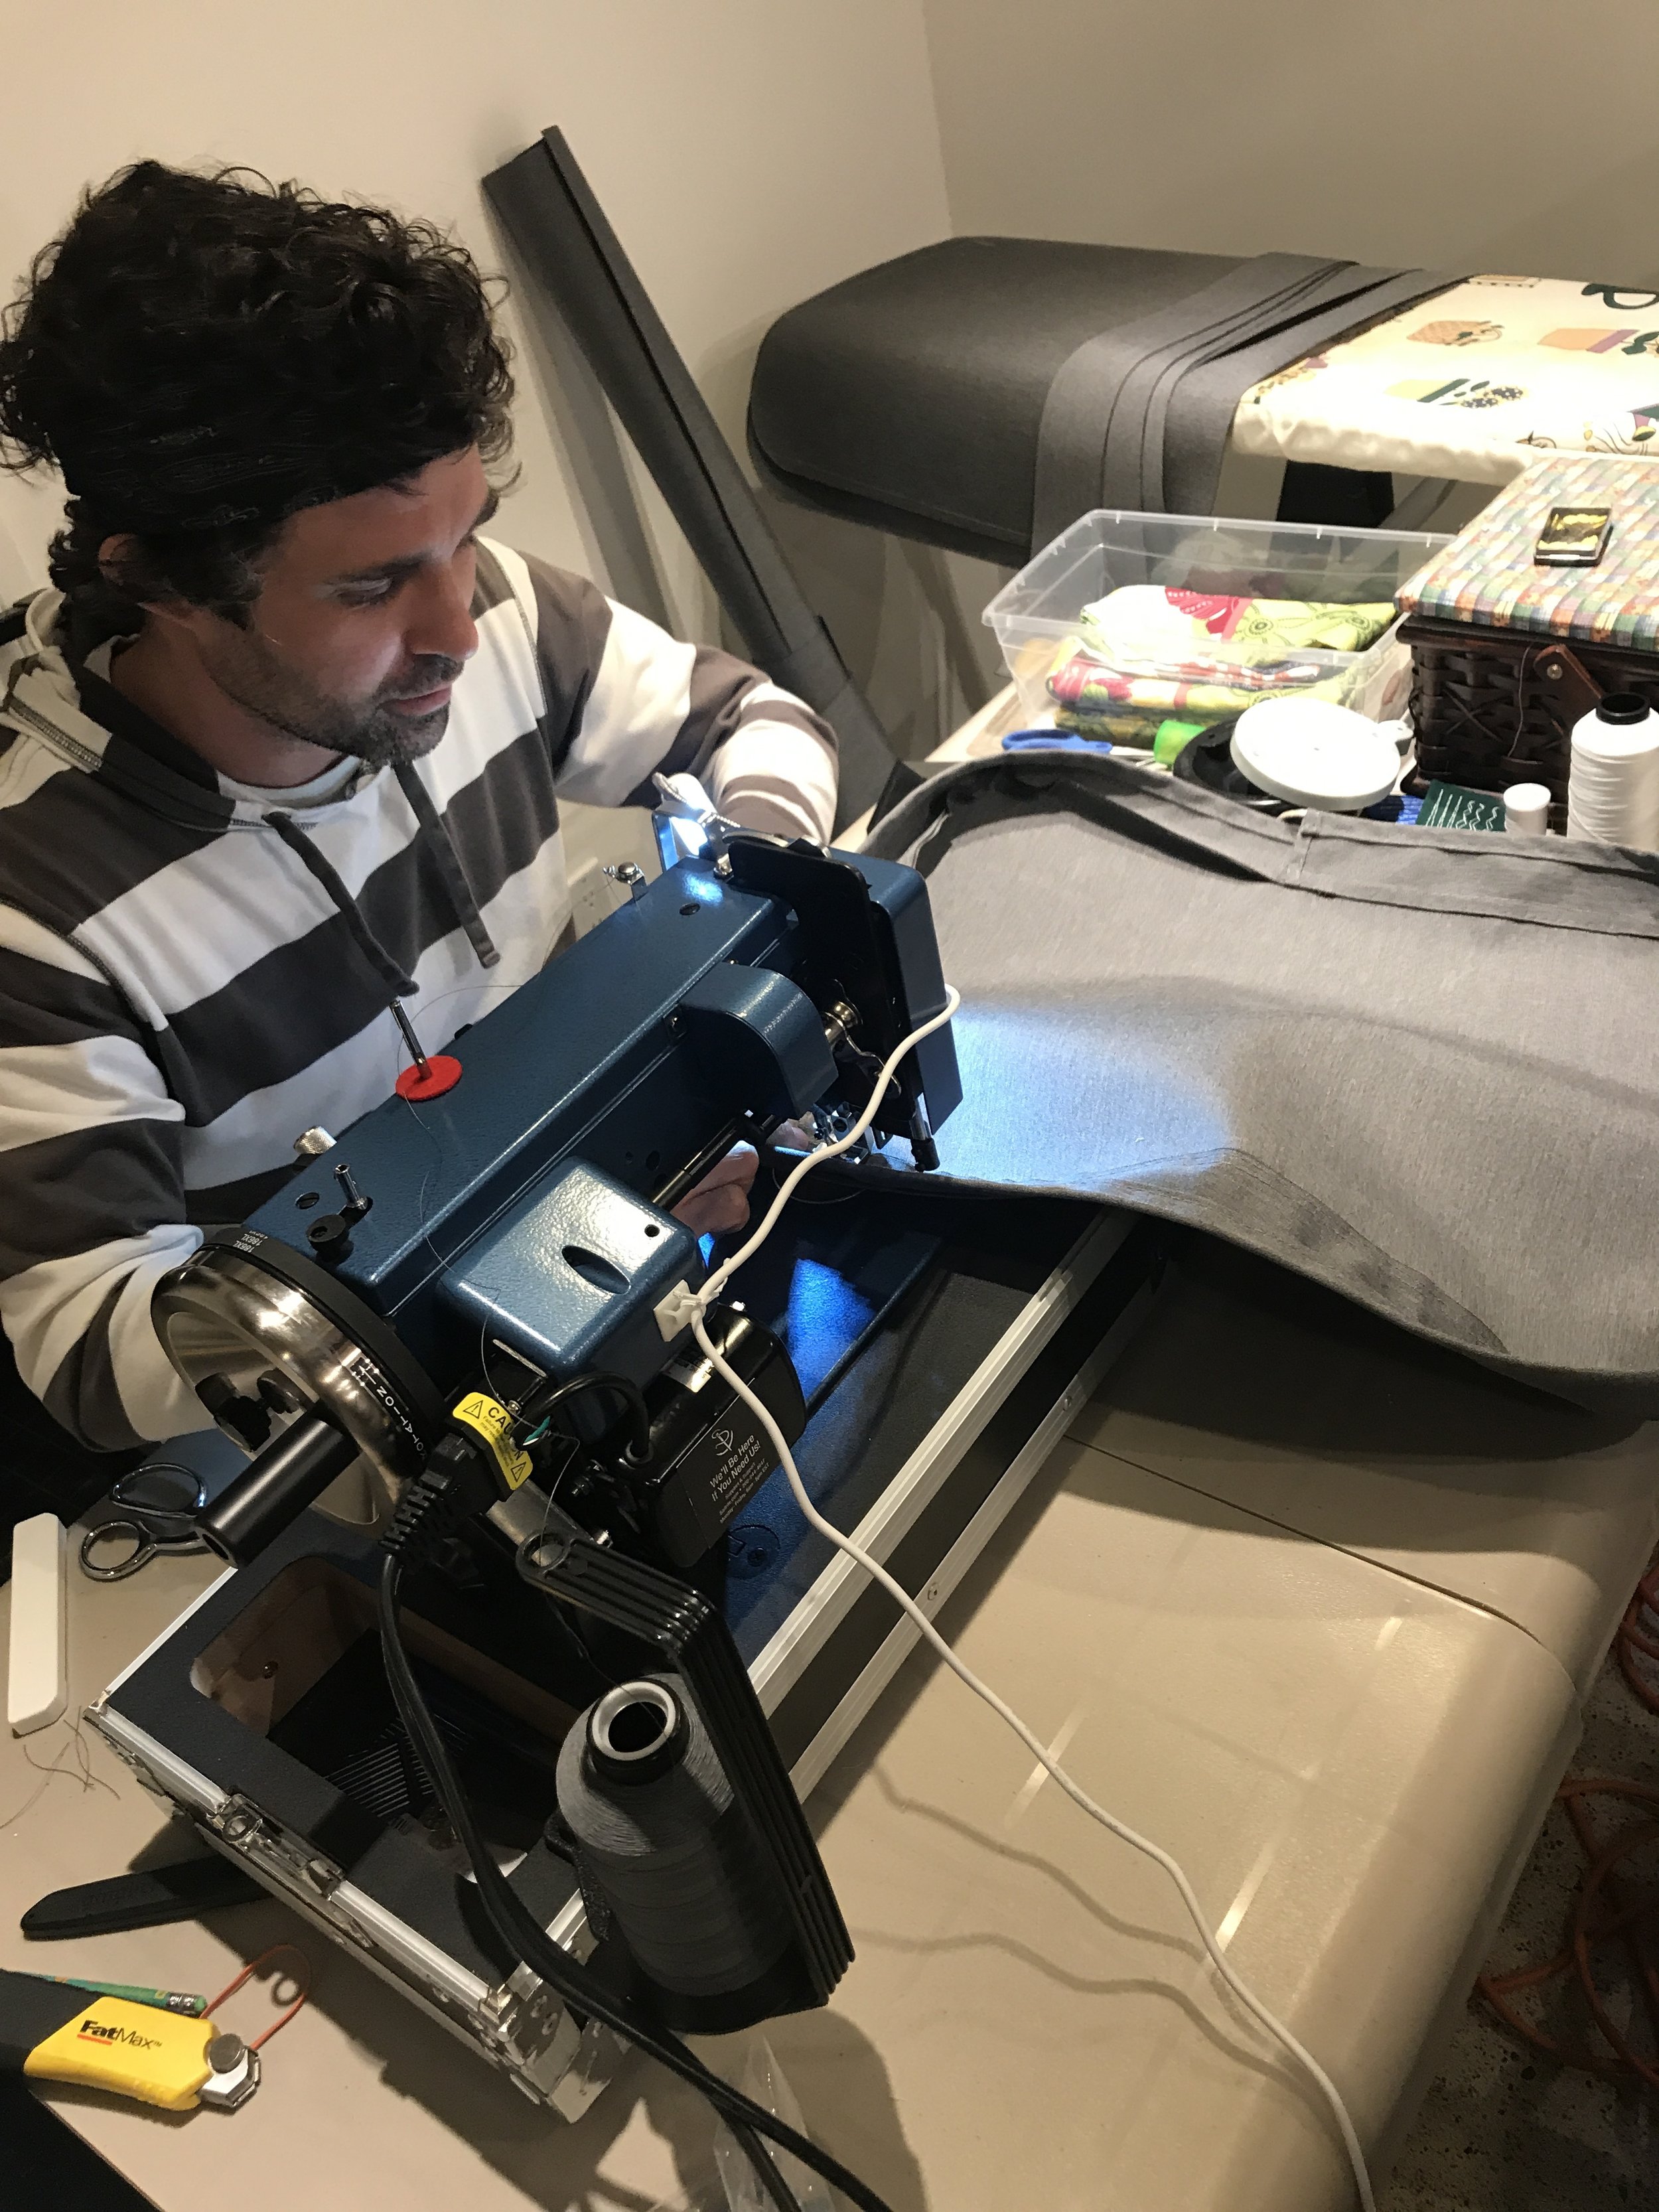
After a bunch of research (yes I overanalyze everything) we ended up with a Sailrite LSZ-1 which is the gold standard as far as portable, heavy-duty sewing machines go. After unpacking everything and responsibly recycling all the packaging I could, I dove right into figuring out how to set up the machine, thread a bobbin, adjust tension, and many other basic, basic sewing things that really need to be understood before doing anything productive. Then quickly realizing I wasn’t going to be able to monopolize the kitchen table for much longer, I migrated my new canvas shop into the basement in convenient sight of the TV (because you know #wethenorth).

Sailrite produces some really handy how-to videos on YouTube that even a complete novice like me can understand… after awhile…
Test Project #1: Turn One Shower Curtain into Two
With set up out of the way, I figured it would be smart to start with some smaller home sewing projects just to test things out. We needed two new shower curtains for Matriarch that just so happened to be exactly half the width of one of our shower curtains at home. Easy enough I’m thinking, just cut the curtain in half and hem the resulting ‘raw’ edges and voila, boat showers for everyone. Enter lesson #1 - a really sharp pair of shears makes things a lot easier - cutting that curtain with the regular pair of scissors I pulled out of the kitchen drawer gave me a jagged, frayed, crooked, drunken edge that made sewing a straight hem not very fun. On top of that, getting the thread tension correct for the thin shower curtain material took some patience along with the removal of many pucker causing stitches until I got it right. Eventually it all came together and I trotted upstairs to proudly show Megan my creation. “That’s nice honey” was the response. I’ll take it.

Test Project #2: Turn Some Worn Out Kids Jeans Into to Serviceable Kids Jean Shorts
After going out and buying a good set of shears, I was on to another warm-up project that was spawned out of purging the kids closets. We found a few pairs of jeans jammed in the back of Liam’s closet that he’d grown out of and were pretty beat up anyway, so I decided they’d make a perfect testing ground for a budding canvas-maker such as myself. With a few measurements taken I got to work snipping and hemming and before too long Aden was very pleased with her 4 brand new pairs of shorts… which ended up being 3 after she yelled downstairs one morning when getting dressed, “Daddy, I’m sorry to tell you this but one leg is a lot shorter than the other…”. Chalk it up to another learning experience I say.

Test Project #3: Make A Set of Hatch Covers
Ok time to get serious and truly check something off the “list of stuff to buy for the boat” list. Matriarch has a set of hatch covers that were on their last legs and would be really useful to block out those powerful UV rays in the tropics. Luckily we thought to bring them home the last time we visited the boat so I had templates to work from, well after I took apart the originals stitch-by-stitch that is! (confession: I googled how to use a seam ripper after the first 5 minutes of making a mess of things)
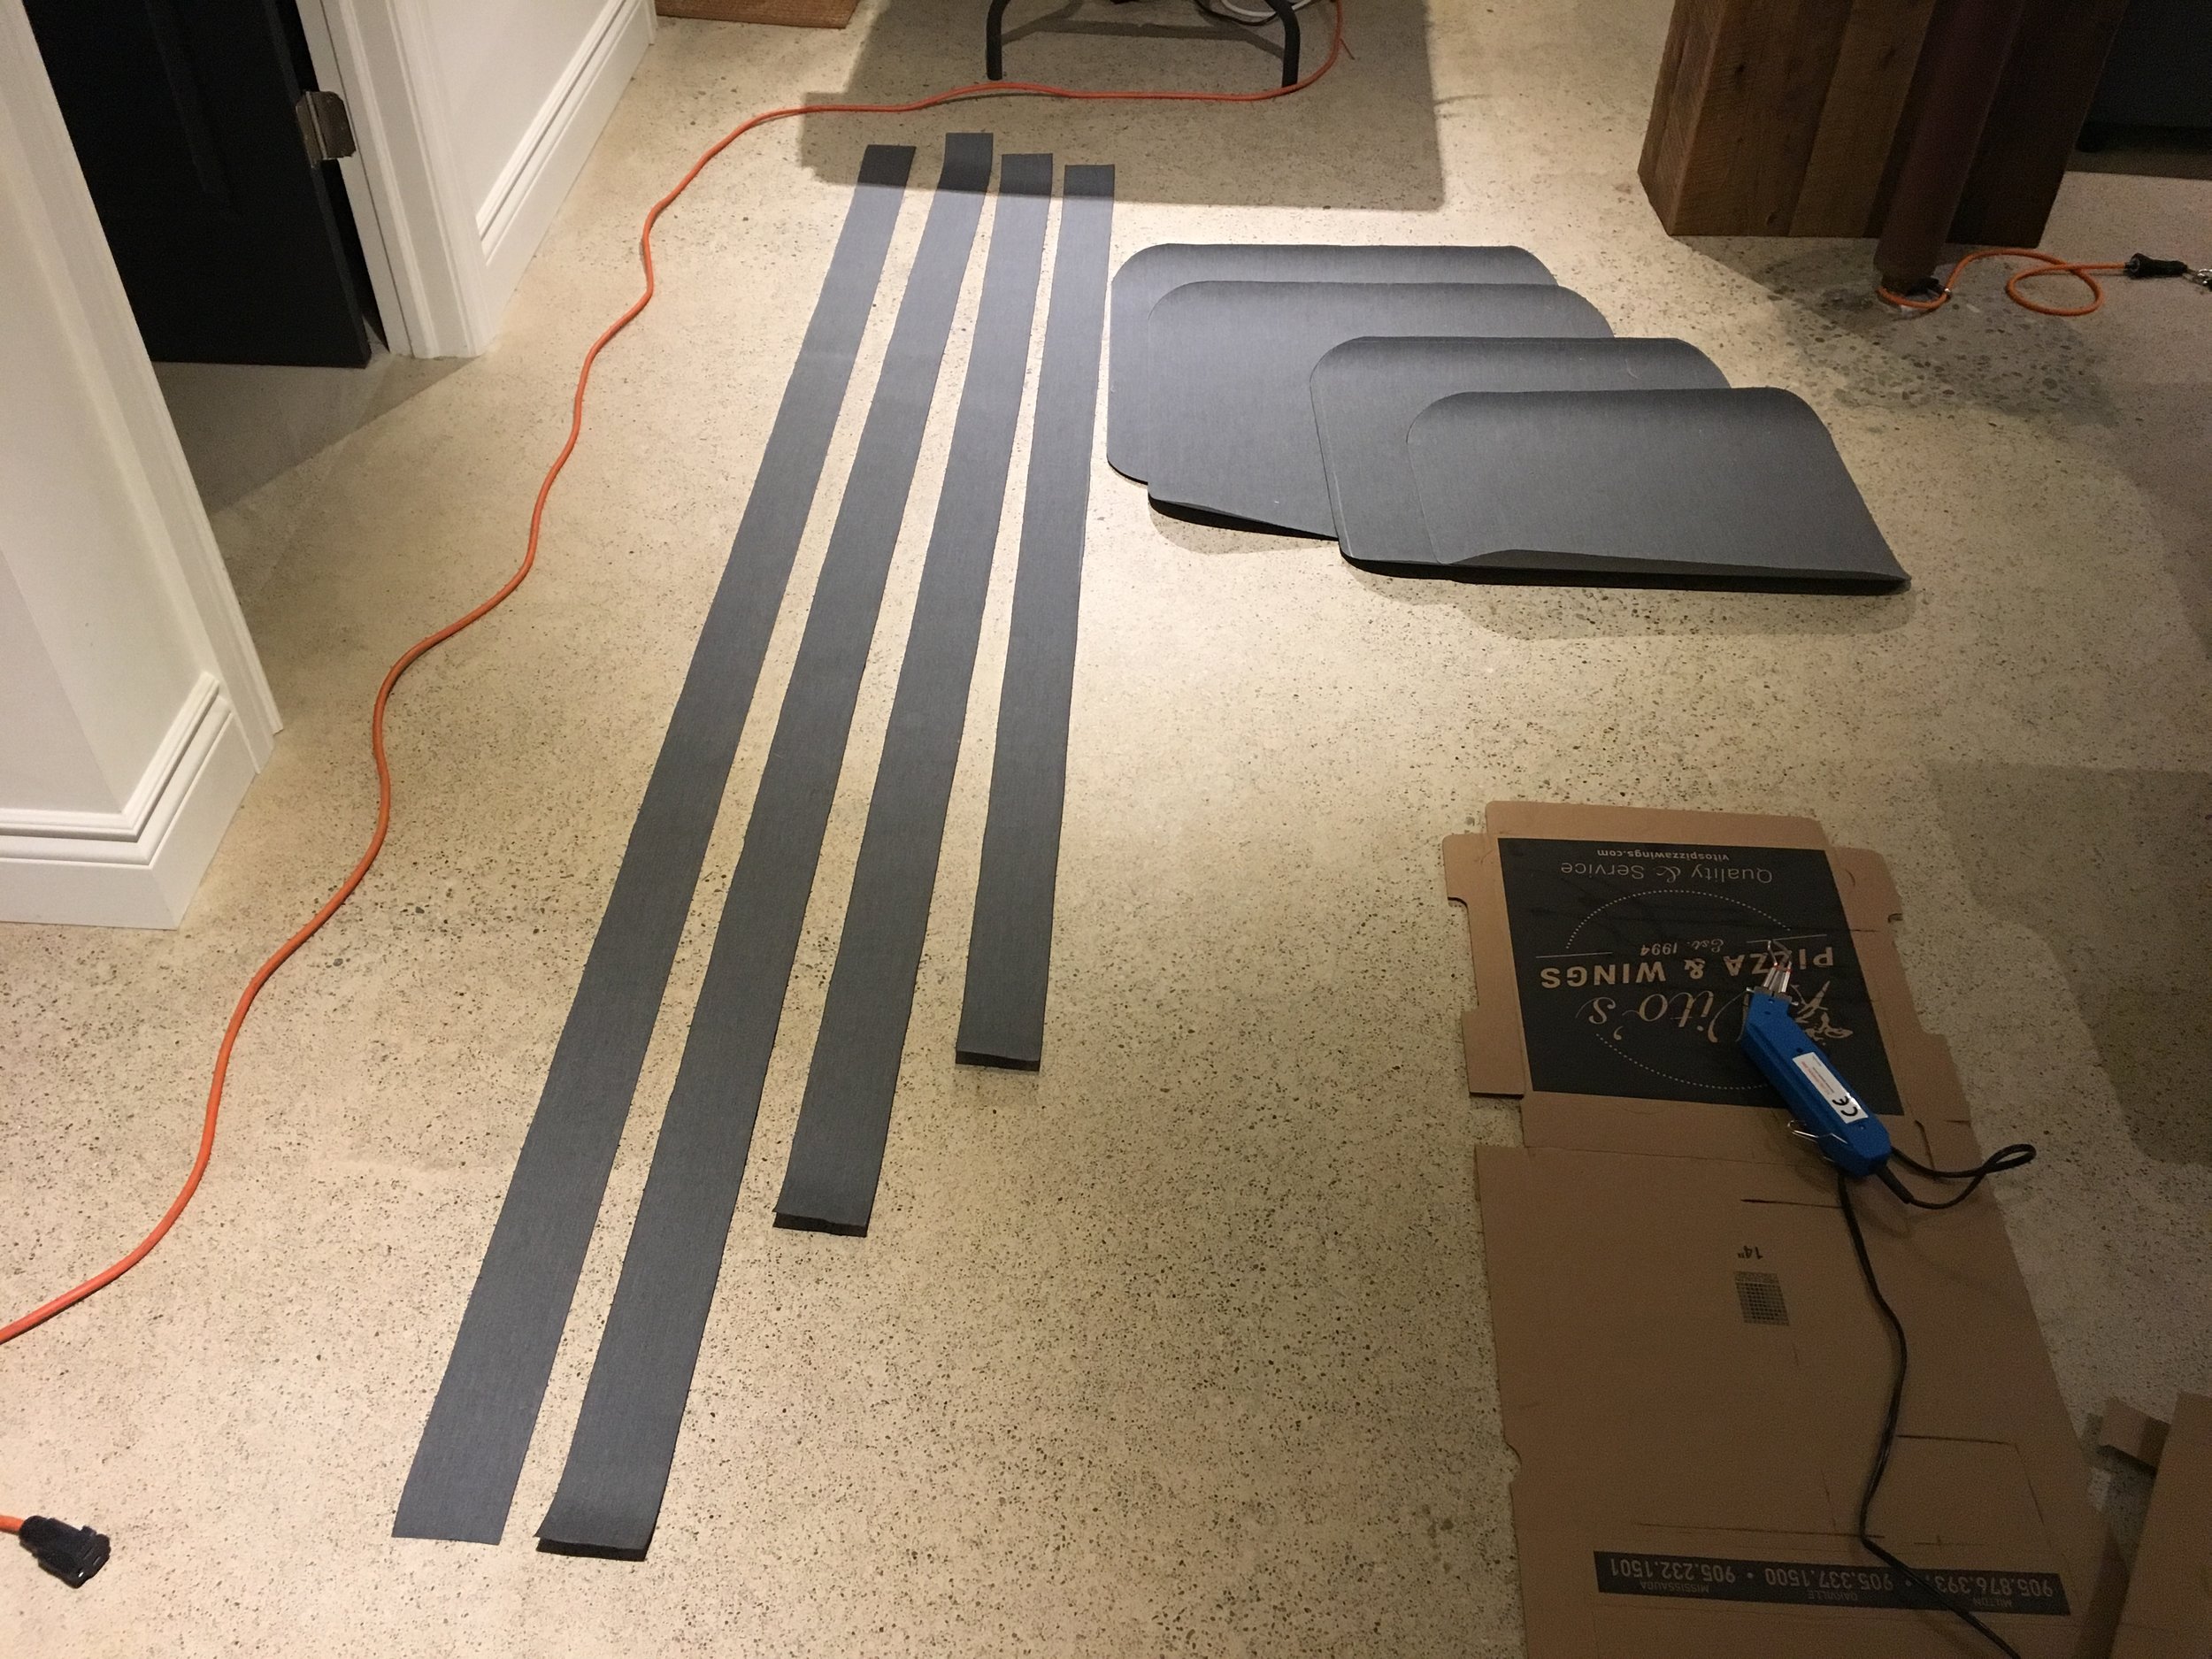
Once the 5 originals were all apart (one for each hatch), I laid them out on the Sunbrella marine fabric we ordered from JT’s Outdoor Fabrics (who are really helpful by the way). After figuring out how to arrange everything to minimize waste, I traced out the patterns with a water soluble pencil I found in the bottom of Megan’s old sewing kit and made a mental note to order a bunch more of these for future patterning fun. Step 1 down.
Next came learning how to use yet another new tool for me, the hot knife. A hot knife is highly recommended for cutting a fabric like Sunbrella since it will quickly fray along the edges if it isn’t cauterized. I managed to cut out all the pieces without burning any holes in the floor or myself and overall was pretty pleased with the result.
Finally came the actual sewing. After some adjustments to the machine to properly handle the thick fabric, I hemmed in the draw string around the bottom then attached the sides to the top using a semi flat felled seam (a new term I learned along the way and I try to use so it sounds like I know what I’m talking about). Suprisingly, at least to me, everything went super smoothly with only a bit of challenge around the corners. Lesson learned, sewing a smooth seam around those curves is hard.
With those out of the way and my confidence growing by leaps and bounds, it was time to dive in head first into the main event (spoiler: it was a bigger challenge than I thought). Stay tuned for part 2…